User Manual of 5-inch Smart Speed Dome
© Hikvision Digital Technology Co., Ltd. All Rights Reserved.
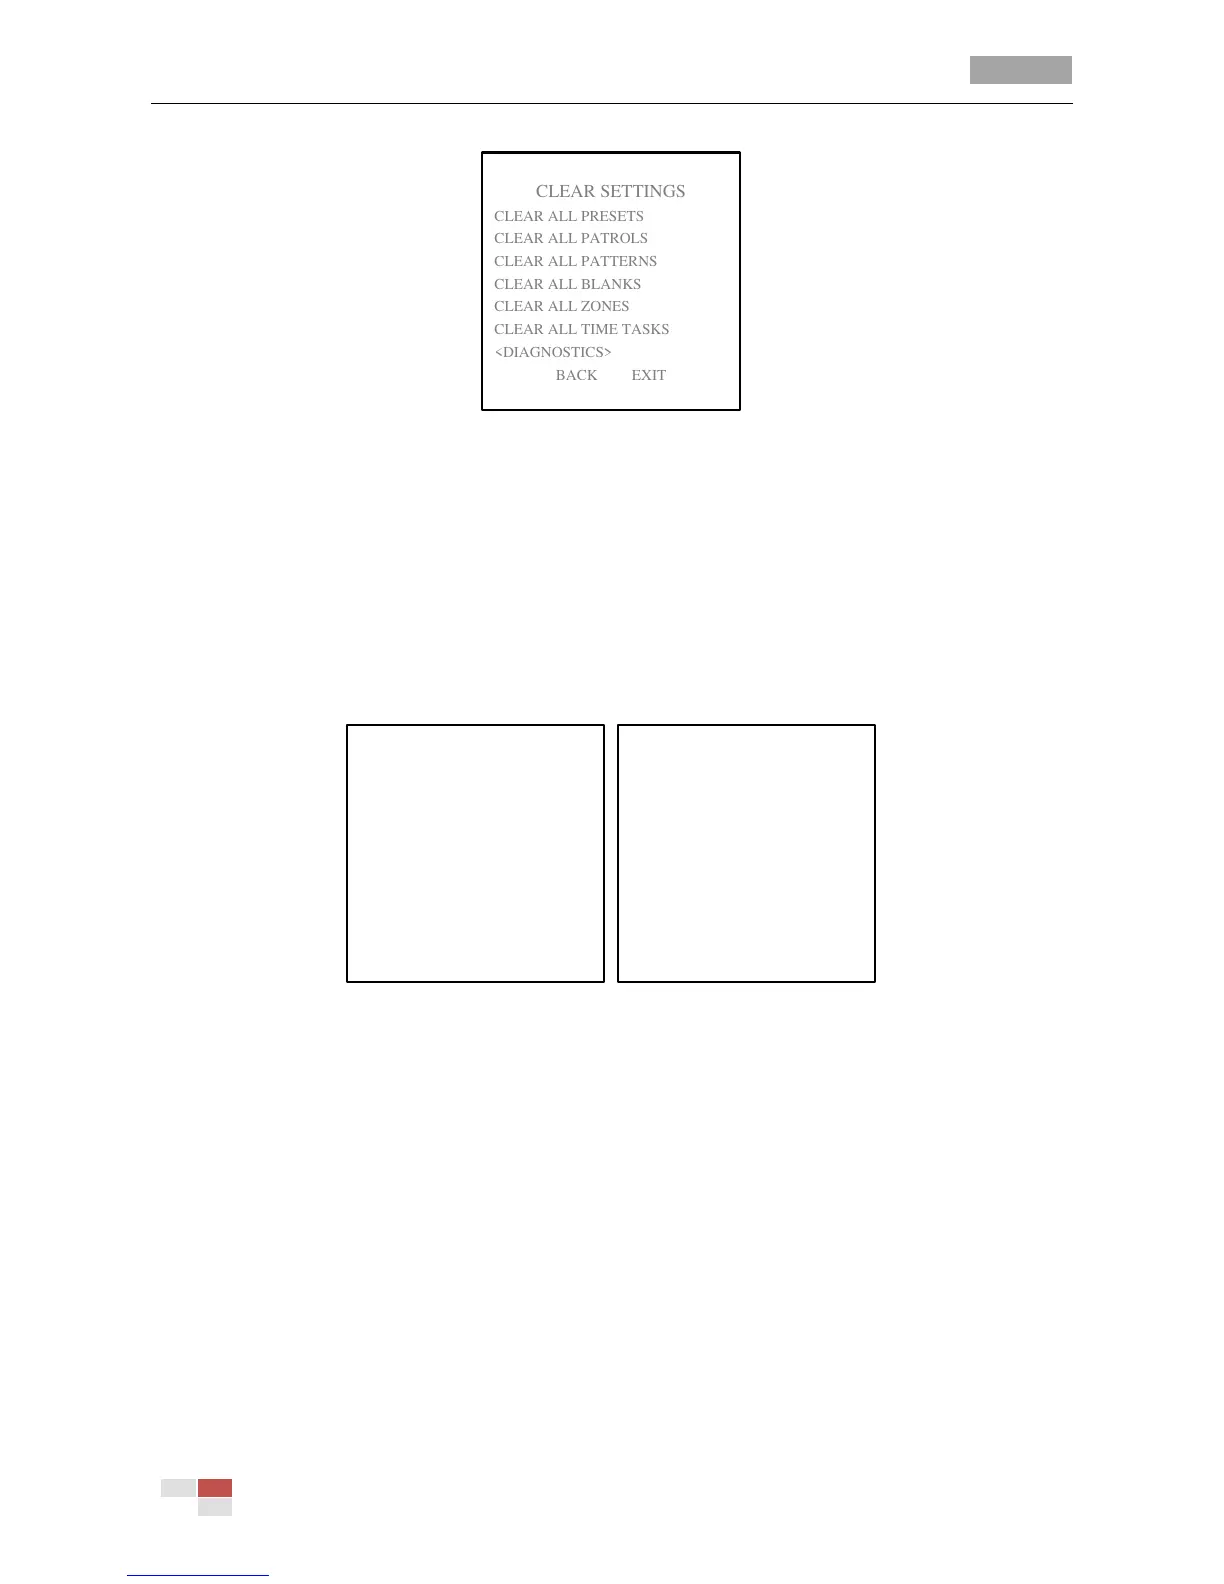
Figure 3-24 Clear Dome Settings
2. Click IRIS+ on each submenu, e.g., CLEAR ALL PATTERNS. Click IRIS+ again to confirm and exit.
On DIAGNOSTICS submenu, you can also see the self-diagnostics information of the speed dome,
including the occurrence of high temperature, the highest temperature, the occurrence of low
temperature, the lowest temperature, the occurrences of video loss, low voltage, dome reboot,
panning loss, tilting loss and communication loss.
Note: Panning loss and tilting loss refer to the failures of panning and tilting, for diagnosing the
electric motor of the speed dome.
Figure 3-25 Self-diagnostics
3.5 Configuring Smart Settings
Purpose:
The speed dome tracks the moving objects automatically after you configure this function.
Steps:
1. Enter the SMART SETTINGS menu:
MAIN MENUS > DOME SETTINGS > SMART SETTINGS
2. Move the cursor to SMART TRACKING and click FOCUS+ to change the cursor to hollow.
3. Click IRIS+ to select ON for enabling this function.
4. Move the cursor to ZOOM RATIO and click FOCUS+ to change the cursor to hollow.
5. Click the PTZ buttons to get a scene you want. The speed dome tracks according to the zoom
ratio you set.
 Loading...