Education Sharing System
22
Manual: Manually dispaly the image to the main screen by double-clicking the camera
display window at the bottom. You shall use the PTZ control panel to manually track the
object.
SimiAuto: The speed dome can automatically track object, but you still have to manually
switch live view image by double-clicking the camera display window at the bottom.
Auto: The speed dome can automatically track object. The device will automatically
display image to the main screen when the connected education specified cameras have
detected smart events. The auto live view control is enabled by default. Refer to 4.5.1
Enable Auto Live View Control for details.
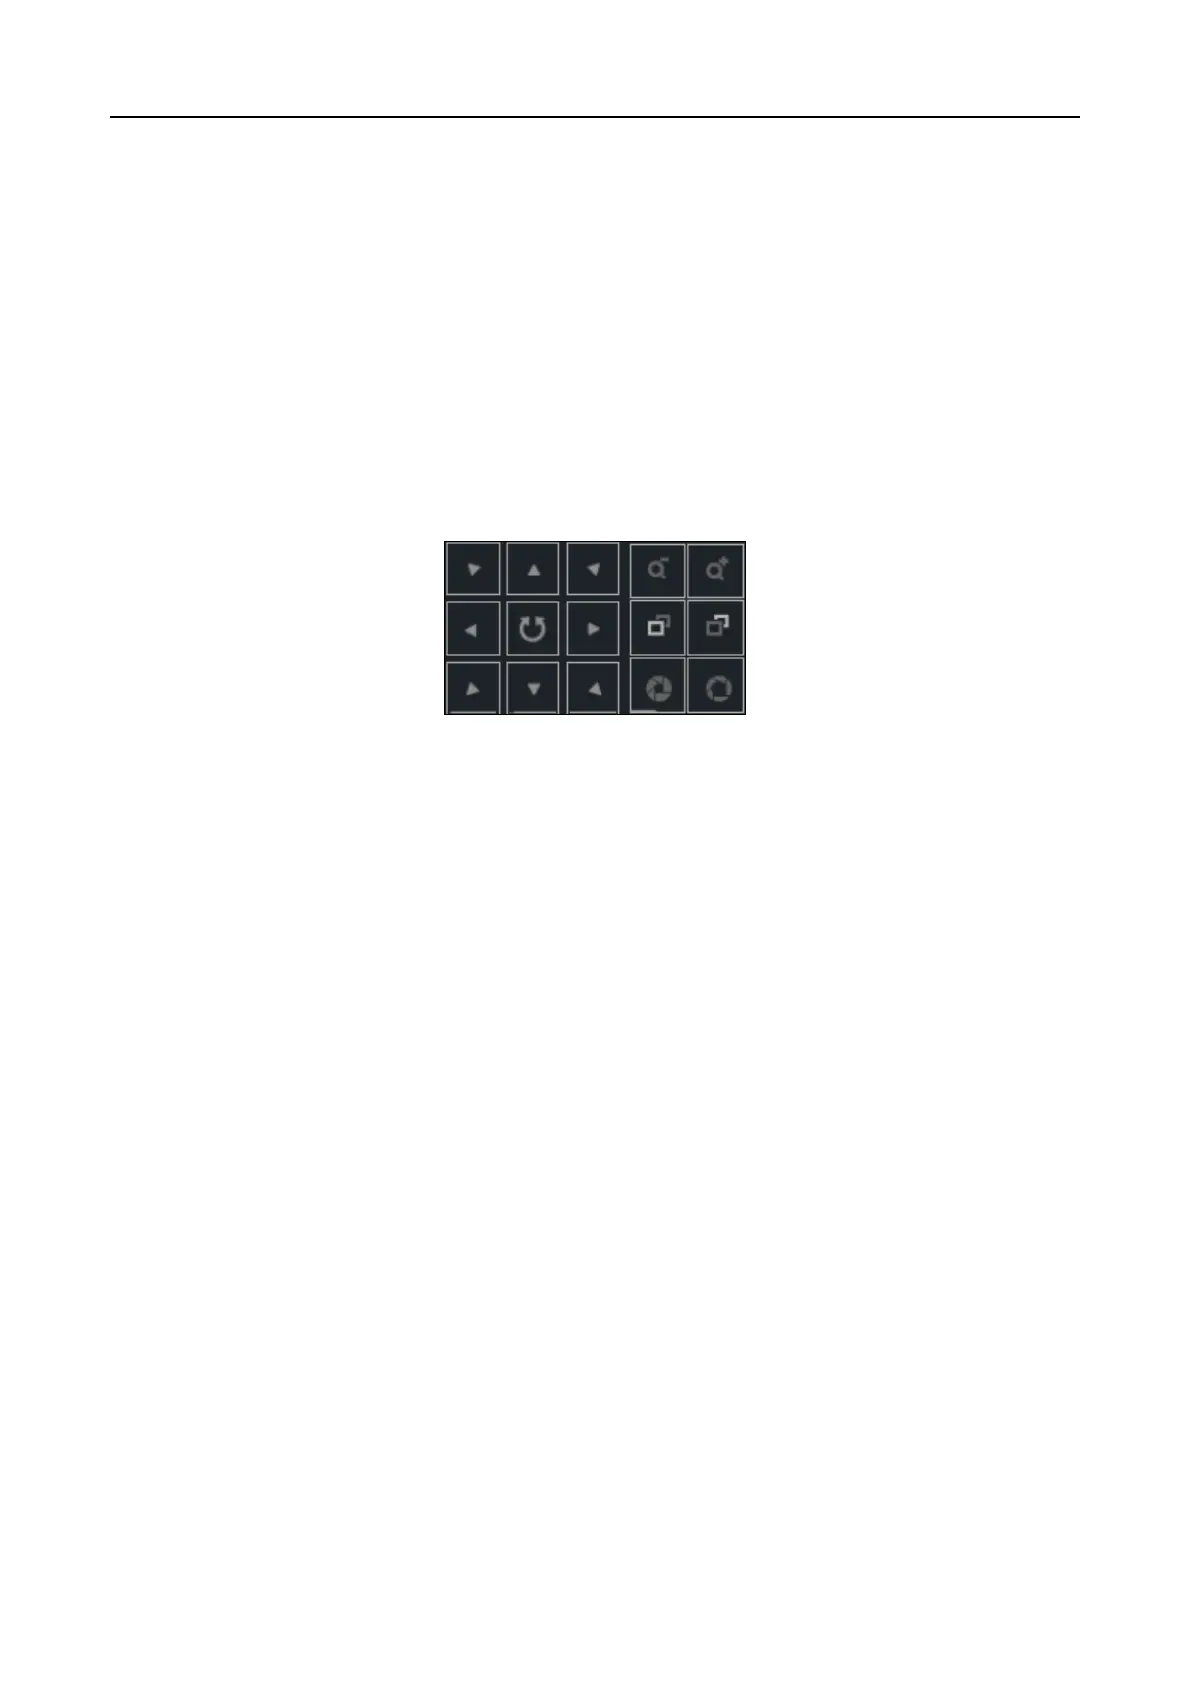
Step 6 Optionally, for the student and teacher channel, click PTZ to rotate the camera to desired
view.
Figure 4-15 PTZ Control Panel
4.7 Schedule Settings
Step 1 Go to Configuration > Storage > Schedule Settings.
Step 2 Select Channel No.
Step 3 Check Enable.
Step 4 Select the recording type, including Continuous, Motion, Alarm, Motion | Alarm, Motion &
Alarm, and Event.
Step 5 Set the recording schedule of selected day.
Step 6 Optionally, you can click Copy to to copy the schedule settings to other channel(s).
Step 7 Optionally, click Advanced to set the pre-record and post-record time of the recording
schedule, and expired time of the recording file.
Step 8 Click save.
 Loading...