Starting Live View in Custom View Mode
Purpose:
The view mode can also be customized for the video live view.
Steps:
1. Open the Main View page.
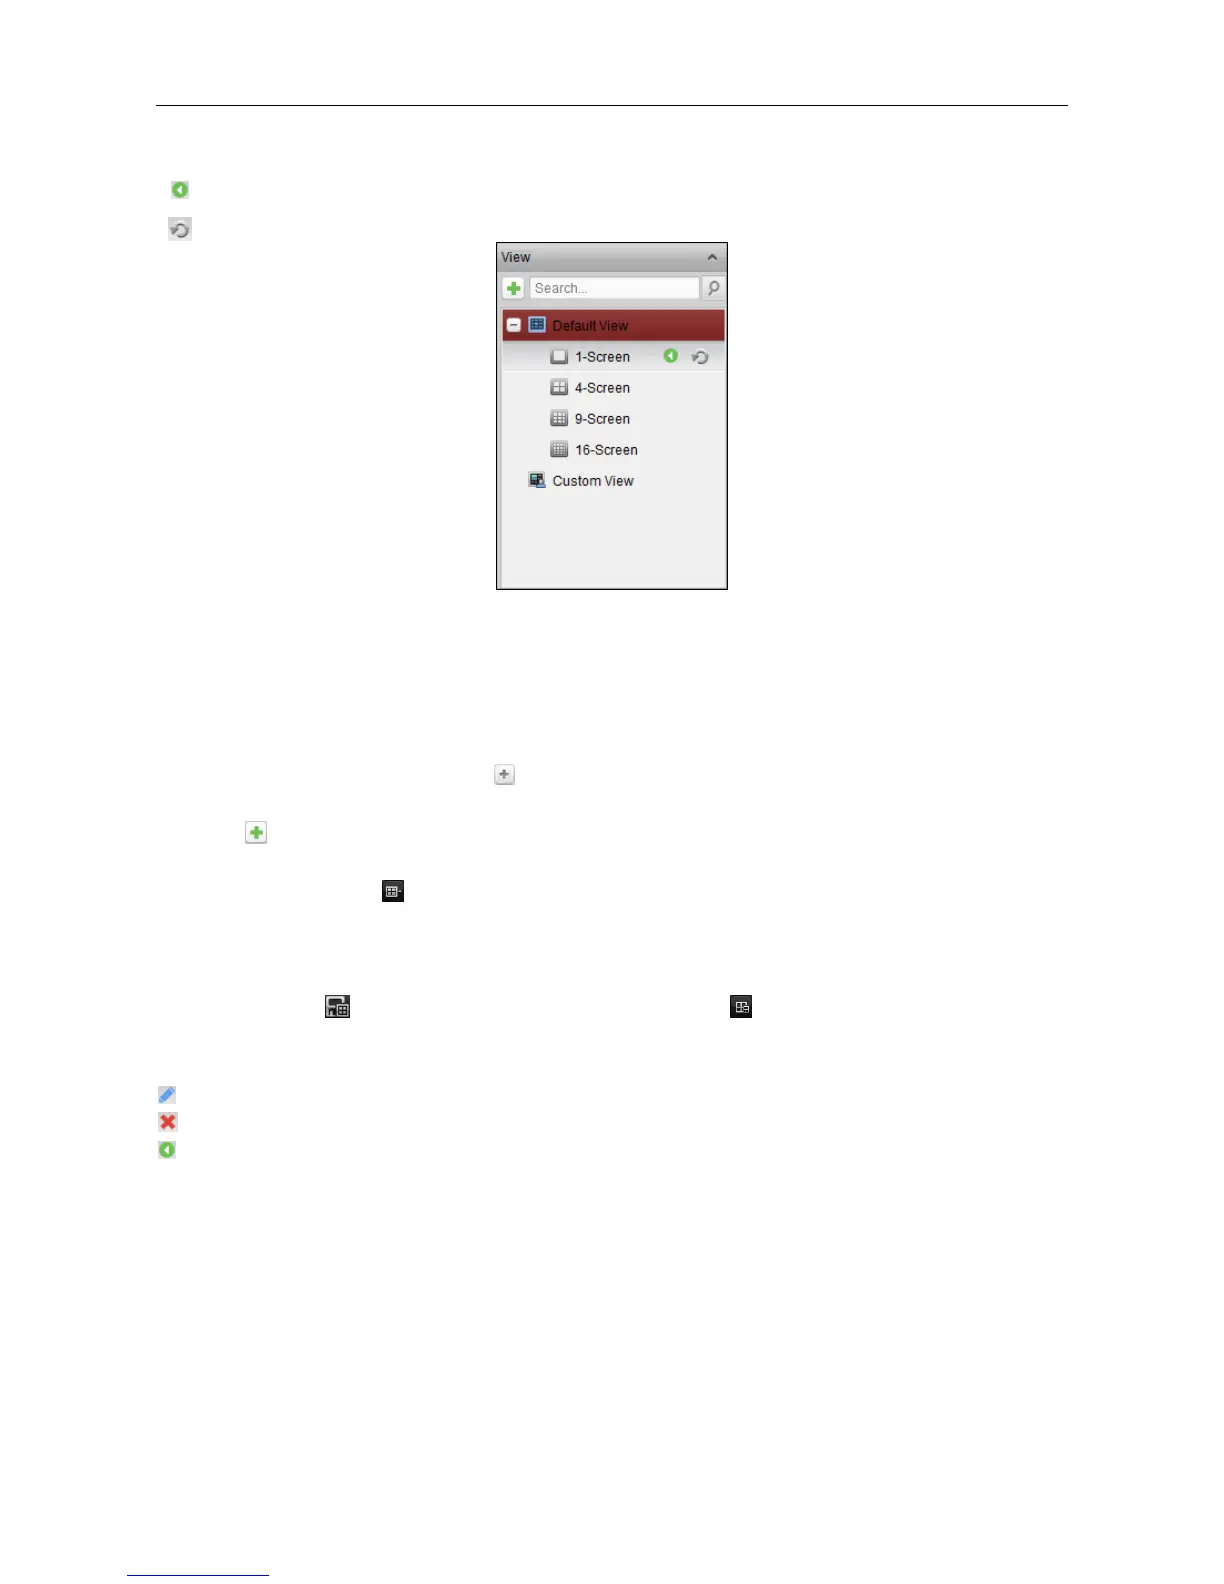
2. In the View panel, click the icon to expand the custom view list. If there is custom view
available, you can click to start live view of the custom view.
3. Click to create a new view.
4. Input the view name and click Add. The new view is of 4-Screen mode by default.
5. Optionally, click the icon in live view toolbar and select the screen layout mode for the new
view.
6. Click-and-drag the camera/group to the display window,
or double-click the camera/group name in custom view mode to start the live view.
7. Click the icon to save the new view. You can also click to save the view as another
custom view.
Move the mouse to the custom view and the following icons are available:
 Loading...