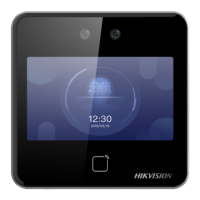
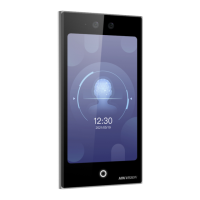
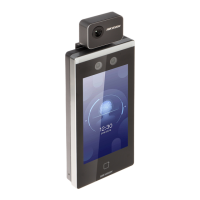
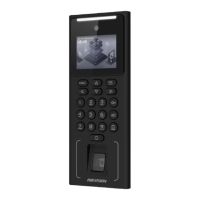
Face Recognition Terminal Quick Start Guide
31
3. Tap the Name field and input the user name on the soft keyboard.
Notes:
Numbers, upper case letters, lower case letters, and special characters are allowed in the
user name.
Up to 32 characters are allowed in the user name.
4. Tap the Card field and input the card No.
Option 1: Input the card No. manually.
Option2: Swipe the card over the card swiping area to get the card No.
Notes:
The card No. cannot be empty.
Up to 20 characters are allowed in the card No.
By default, the card No. contains 10 characters. The system will use 0 to supplement the
10-character-card No. For example, 5 and 0000000005 are two different card No.
The card No. cannot be duplicated.
5. Tap the Password field and create a password and confirm the password.
Note:
Only numbers are allowed in the password.
Up to 8 characters are allowed in the password.
6. Tap the Fingerprint field to enter the Add Fingerprint page.
Follow the steps below to add fingerprint.
1) Place your finger on the fingerprint module.
2) Follow the instructions on the screen to record the fingerprint.
3) After adding the fingerprint completely, tap Yes in the pop-up dialog to save the fingerprint
and continue to add another fingerprint.
Or tap No to save the fingerprint and go back to the Add User page.
Notes:
The same fingerprint cannot be repeatedly added.
Up to 10 fingerprints can be added for one user.
You can also use the client software or the fingerprint recorder to record fingerprints.
For details about the instructions of scanning fingerprints, see Appendix B Tips for
Scanning Fingerprint.
7. Tap the Face Picture field to enter the face picture adding page.
Follow the steps below to add the user’s face picture.
1) Position your face looking at the camera.
Note: Make sure your face picture is in the face picture outline when adding the face
picture.
After completely adding the face picture, a captured face picture will display on the page.
Notes:
Make sure the captured face picture is in good quality and is accurate.
For details about the instructions of adding face pictures, see Appendix C Tips When
Collecting/Comparing Face Picture.
 Loading...

