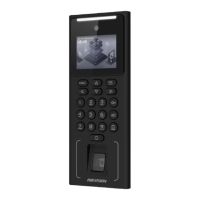
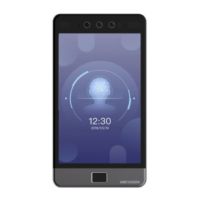
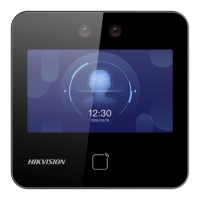
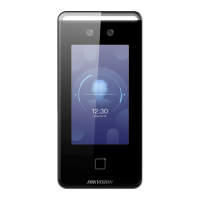
Face Recognition Terminal Quick Start Guide
38
from the USB flash drive to Device B. In this case, you should import the user data before
importing the profile photo.
The supported USB flash drive format is FAT 32.
The imported picture should be saved in the root directory (enroll_pic) and the picture
file’s name should be follow the rule below:
Card No._Name_Department_Employee ID_Gender.jpg
The employee ID should between 1 and 99999999, should not be duplicated, and should
not start with 0.
Requirements of face: It should be taken in full-face view directly facing the camera. Do not
wear a hat or head covering when taking the face picture. The format should be JPEG or
JPG. The resolution should be 640 × 480 pixel or more than of 640 × 480 pixel. The picture
size should be between 60 KB and 200 KB.
5.6.4 Viewing System Information
Viewing Capacity
Purpose:
You can view the added user’s number, the face picture’s number, the card’s number, the
password’s number, and the fingerprint’s number.
Note: The device with the model of DS-K1T604M does not support displaying the fingerprint
capacity.
Tap Info. (System Information) -> Capacity on the Home page to enter the Capacity page.
Viewing Device Information
Purpose:
You can view the device model, the serial No., the MAC address, the firmware version, the MCU
version, and the production date.
Tap Device to enter the Device page.
Note: The device information page may vary according to different device models.
5.7 Authenticating Identity
Purpose:
After setting network, system parameters and adding user, you can go back to the initial page for
identity authentication.
The system will authenticate person according to the configured authentication mode.
You can authenticate identity via 1:1 matching or 1:N matching.
Note: If you require a higher security level, do not use single authentication mode.
 Loading...