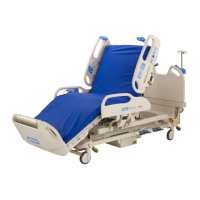
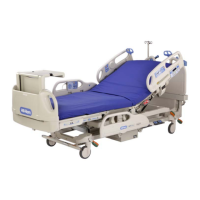
4.39 Head Section Bladder Assembly
Chapter 4: Removal, Replacement, and Adjustment Procedures
4.39 Head Section Bladder Assembly
Tools required: Window cleaner
Wire cutters
Rags
Removal
1. Set the brakes.
2. Raise the sleep surface to a comfortable working height.
WARNING:
Unplug the unit from its power source. Failure to do so could result in
personal injury or equipment damage.
3. Unplug the bed from its power source.
4. Unzip the ticking (A) on the mattress (see figure 4-65 on page 4-124).
5. Pull the ticking (A) to the foot end of the mattress.
6. Pull the shear liner (B) to the foot end of the mattress.
7. Pull the fire barrier (C) to the foot end of the mattress to expose the head
section bladder assembly (D).
CAUTION:
Use care when disconnecting the hose from the fitting. Excessive force
can damage the fitting.
8. On the right side of the fifth and ninth bladders (pink in color), disconnect
the fitting (F) from the hose (E).
NOTE:
Putting the wire cutters between the fitting and hose, and then wiggling the
wire cutters back and forth will loosen the hose enough for easy removal.
9. Disconnect the snaps on each end of each bladder (two snaps per end of
each bladder).
10. Remove the head section bladder assembly (D) from the mattress.
4
VersaCare™ Bed Service Manual (MAN333 REV 2) Page 4 - 123
 Loading...

