• The hob is switched on and a suitable pan is placed on one of the
cooking zones.
• Select the desired cooking zone that should be switched off ("0"
appears on the display unit).
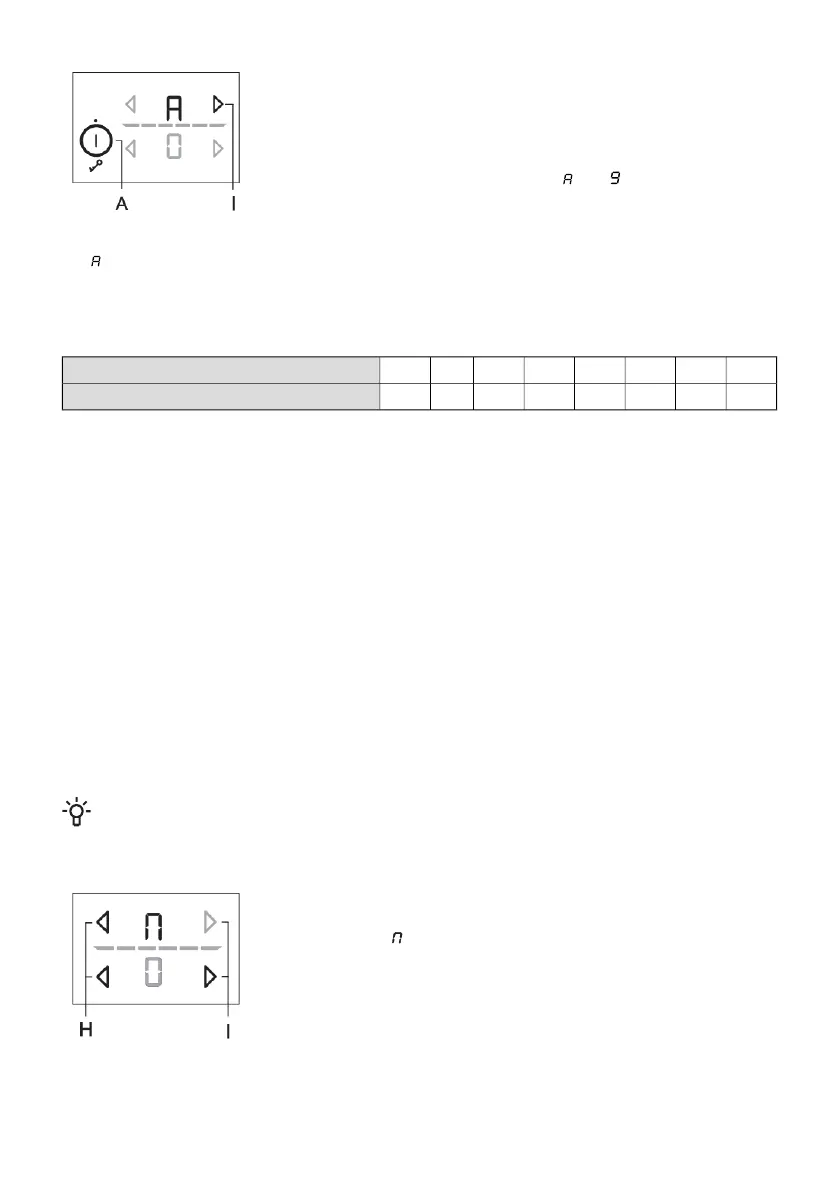
• Press the relevant (H) or (I) key and hold it for approximately 3
seconds until you hear a short beep. and will flash alternately
on the display.
•
and selected power level will alternate on the power level display. When the automatic rapid
heating time expires, the cooking zone automatically switches to the selected level which will then
be continuously displayed.
Automatic rapid heating table
87654321Power level
1951204302601801207040Automatic rapid heating time (sec)
Switching off the automatic rapid heating
If cooking power is decreased while the automatic rapid heating is activated, the automatic rapid
heating will be switched off for this cooking zone.
The auto function can be deactivated by selecting the relevant cooking zone and decreasing the power
level to "0". Then, set the new power level.
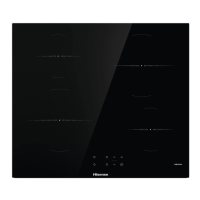
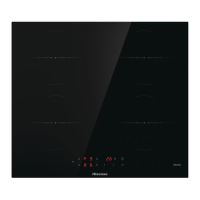
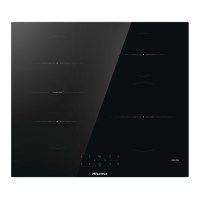
Bridged cooking zone
(depending on the model)
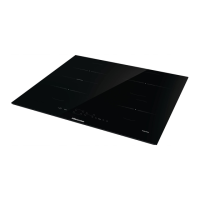
• Some models allow combining two cooking zones on the left-hand side into a single large
connected cooking zone. Thus, a large oval pan or a griddle can be placed on the combined
cooking field. The pan has to be large enough to cover the centres of the upper and lower cooking
zone.
• Maximum pan size: 40 x 25 cm. For even heat distribution, we recommend using a heavy-bottom
baking dish or pan. During cooking, the dish or pan will heat up. Be careful to prevent burns.
• When placing the baking dish on the hob, make sure it does not cover the control module.
INFORMATION!
The pan should always cover the centre of the cooking zone!
Activating the bridged cooking zone
• Switch on the cooking hob by pressing the on/off sensor (A).
• Simultaneously touch the two sensors and hold them for 3 seconds
(H). The sign will appear on the display unit for the rear field to
indicate that the two cooking zones are bridged.
• Set the desired cooking power for the bridged cooking zone.
• To change the bridged zone's cooking power later on, use the (H) or (I) key for the lower cooking
zone.
14