10.8.6 Remove the electrical box panel
RPK-(1.0-2.0)FSN(H)2M:
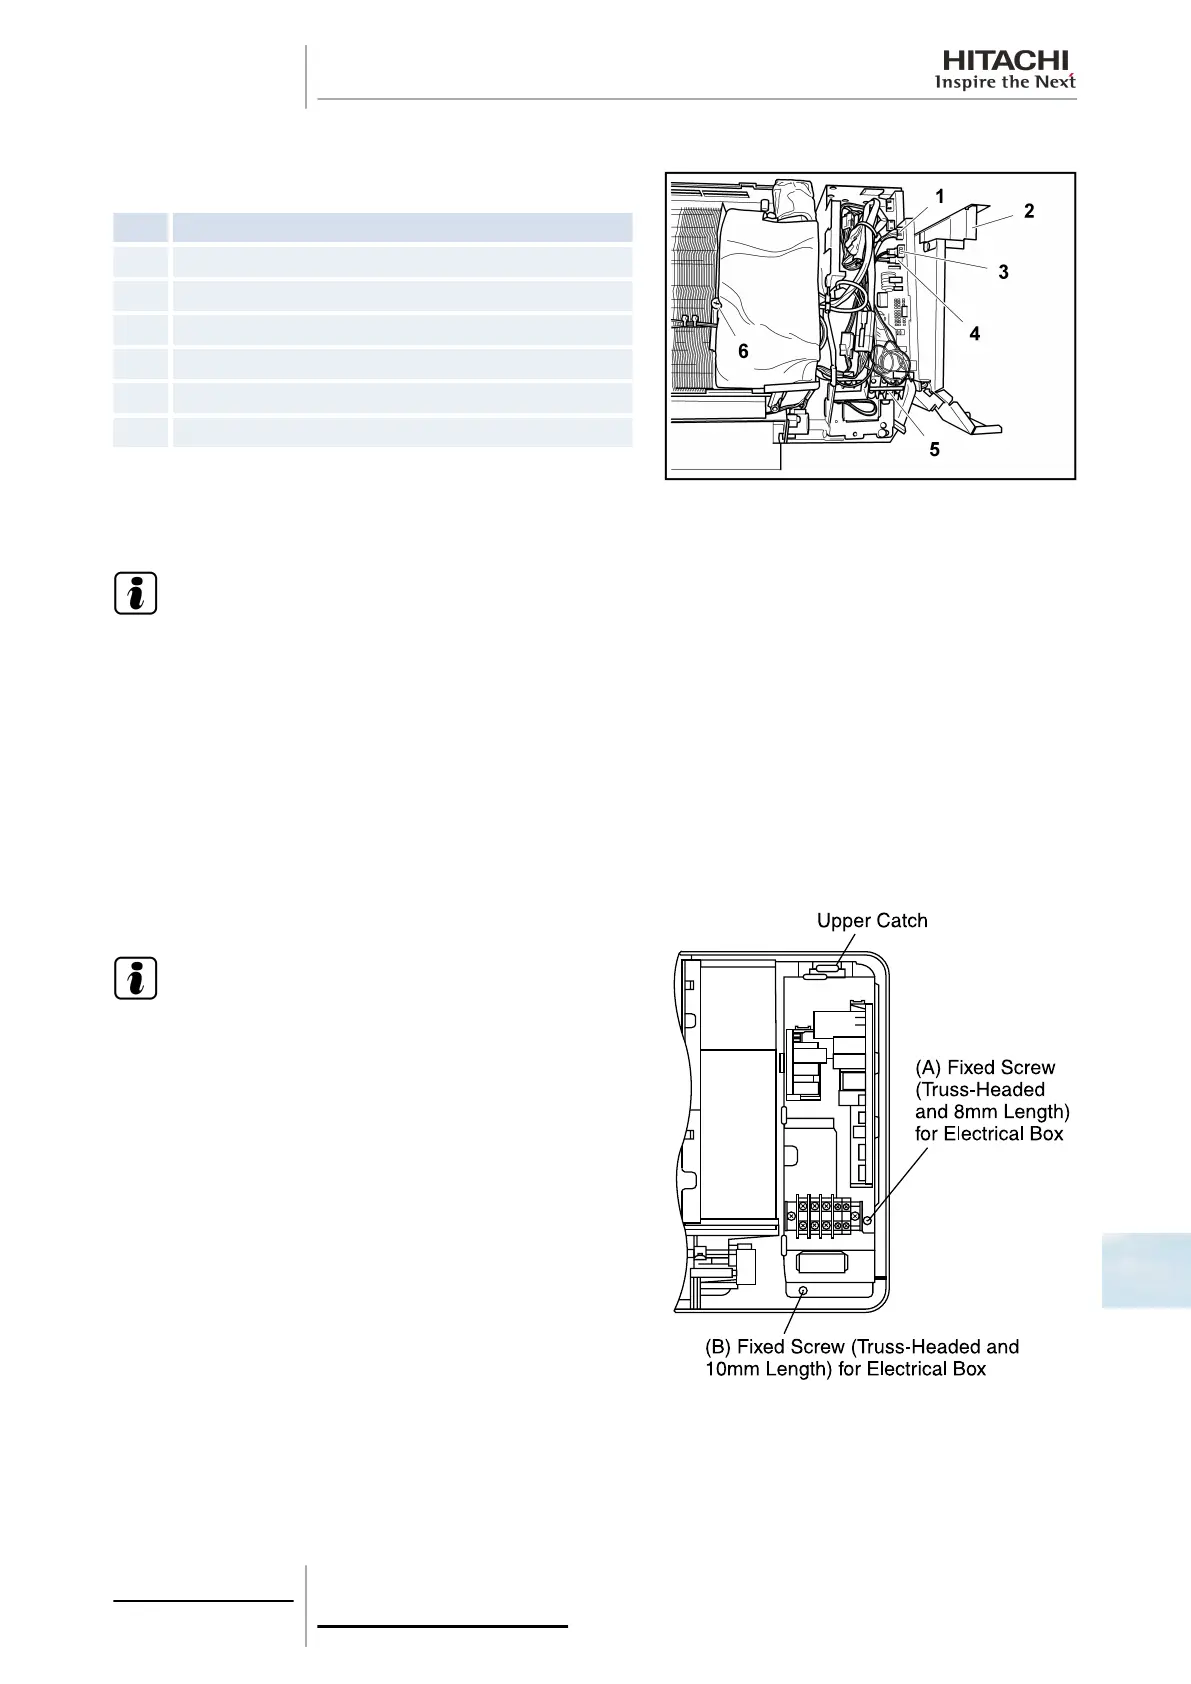
Nº Part
1 Connector for the AS (CN17) motor
2 Electrical box panel
3 Connector for the remote control (CN13).
4 Connector for the fan motor (CN29)
5 Terminal board
6 Earthing screw
Remove the front panel as indicated in Section Removal of the front panel, see on page 323 of this chapter.
N O T E
Remove the right-hand cover instead of the front panel on RPK-(2.5-4.0)FSN2M models.
Remove the set screw from the electrical box panel.
Remove the power supply wiring and wiring connection between the indoor and outdoor unit.
Remove the conductor wires of the valve, the fan motor, the liquid and gas piping thermistors, the AS motor (X2) and the
remote control from the connectors. Also remove the earthing wires (X2) from the heat exchanger.
Remove the discharge air thermistor from the support secured to the air outlet and suction air vertical louver.
Pull the electrical box forwards after removing the two screws securing it.
To fit the electrical box, position the box, connect the connectors and carry out the box removal procedure in reverse order.
RPK-(2.5-4.0)FSN2M:
N O T E
Check that the screw measurements are different on RPK-
(2.5-4.0)FSN2M models:
• A: M4x8.
• B: M4x10.
10 Servicing
329
SMGB0063 rev. 1 - 10/2010
10