– 4 –
INSTALLATION
UNPACKING
The mixer was inspected before leaving the factory. The carrier assumes full responsibility for safe delivery
upon acceptance of the shipment. Check for possible shipping damage immediately after receipt.
If the mixer is found to be damaged, complete the following steps:
1.Carriermustbenotiedwithinvebusinessdaysofreceipt.
2.Carrier’slocalterminalmustbenotiedimmediatelyupondiscovery(notethetime,date,andwho
wasspokento),andfollowupandconrmwithwrittenorelectroniccommunication.
3. All original packing materials must be kept for inspection purposes.
4.Themixercannothavebeenmoved,installed,ormodied.
5. Notify Hobart customer care at (800) 333-7447.
LOCATION
Priortoinstallation,testtheelectricalservicetoassurethatitagreeswiththespecicationsonthemachine
data plate.
Place the mixer in its operating location. There should be adequate space around the mixer for the user to
operate the controls and to install and remove bowls. The area above and to the rear of the mixer should
allow the top and back covers to be removed for routine maintenance and servicing.
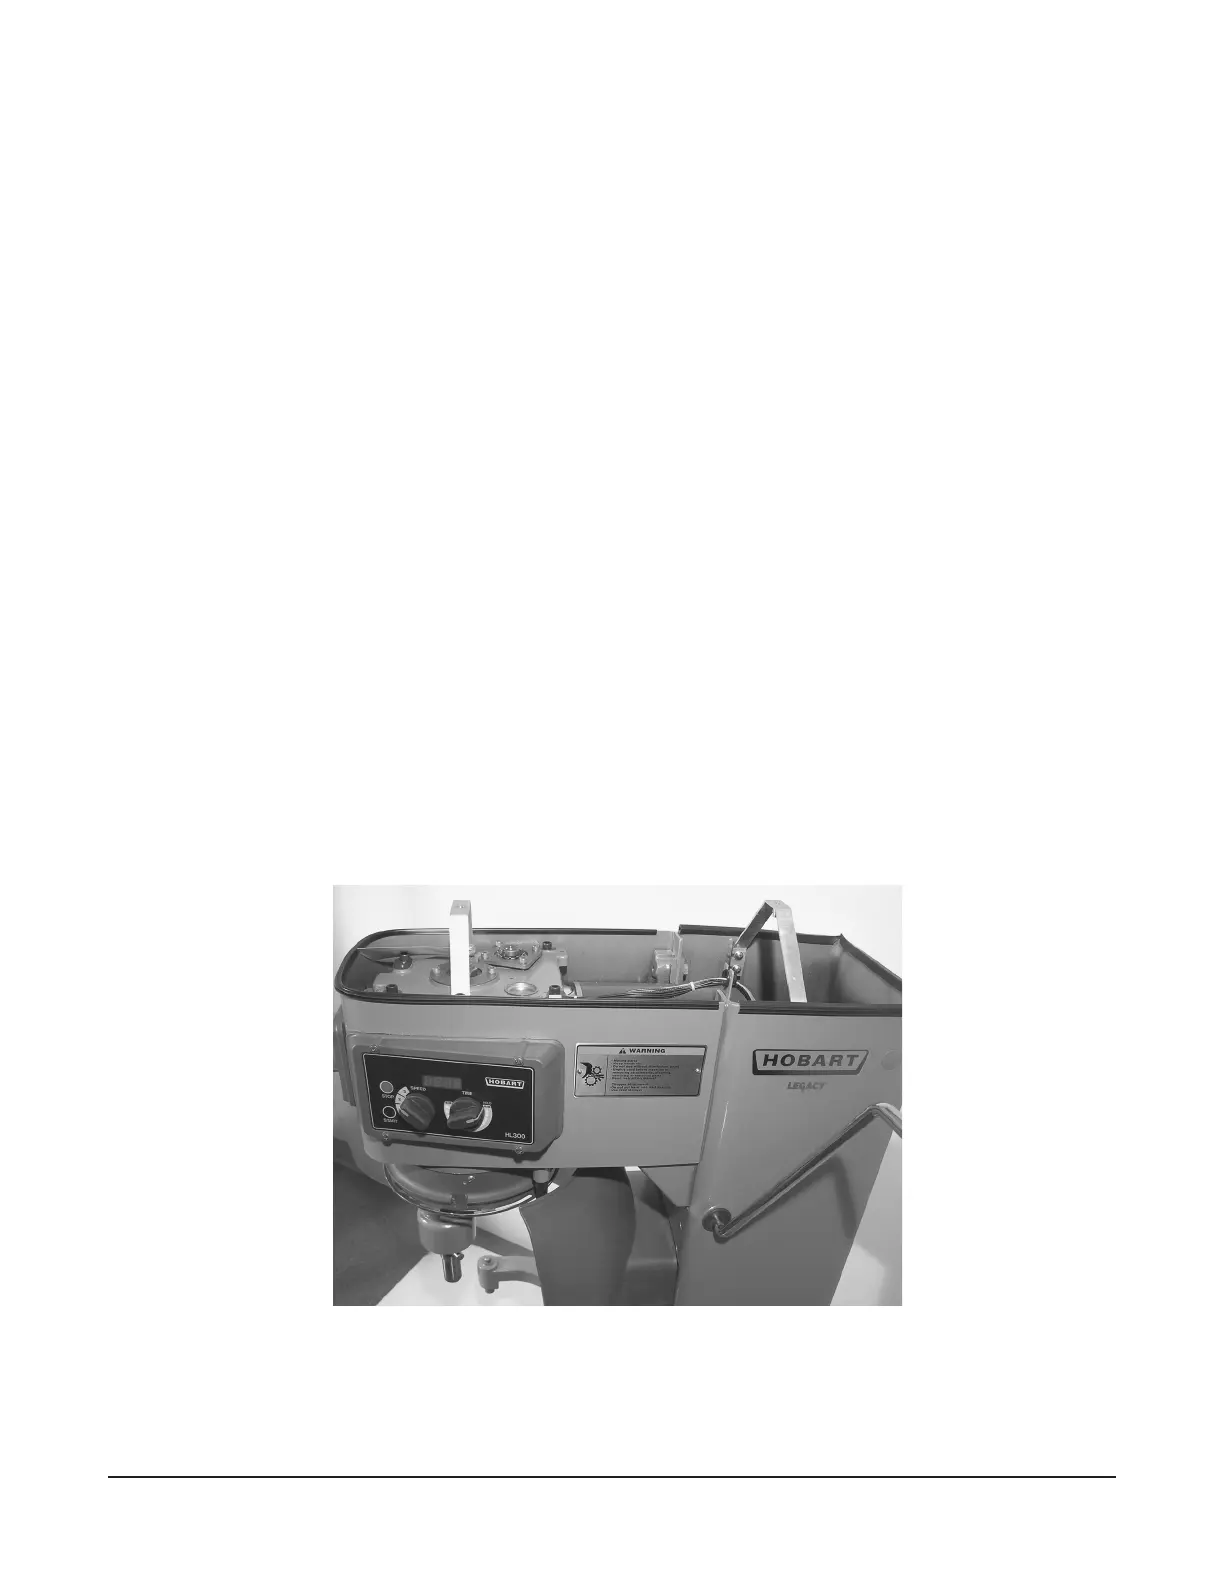
Once in position, the mixer must be leveled:
• Remove the two top cover screws and the top cover.
• Place a level on the top rim (Fig. 1). Slide shims under the base contact surface of the mixer as
required to level it front-to-back and side-to-side.
• Do not replace the top cover until installation is completed.
Lubrication
This mixer is shipped with grease in the transmission. Refer to Lubrication on page 14 for applicable
lubrication procedures.
Fig. 1
 Loading...