21
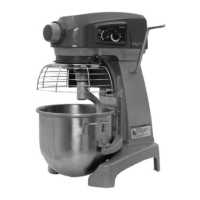
6.12 REMOVE AND CLEANING THE WIRE GUARD CAGE.
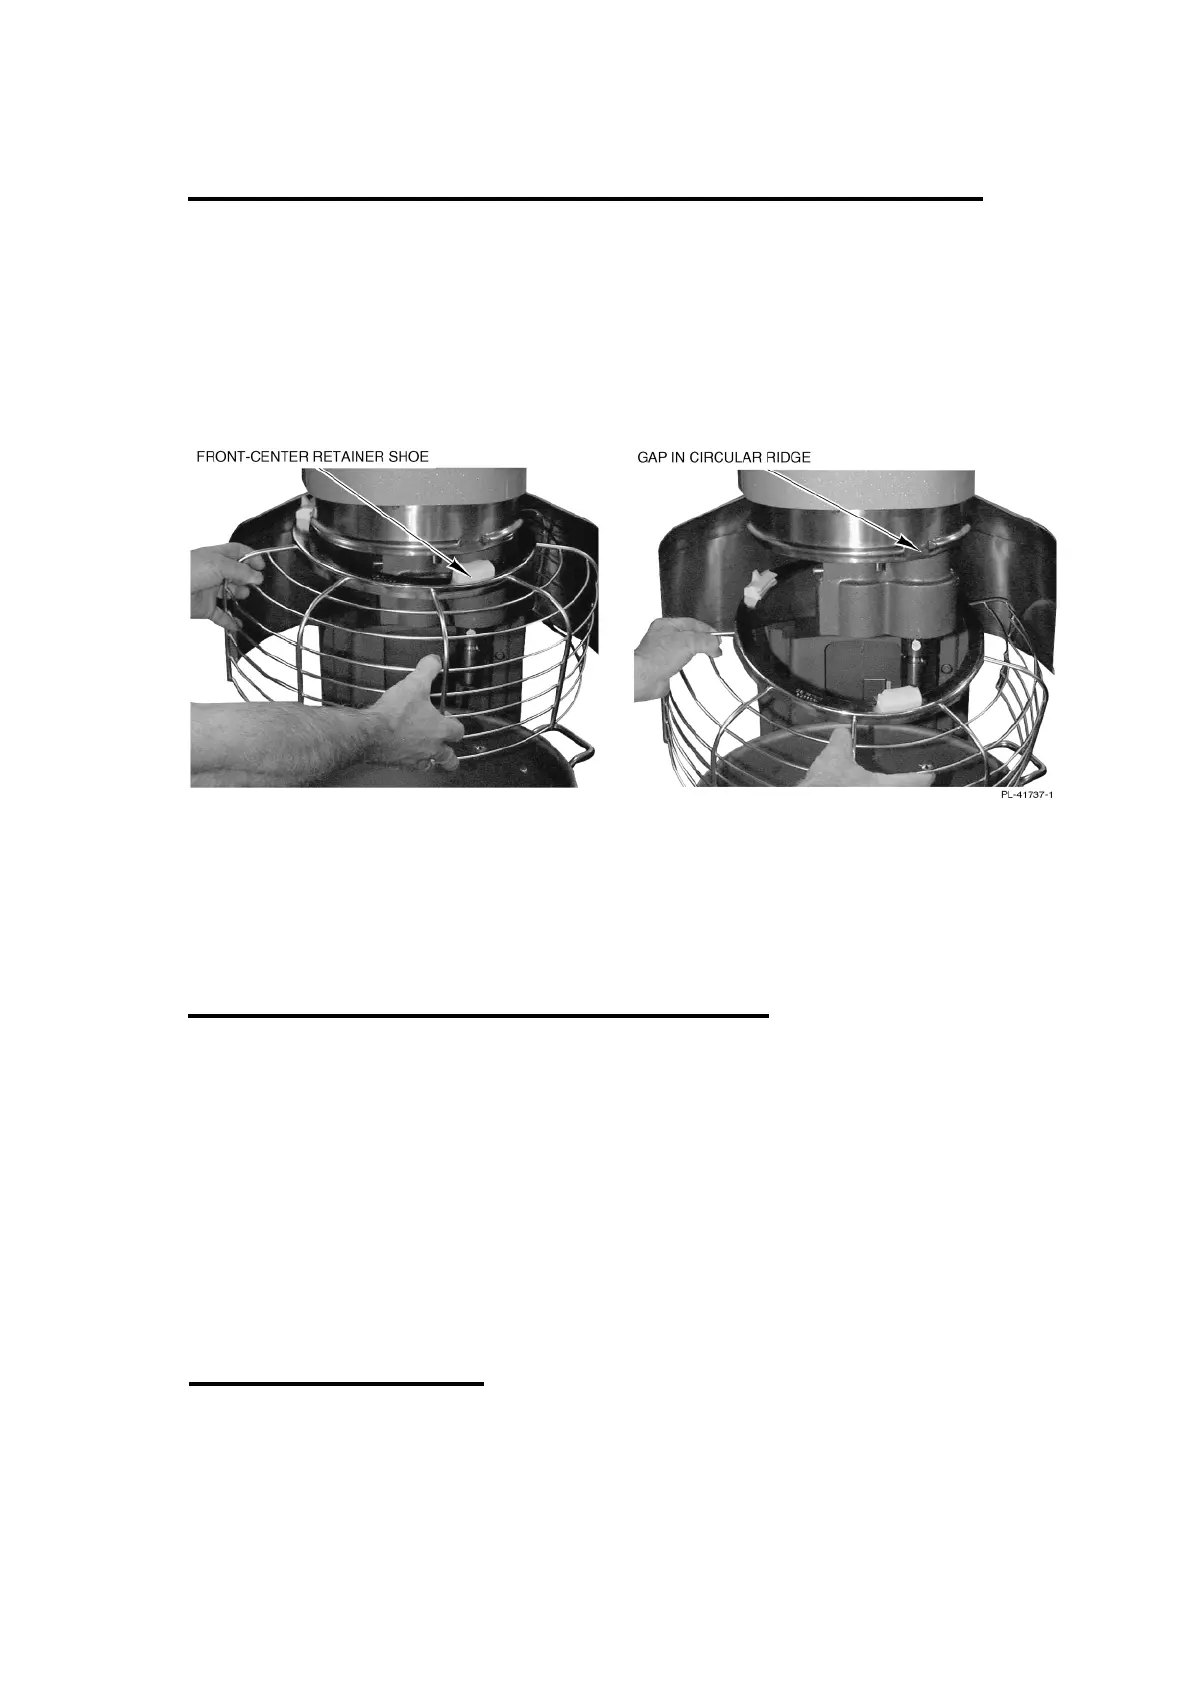
1. Lower the bowl. Remove the agitator and bowl.
2. While holding the wire cage securely with both hands, rotate it to your left until the
front-centre retainer shoe reaches the gap in the circular ridge of the planetary
drip cup.
3. Lower the front of the wire cage and move the wire cage slightly to the rear so the
rear retainer shoes clear the ridge of the drip cup. The wire cage can now be
removed.
4. Wash the wire cage in a sink, rinse with clear water, and dry with a clean cloth.
5. The stainless steel splashguard can be wiped off and/or washed with a cloth or
sponge using warm, soapy water. Rinse with clear water and dry with a clean
cloth.
Figure 7.
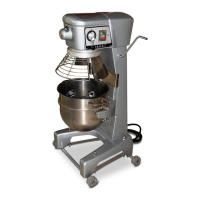
6.13 RE-FITTING THE WIRE GUARD CAGE.
1. Position the ring of the wire cage so the front-centre retainer shoe is positioned
below the gap in the circular ridge of the planetary drip cup.
2. Position the grooves so the rear retainer shoes straddle the circular ridge on the
planetary drip cup.
3. Lift the front of the wire cage so the front-centre retainer shoe passes up through
the gap in the circular ridge on the planetary drip cup.
4. Rotate the wire cage to your right until all three-retainer shoes straddle the ridge
on the drip cup.
5. Continue rotating the wire cage so the opening is to the front of the mixer (to install
the agitators) or until it stops at the front-centre position.
7.0 MIXING CAPACITY.
MIXER CAPACITY
The Mixer Capacity Chart is a guide for controlling the batch sizes in your formulations.
The capacities listed take into account the amount of product, which can be contained in
the various sized bowls. The listed capacities are the maximum recommended batch
sizes. If the combined weight of the bowl and ingredients is greater than 25kg a bowl
 Loading...