14 TF 50 E | Version 1.05
Settings
Adjusting the spindle fence
Use of the fence is required.
Before starting each new application, check whether the
safety devices have been correctly installed and
adjusted.
Prior to each new work step, every pressure piece must
be adjusted in relation to the fence.
Make sure that all screws are tightened securely before
you begin milling.
Using the table rings
The table rings must be used to reduce the distance
between the table and the spindle to a minimum. Before
switching on the machine, carefully check that the rings
are positioned correctly.
To ensure that the workpiece is guided smoothly, choose
a ring suitable for the cutter and the position of the
workpiece.
The table ring must fit as tightly as possible around the
cutter.
9 Settings
Setting the speed
The speed (item 7, Fig. 4) of the machine can be
adjusted to 6 different settings.
Determine the ideal speed by making a test cut in a
piece of scrap wood.
Selecting the correct speed increases the service life of
the cutter and also improves the finish quality of the
workpiece.
Adjusting the fence
The stop must be adjusted to the size of the workpiece
and the milling tool.
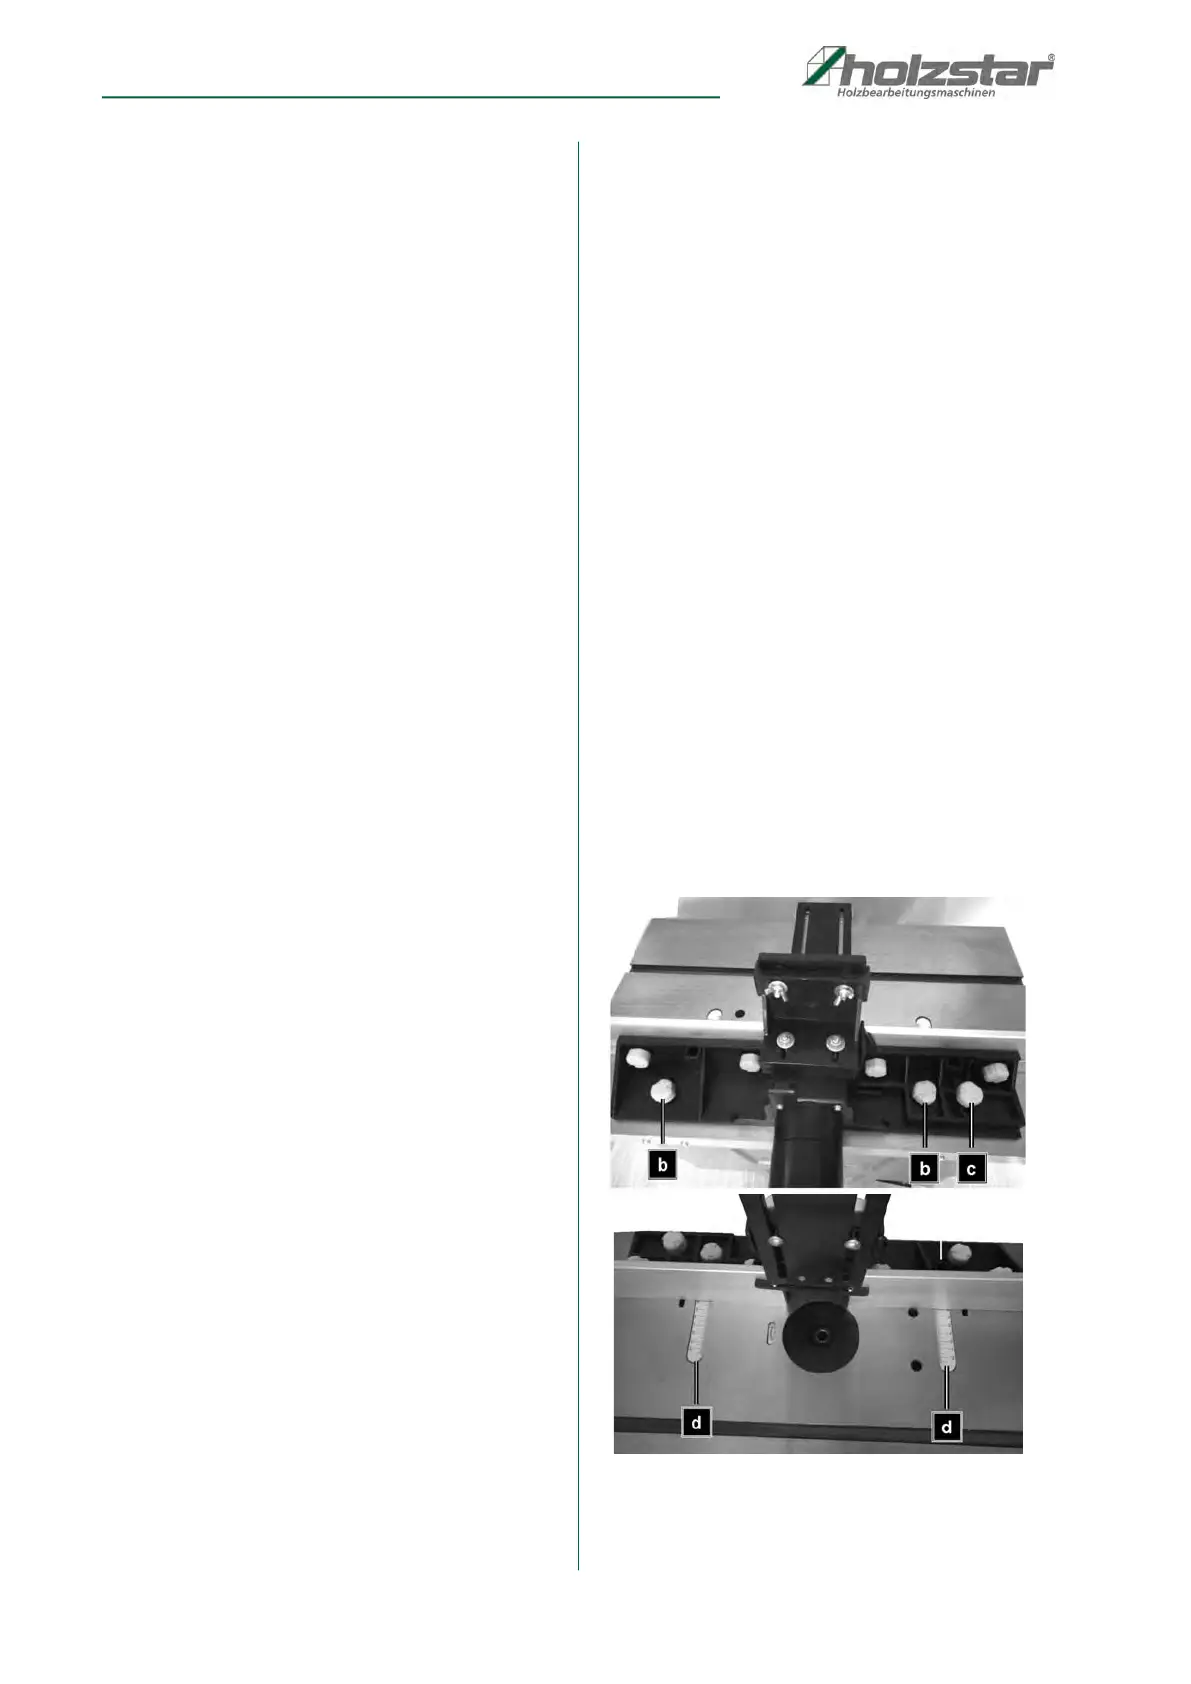
Loosen the two screws with plastic caps (item b, Fig. 17)
on the back of the fence.
The fences and pressure devices should be adjusted in
such a way that they ensure that the workpiece is guided
safely into and out of the machine.
Step 1: Slide the fence to the required position. Use the
scale (item d, Fig. 17) on the table to determine
the distance between the fence and the centre of
the cutter.
Step 2: Tighten the two screws with plastic heads
(item b, Fig. 17) on the back to secure the fence
in this position.
Fig. 17: Adjusting the fence