Operating the table router
TF 50 E | Version 1.05 15
Adjusting the fence for edge milling
When milling the edges of workpieces, the workpiece will
be narrower at the output end than the input end.
The stop rail must be adapted to the thinner material to
ensure that the workpiece is guided smoothly and cut
with precision. To do this, loosen the plastic screws (item
b and item c, Fig. 17), move the fence forward by the
dimension of the removed material and tighten the
screws again.
Adjusting the clamping brackets
The clamping brackets (item 3 and item 10, Fig. 4) are
designed to hold the workpiece in position and prevent
kickbacks.
Step 1: Lower the cutter to its lowest position.
Step 2: Insert the workpiece you wish to machine and
press the clamping bracket onto the workpiece
with slight force.
Step 3: Remove the workpiece.
Step 4: Adjust the cutter to the required height
(see: Setting the machining depth).
Adjusting the angle fence
The angle fence (item 2, Fig. 4) can be moved
horizontally along the table. It is used to make edge and
mitre cuts.
To adjust the angle fence to the desired angle, loosen
the locking knob and turn the fence to the desired angle.
Re-tighten the locking knob on the angle fence.
To make sure the settings are correct, make a test cut in
a piece of scrap wood.
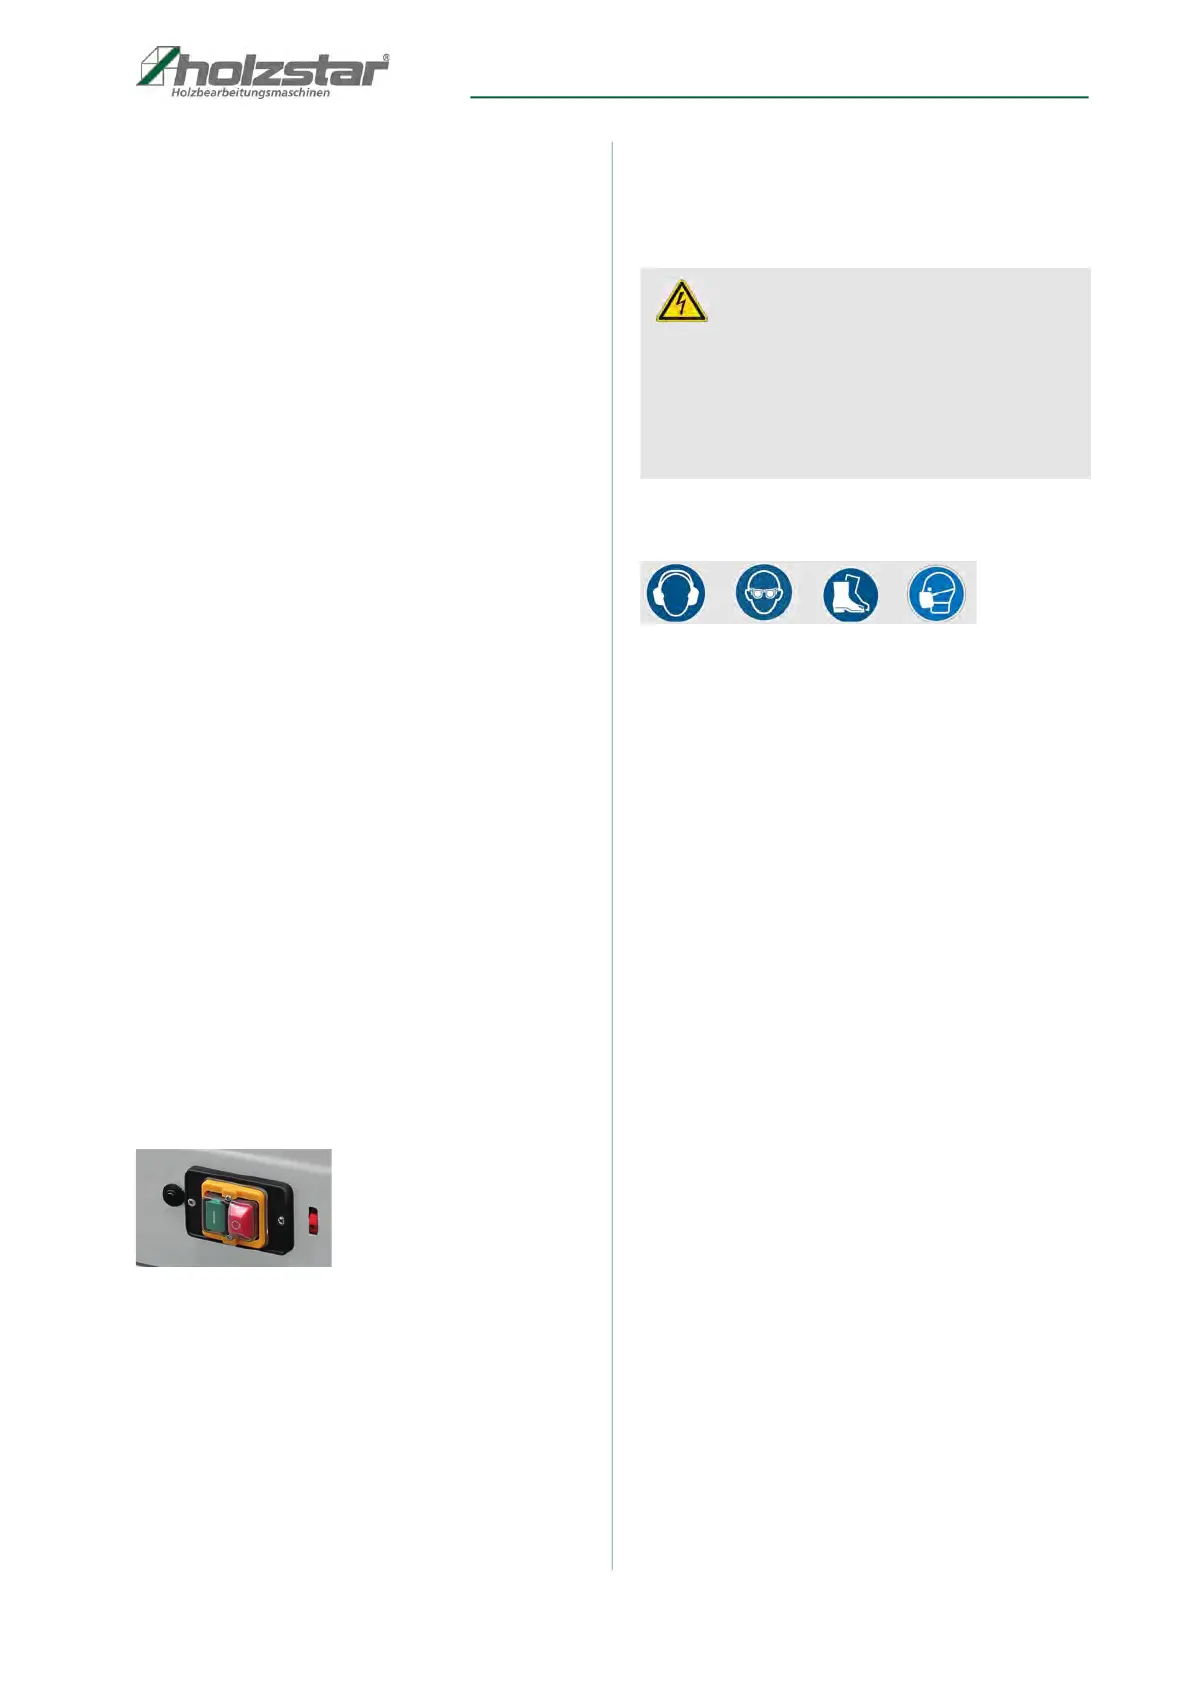
Switching on/off
Press the on/off button on the device to switch the device
on and off.
0 - Switch off
I - Switch on
10 Operating the table router
Always observe the safety instructions and comply with
the relevant regulations.
The following personal protective equipment must
be worn while working on the device:
Chapter 2.4 "Personal protective equipment" includes an
explanation of the pictograms.
Working procedure
Step 1: Insert a suitable cutter into the tool holder and
secure by tightening the nut (item 3, Fig. 16) on
the tool holder.
Step 2: Adjust the speed, workpiece fence and angle
fence.
Step 3: Make sure the fence on the workpiece feeder is
adjusted to support the uncut material. Adjust the
fence at the output point to support the
workpiece you are cutting while compensating
for the material being removed.
Step 4: Switch on the extraction system and the table
router.
Make sure that the workpiece is pressed firmly
against the fence.
Step 5: Gently slide the workpiece from right to left
against the rotational direction of the tool.
Maintain a constant feed rate. Pushing the
workpiece too quickly will decrease the operating
speed of the motor excessively and may result in
a poor quality cut. If could also damage the
milling cutter or the motor.
Pushing too slowly could cause the workpiece to
burn. When making large cuts in particularly hard
wood, you may have to perform more than one
work step to remove all the necessary material.
The correct feed speed depends on the cutter
size, the type of workpiece material and the
depth of cut. Practice first with a piece of scrap
material to ascertain the correct feed rate and
amount of material to be removed.
Step 6: Switch off the machine.
DANGER!
Risk of death from electric shock!
There is a danger of life in case of contact with cur-
rent running through components. Switched on elec-
trical components can execute uncontrolled
movements and lead to severe injuries.
- Disconnect the mains plug before you start setting
the machine.