16 TKS Serie | Version 1.04
Commissioning
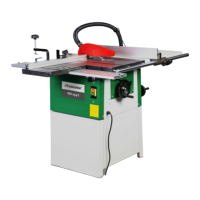
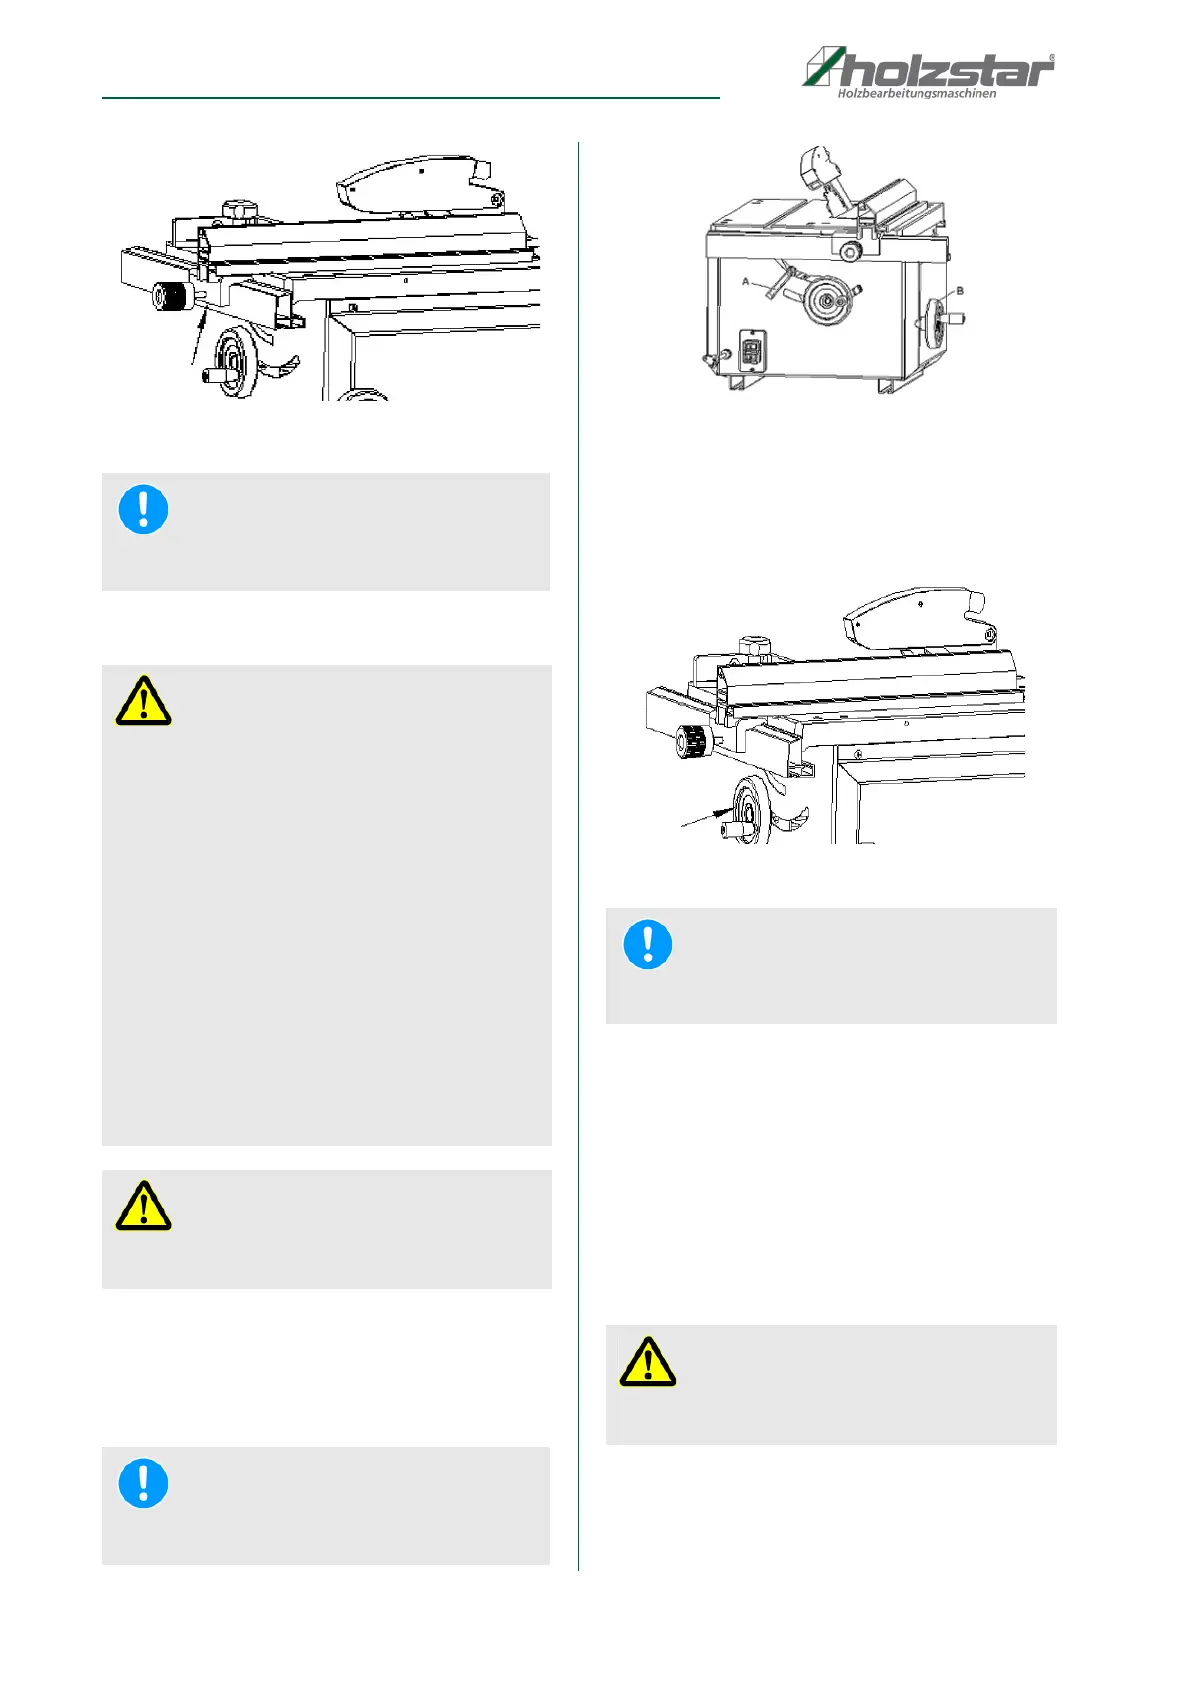
Fig. 26: Adjusting the longitudinal stop TKS 200
12 Commissioning
Inclined adjustment of the saw blade TKS 200 / TKS
254 PRO
Loosen the clamping lever (A, Fig.27) and turn the
handwheel (B, Fig.27) to adjust the angle of the saw
blade. Tighten the clamping lever afterwards.
Fig. 27: Inclination of the saw blade TKS 200 / TKS 254 PRO
Height adjustment of the saw blade TKS 200 / TKS
254 E / PRO
The height of the saw blade can be adjusted by means
of the handwheel (Fig.28).
Fig. 28: Height adjustment of the saw blade TKS 200 / TKS 254 E / PRO
Longitudinal sections
For parallel cuts, insert the longitudinal stop. at
For cutting jobs over 120 mm, use the stop ruler with the
high stop side and with cutting widths less than 120 mm
with the low stop side. Guide the workpiece with the
enclosed push stick.
Cross sections
For transverse and angular cuts use the sliding carriage.
13 Work instructions
NOTE!
Check regularly that the longitudinal stop is parallel to
the saw blade to ensure a perfect cut
ATTENTION!
Observe the safety instructions!
The machine may only be commissioned with fully
assembled protective and safety equipment. Before
commissioning, connect the machine to an exhaust
system. The extraction hood must be lowered onto
the workpiece during each work step. For hidden
cuts, remove the suction hood. After this operation
mount the exhaust hood immediately. The machine
must be adjusted so that the tip of the highest
sawtooth is just a little higher than the workpiece.
Before switching on the machine, all protective and
safety equipment must be installed correctly. The saw
blade must be able to move freely. Inspect the
workpiece for foreign objects (nails, screws, etc.).
Remove all foreign objects. Before switching on the
main switch, make sure that the saw blade is
mounted correctly and the moving parts are smooth.
WARNING!
If you have any doubt, have the machine set up by a
specialist. It's too dangerous to work on guesses.
NOTE!
The max. Height adjustment of angle work of 30 ° or
more, must be reduced by 10 mm.
NOTE!
For safe and clean working, select a small saw blade
projection.
ATTENTION! RISK OF ENTANGLE-
MENT!
When working with the machine, gloves must not be
worn!
 Loading...