Stack’d Series HOMEGRID Technical
Page 28 Chapter 6: Installation
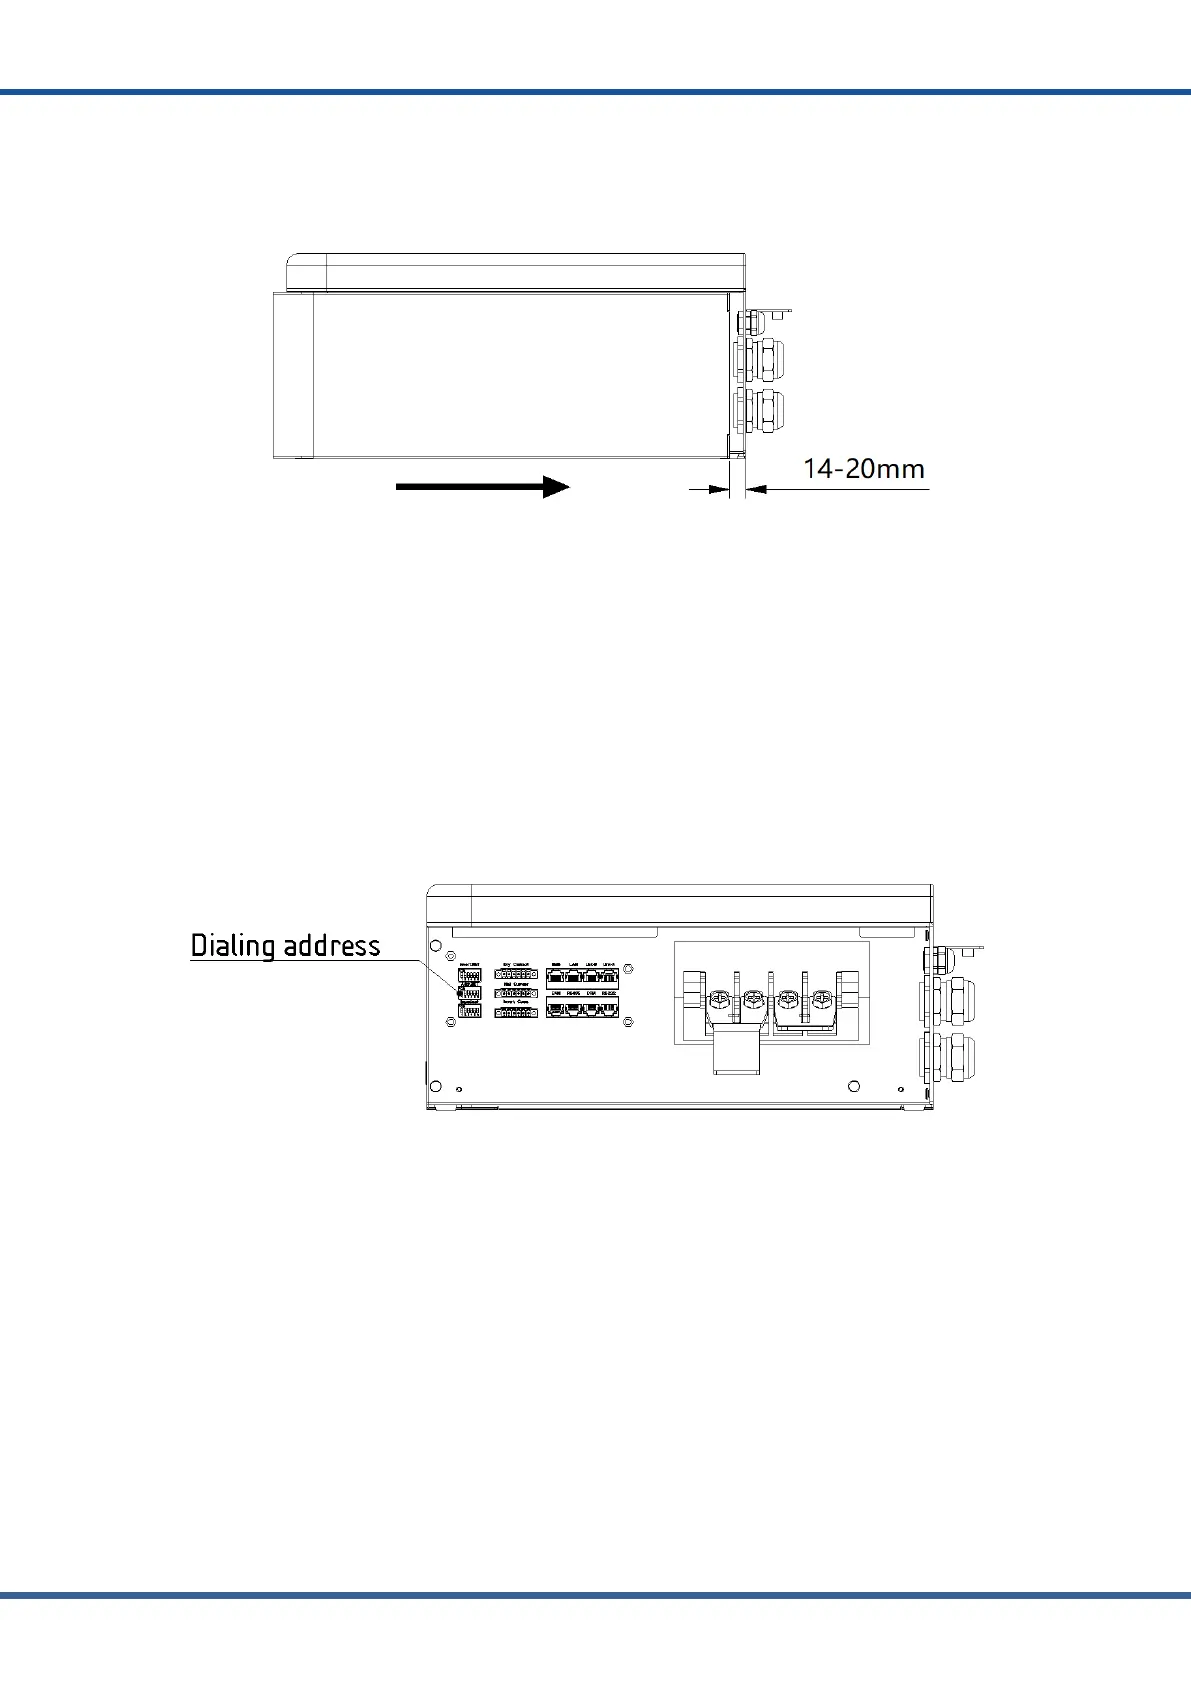
(8)Install the protective side plate and fix the screws, the right side of the main control
board shall be 14~20mm away from the side of the main control box, and put the side plate to
the right against the box until it is closed. Finally, completing the installation of the main
control side plate.
NOTE:
●Before starting the system, the operator should strictly check the connection terminal to ensure that the
terminal is firmly connected, check whether the battery address is set correctly, and whether the inverter
switches are in the off state. Do a good job in safety protection and turn on the inverter in the following order,
When installing the system, the battery module bottom insulation skin remove The lower connector of the battery
module is covered by a PC piece, which should be torn off before installation;
B. Parallel connection
Check all connection terminals and communication lines carefully.
(2) The main control address shall be set to "1" for communication between the main control
and the inverter (a host system can be configured with up to 15 slave systems). Turn off the
main control switch before connecting the inverter
(3) Connect the parallel port of the slave to the communication cable of the host, connect the
positive pole of the slave to the positive pole of the host, connect the negative pole of the slave
to the negative pole of the host, connect the parallel cable of the slave to the host, and finally
connect the communication cable of the host to the frequency converter. Battery stack units
should be installed a minimum of 6” apart.