4 Assembly
Linear actuators MC250 • MC253 • MC500 • MC503
12 Version 2.1 - March 2011 Operating Manual
4 Assembly
Prior to installation of the linear actuator:
4.1 Check the scope of supply on page 12
4.2 Prepare for installation on page 12
Installation of the linear actuator includes the following tasks:
4.3 Mount linear actuator on valve on page 13
4.4 Fit/remove cover on page 14
4.5 Connect the electrics on page 15
4.1 Check the scope of supply
1 Check the packaging for damage.
2 Dispose of the packaging in an environmentally friendly manner.
3 Check against the delivery note that the delivery is complete.
4 Report any missing or damaged products to the manufacturer.
4.2 Prepare for installation
Damage due to valve not being fitted!
If the linear actuator is operated without valve, then the spindle nut may fall out
due to the missing stop.
• Therefore, only operate the linear actuator with a valve fitted.
1 Ensure that there is space of approx.200 mm above the cover at the installation
site.
2 Check the working environment prior to fitting the linear actuator and
commissioning:
3 Ensure that the valve is fitted correctly. See Valve Installation Instructions for
further information.
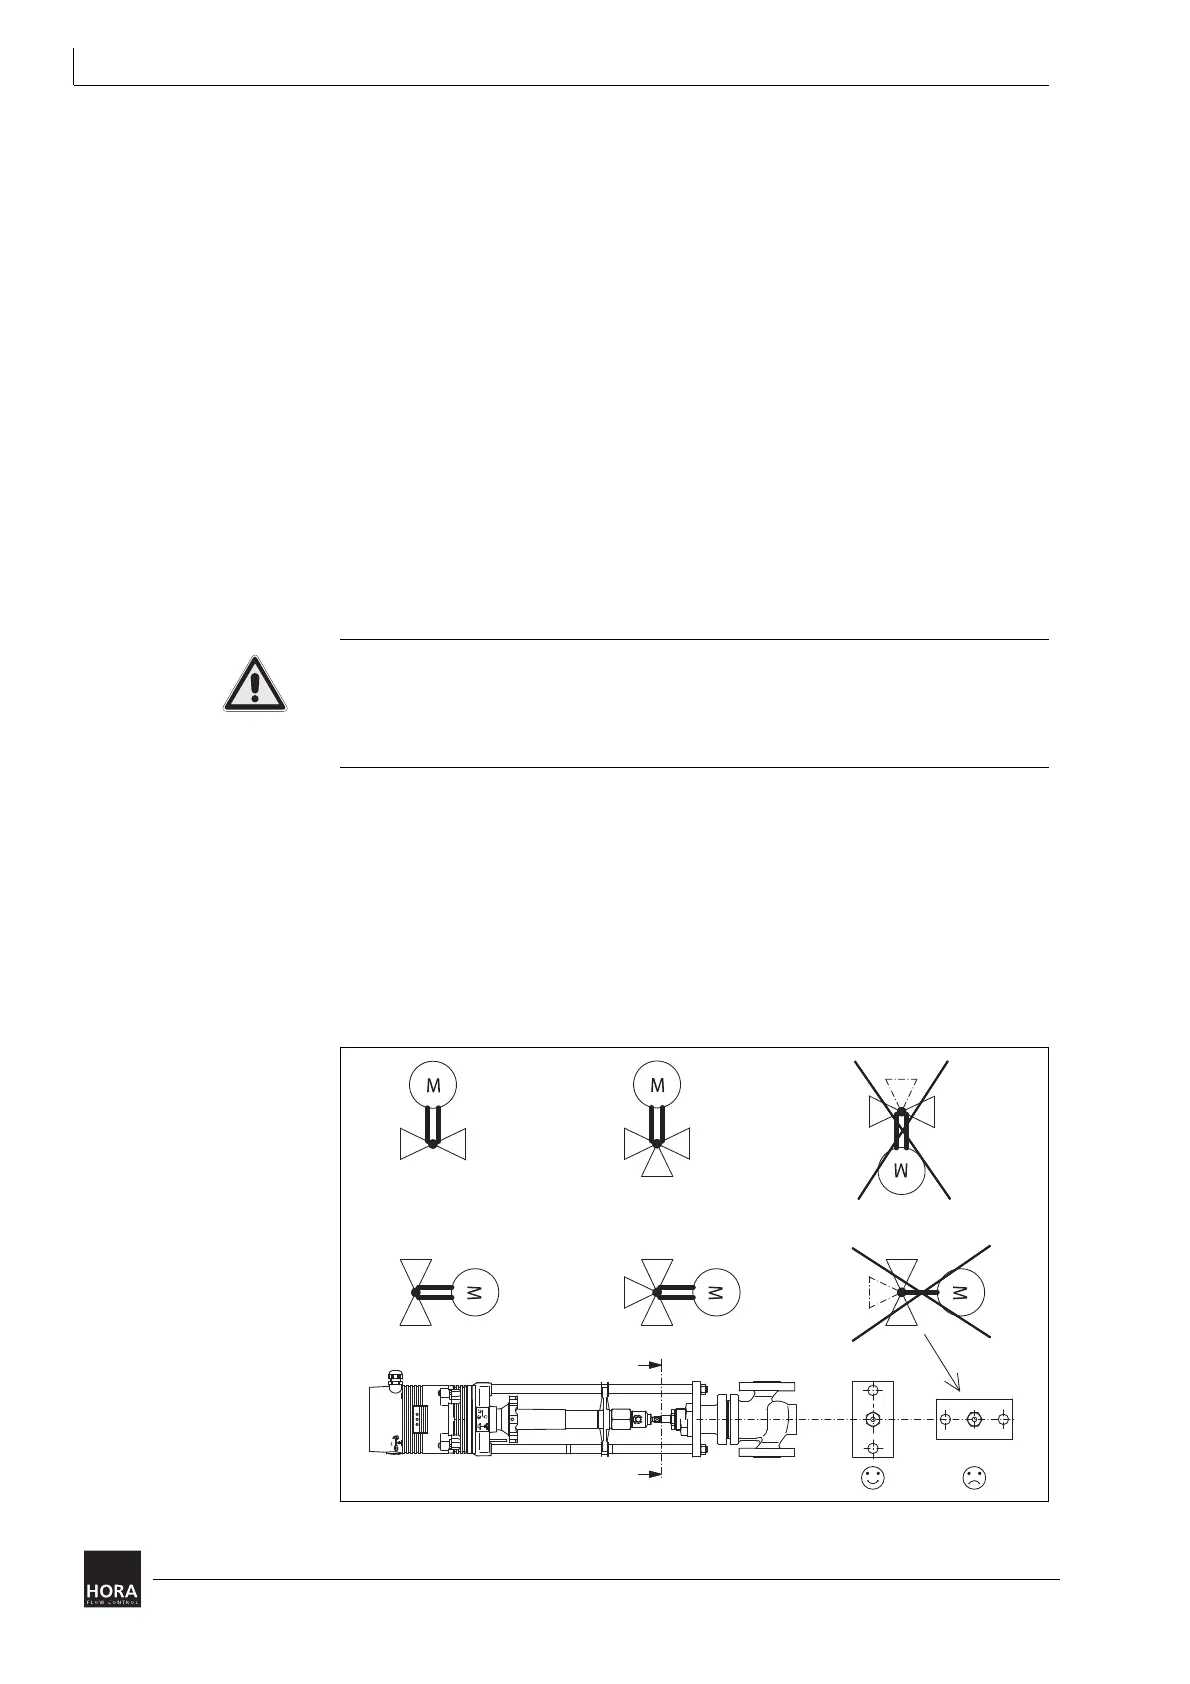
4 Determine the installation position of the linear actuator. Linear actuators may
not be installed in a suspended position.
Diagram 5 Installation positions for linear actuator and valve

 Loading...