Technical Service Manual M9 Transfer Stretcher (M999-29, Version 11, June 2021) 27
HEAD END ELEVATOR
Summary:
This service instruction outlines the procedure to replace the head end elevator.
Tools Required:
• 4mm hex key
• 5mm hex key
• 8mm hex key
• #2 square drive screwdriver
• torque wrench
• 13mm spanner
• side cutters
• supports
• mallet
Parts Required:
• 1x head end elevator
• 2x elevator plugs
• 3x standard cable tie
• 4x push in cable ties
• grease - Shell Cassida Grease EPS 2 or equivalent
• adhesive - Permabond 791 or equivalent (superglue)
• threadlock - Loctite 243 or equivalent
Location:
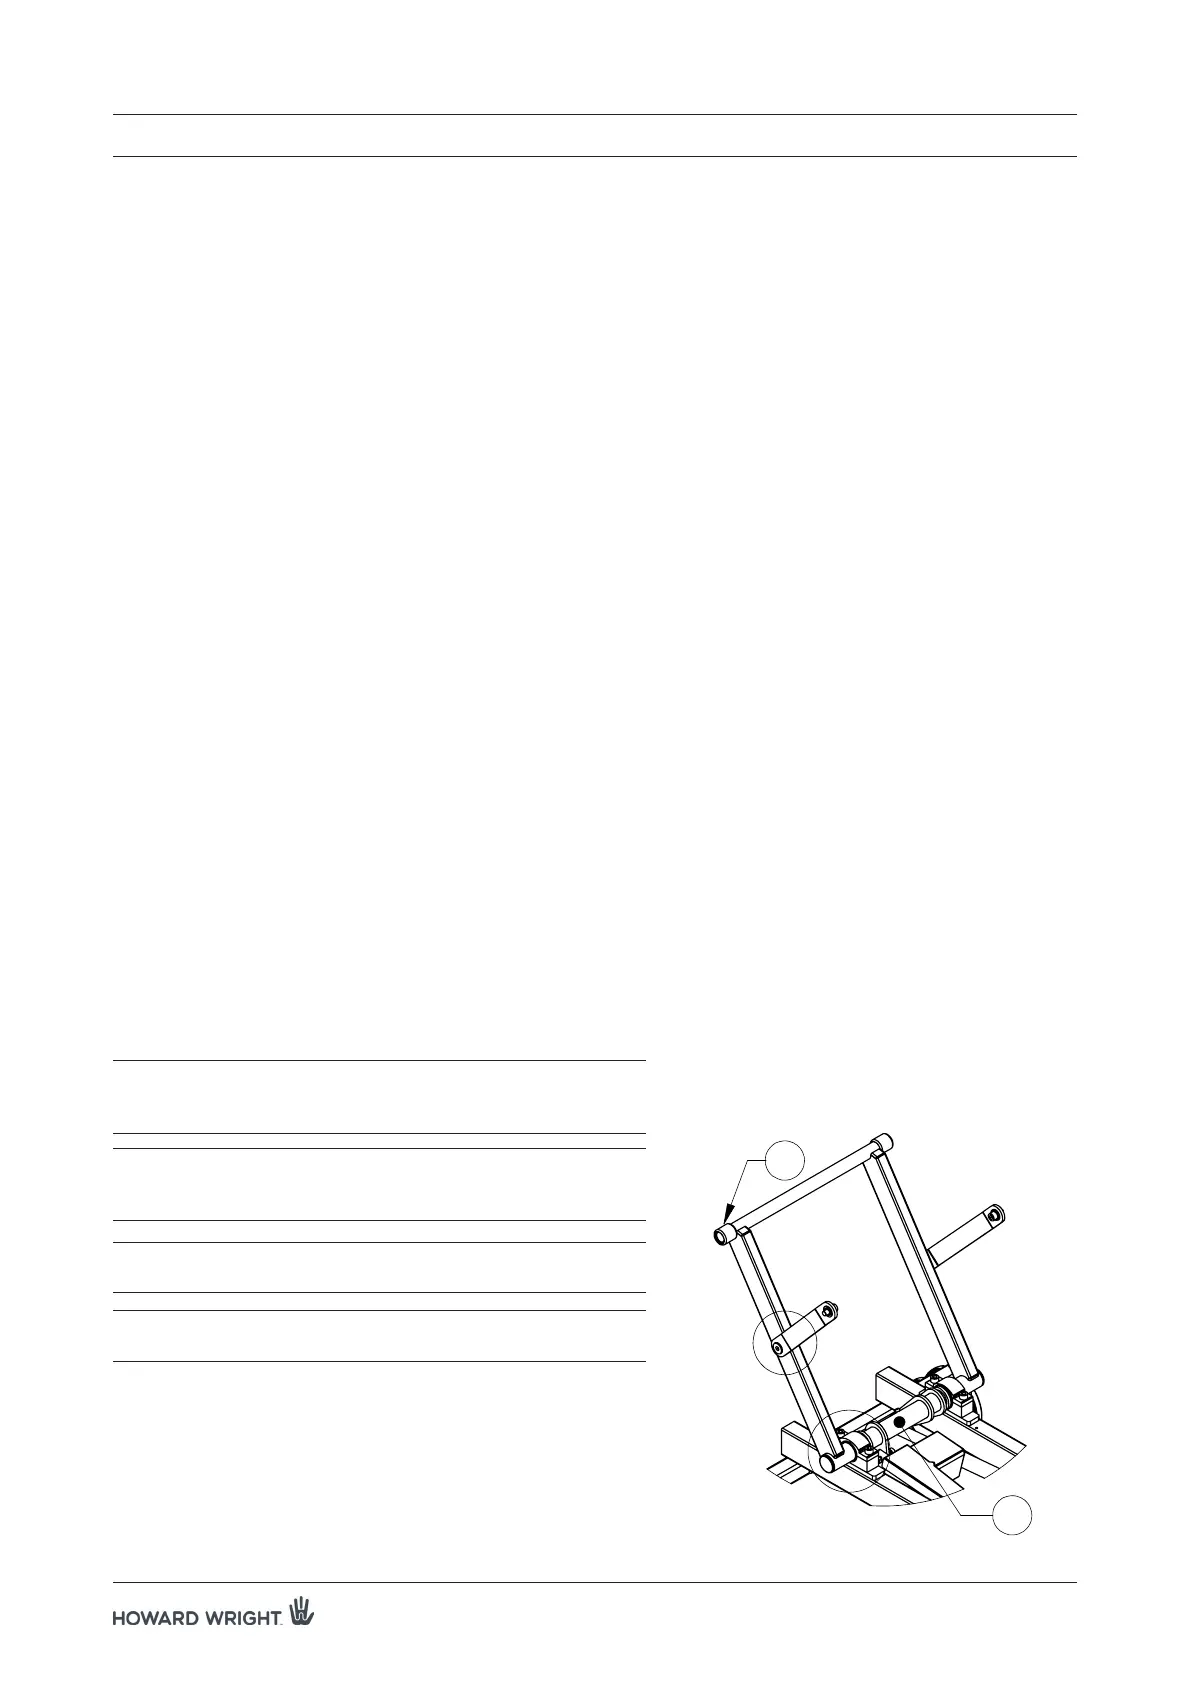
The head end elevator is located at the head end (HE) of the stretcher, connecting the deck to the bogie (see
Figure 11).
WARNING: Once both the stabiliser bars are disconnected,
the deck is free to move horizontally and could
slip out of the channels.
WARNING: When re-securing the cables to the elevator, do
not overtighten. Allow some slack around the
pivots and moving points.
WARNING: Do not attempt to perform any servicing unless
the deck is fully supported.
CAUTION: When reattaching the earth cable, care should be
taken to ensure correct orientation.
Procedure:
1. Raise the deck to the maximum height position. Ensure the
deck is flat and apply castor brakes.
2. Remove the plastic bogie cover and set aside.
7. SERVICE INSTRUCTIONS
B
A
E
J
Figure 11. Head end elevator



 To Next Page