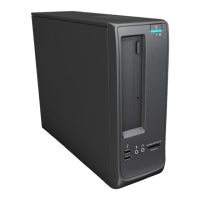
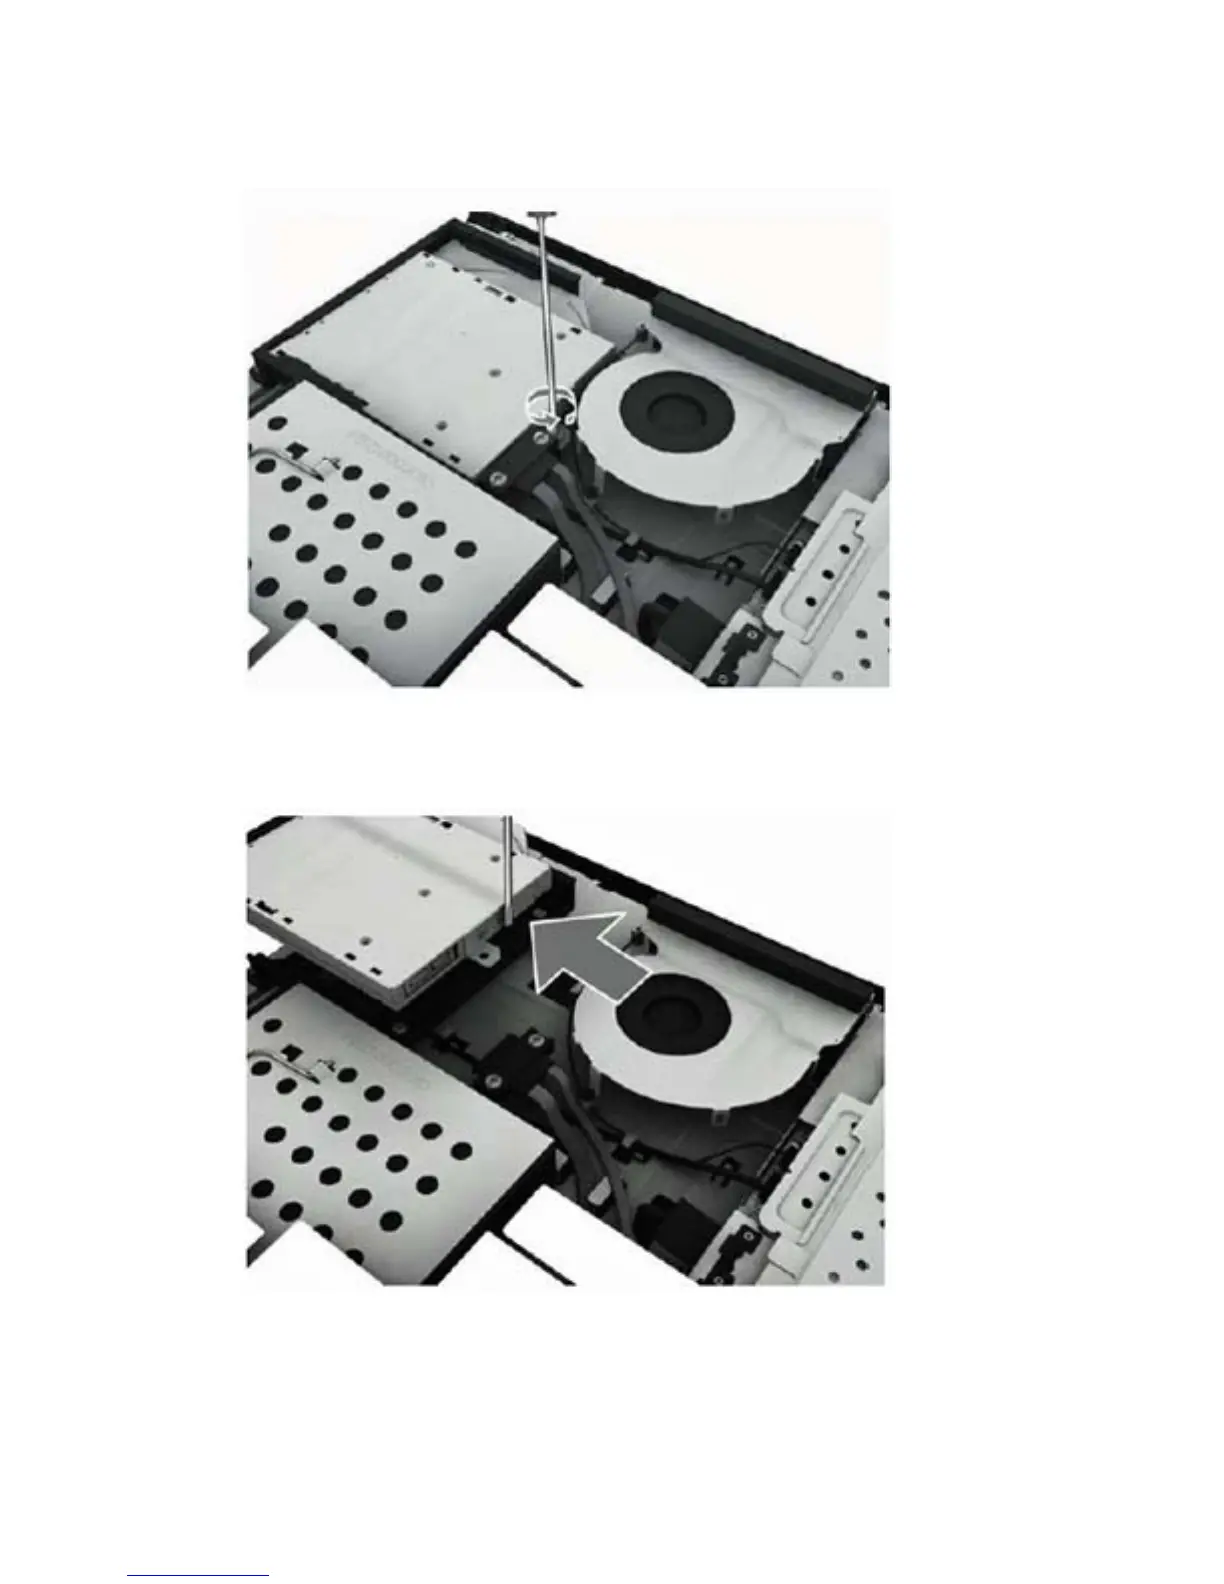
3. Loosen the captive screw that secures the optical drive to the computer.
Figure 6-9 Loosening the drive screw
4. Insert a tool into the slot to push the drive out of the bay, and then slide the drive out of the
computer.
Figure 6-10 Removing the optical drive
To install an optical drive, reverse the removal procedures.
34 Chapter 6 Removal and Replacement Procedures All-in One (AIO) Chassis