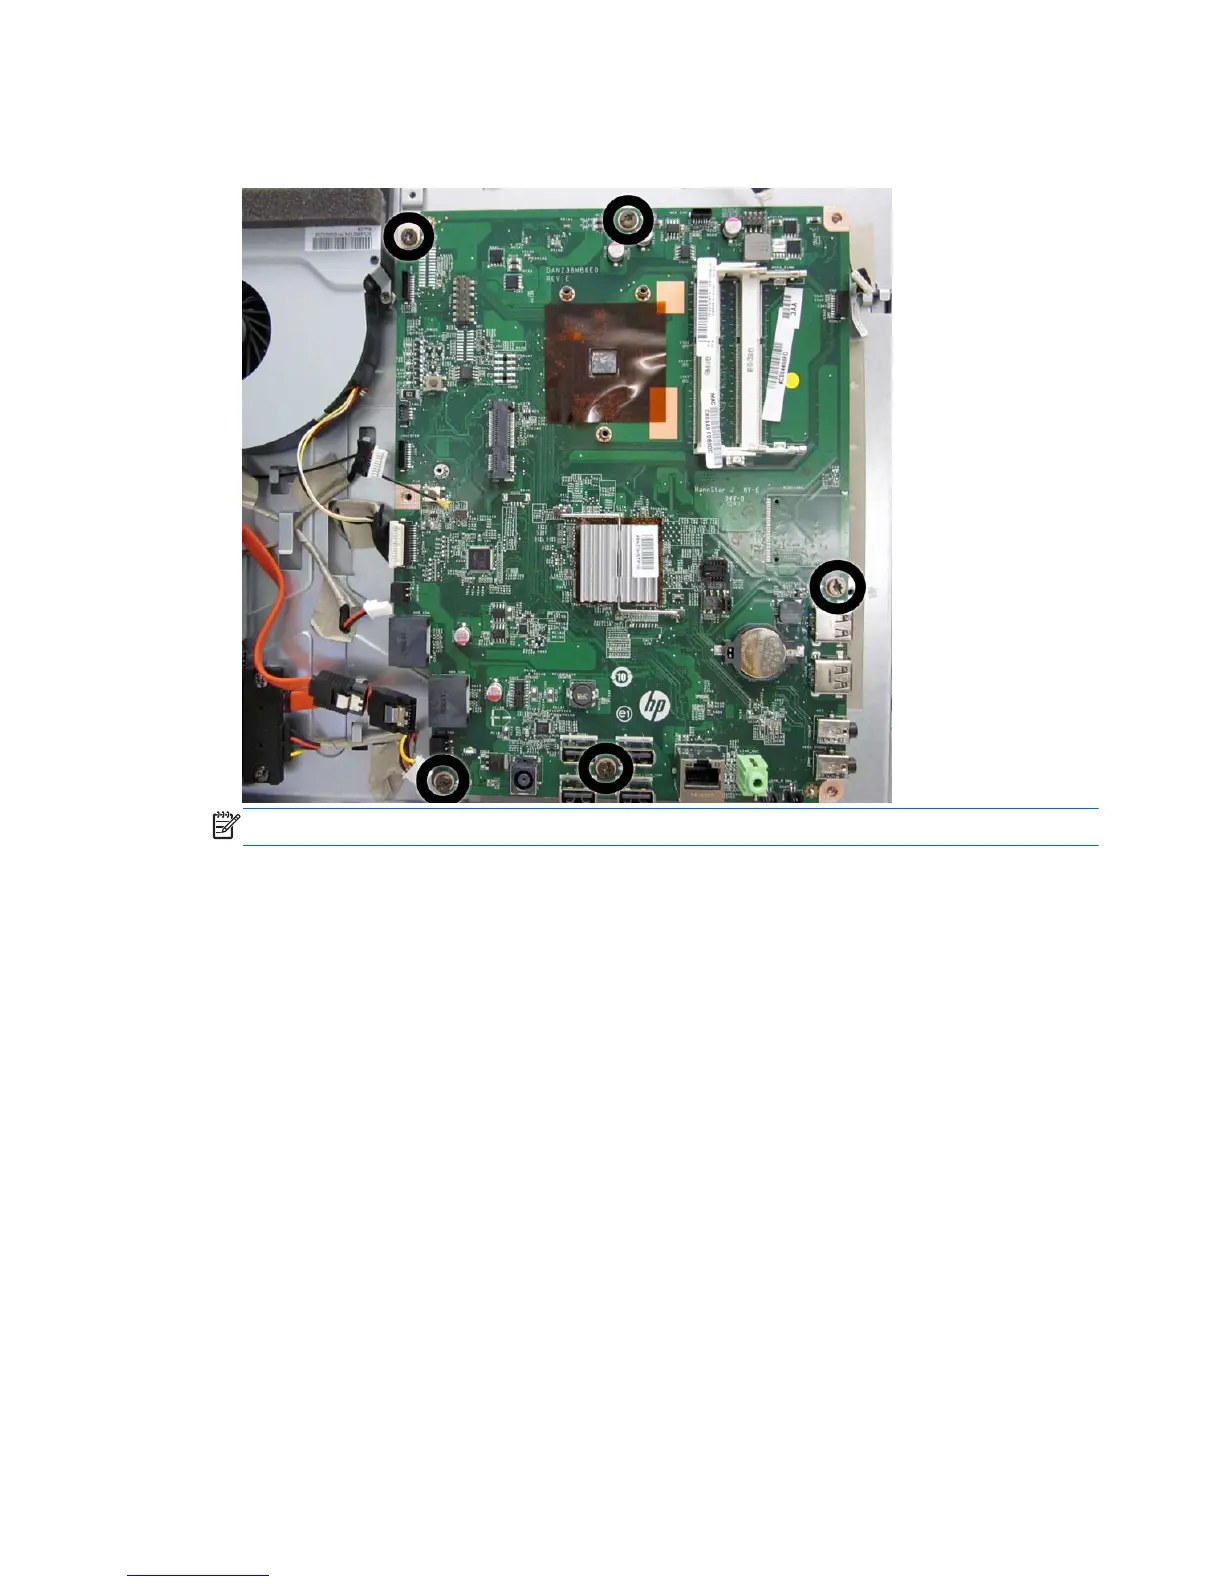
7. Remove the five Torx T15M3.0x6.0 screws that secure the system board to the computer.
Figure 6-54 Removing the system board
NOTE: For installation, the system board screw holes are labeled M3.
8. Lift the system board up and out of the computer.
To install the system board, reverse the removal procedures.
70 Chapter 6 Removal and Replacement Procedures All-in One (AIO) Chassis