10
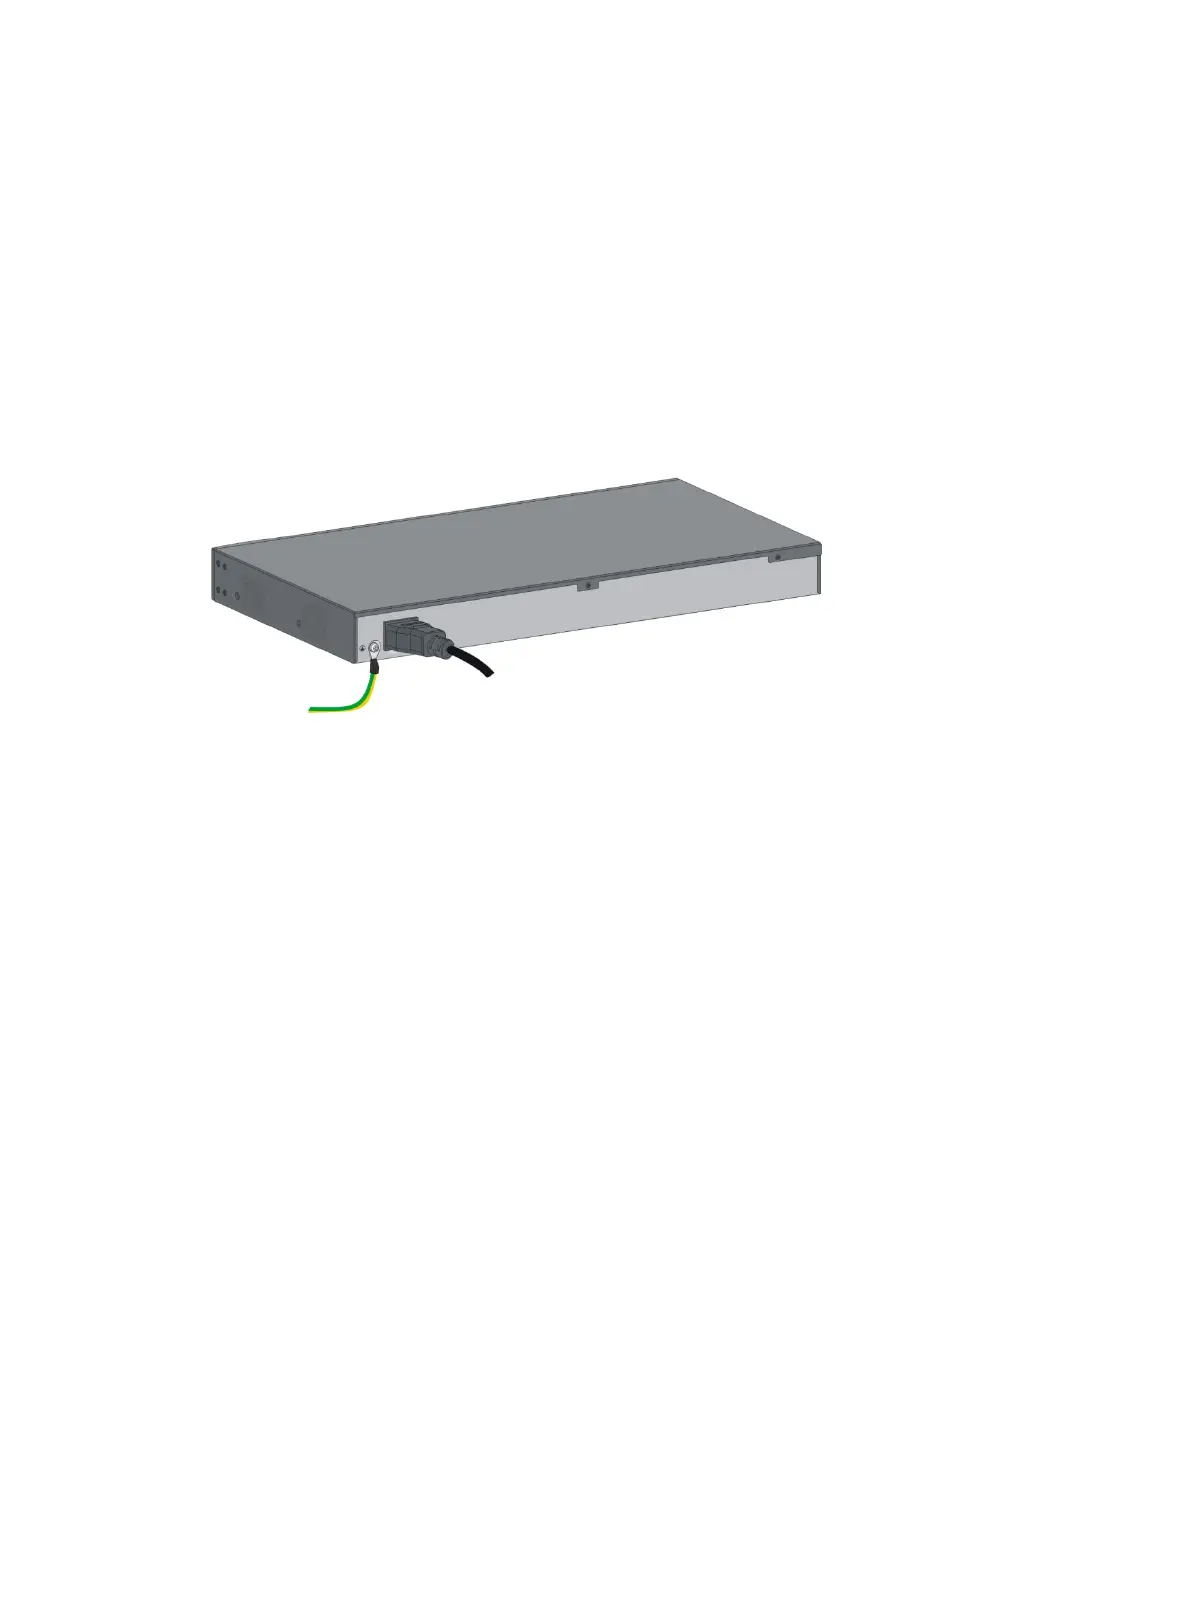
Connecting the AC power cord
1. Wear an ESD wrist strap and make sure it makes good skin contact and is reliably grounded.
2. (Optional.) Connect one end of the grounding cable to the grounding screw on the rear panel,
and connect the other end to the ground.
3. Make sure the correct power source is used.
4. Connect one end of the AC power cord to the AC power receptacle on the switch.
5. Connect the other end of the AC power cord to the AC power outlet.
6. Examine the power LED. If it is ON, the power connection is correct.
Figure 13 Connecting the AC power cord to the AC power receptacle
Verifying the installation
After you complete the installation, verify the following items:
• There is enough space for heat dissipation around the switch.
• The rack, table, or horizontal surface is stable.
• The correct power source is used.
• The power cords are correctly connected.
• All the interface cables are cabled indoors. If any cable is routed outdoors, verify that the socket
strip with lightning protection and lightning arresters for network ports have been correctly
connected.
 Loading...