1
Installing the switch
The HP 1910 switch can be installed in a 19-inch rack or on a workbench.
ARNING!
Before installing or moving the switch, remove the power cord.
Mounting the switch in a 19-inch rack with
mounting brackets
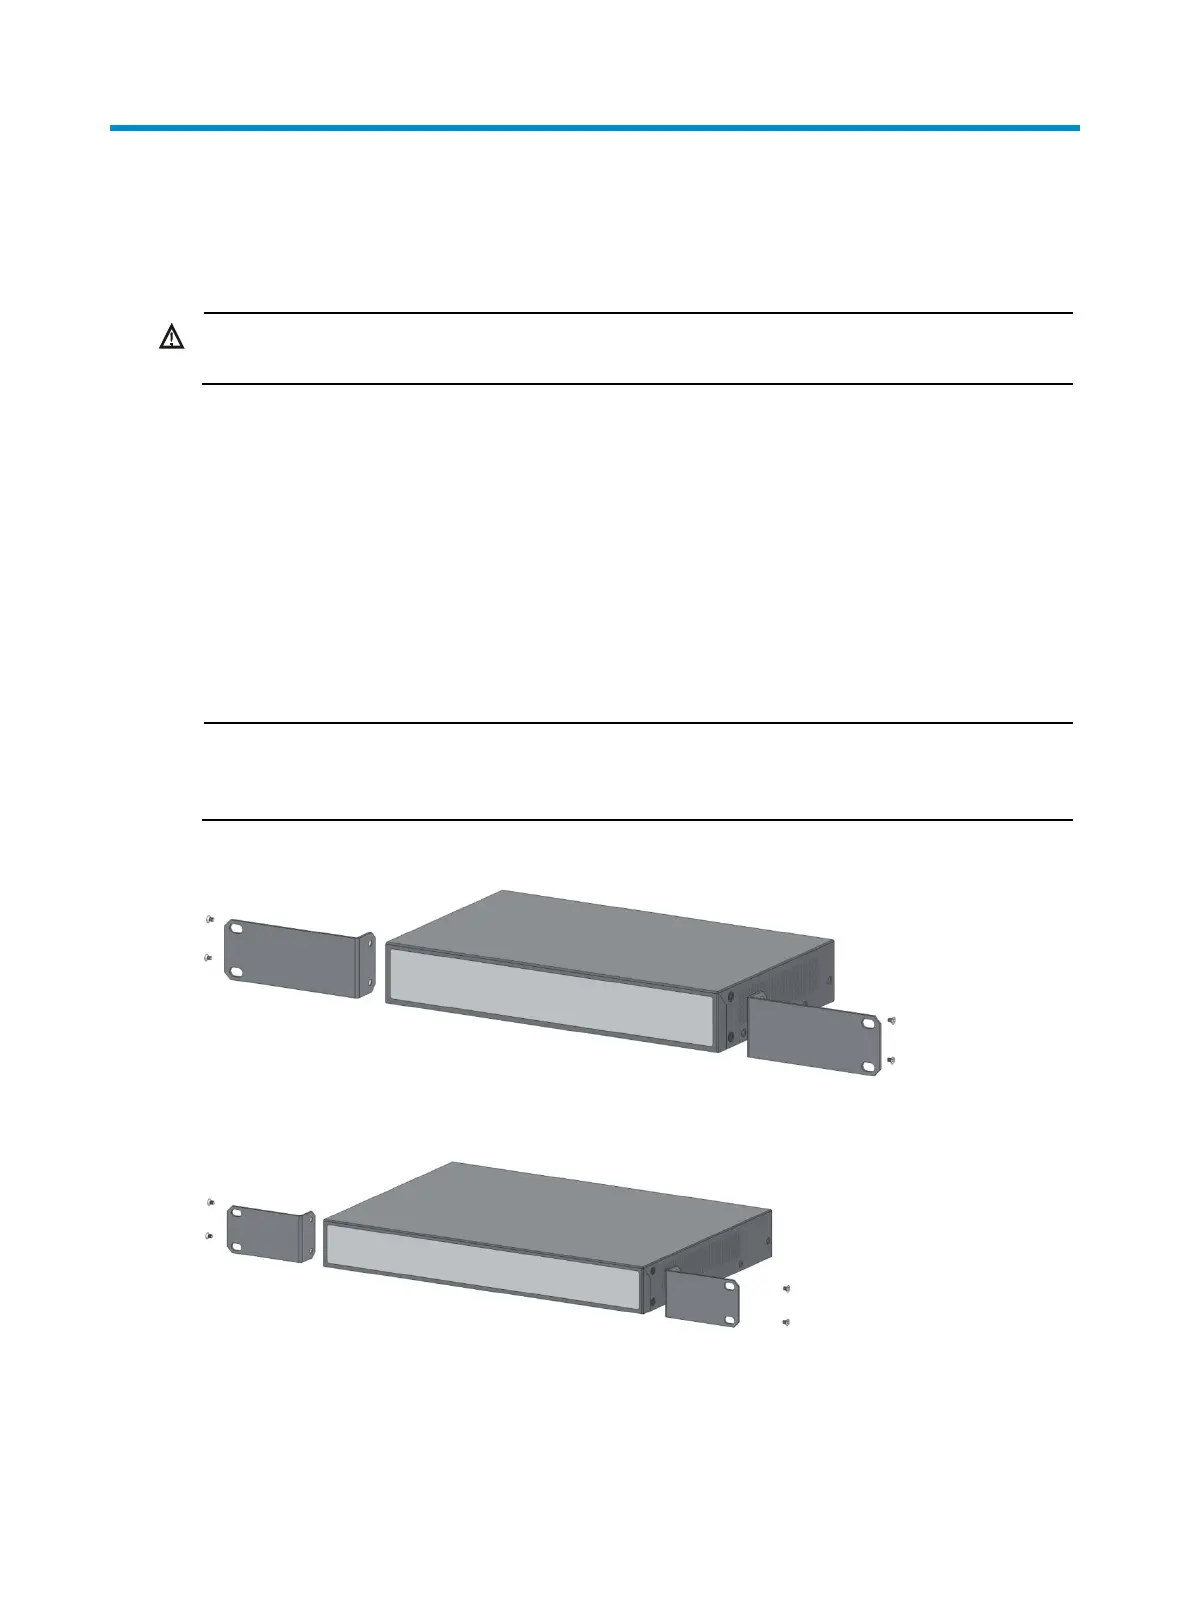
To install the switch with mounting brackets:
1. Wear an ESD-preventive wrist strap and make sure it makes good skin contact and is well
grounded.
2. Ensure the rack is securely grounded and stands stably.
3. Fix the mounting brackets on the sides of the front panel with screws.
NOTE:
The mounting brackets are used only for fixing the switch instead of bearing the switch wei
ht. A holder
on the rack is used to bear the switch weight.
Figure 11 Installing the mounting brackets to the HP 1910-8 switch
Figure 12 Installing the mounting brackets to the HP 1910-8-PoE+ switch
 Loading...