4
IMPORTANT:
• Ensure good ventilation and 10 cm (3.9 in) of clearance around the chassis for heat dissipation.
• Avoid placing heavy objects on the switch.
To mount the switch on a workbench:
1. Check that the workbench is sturdy and well grounded.
2. Place the switch with bottom up, and clean the round holes in the chassis bottom with dry cloth.
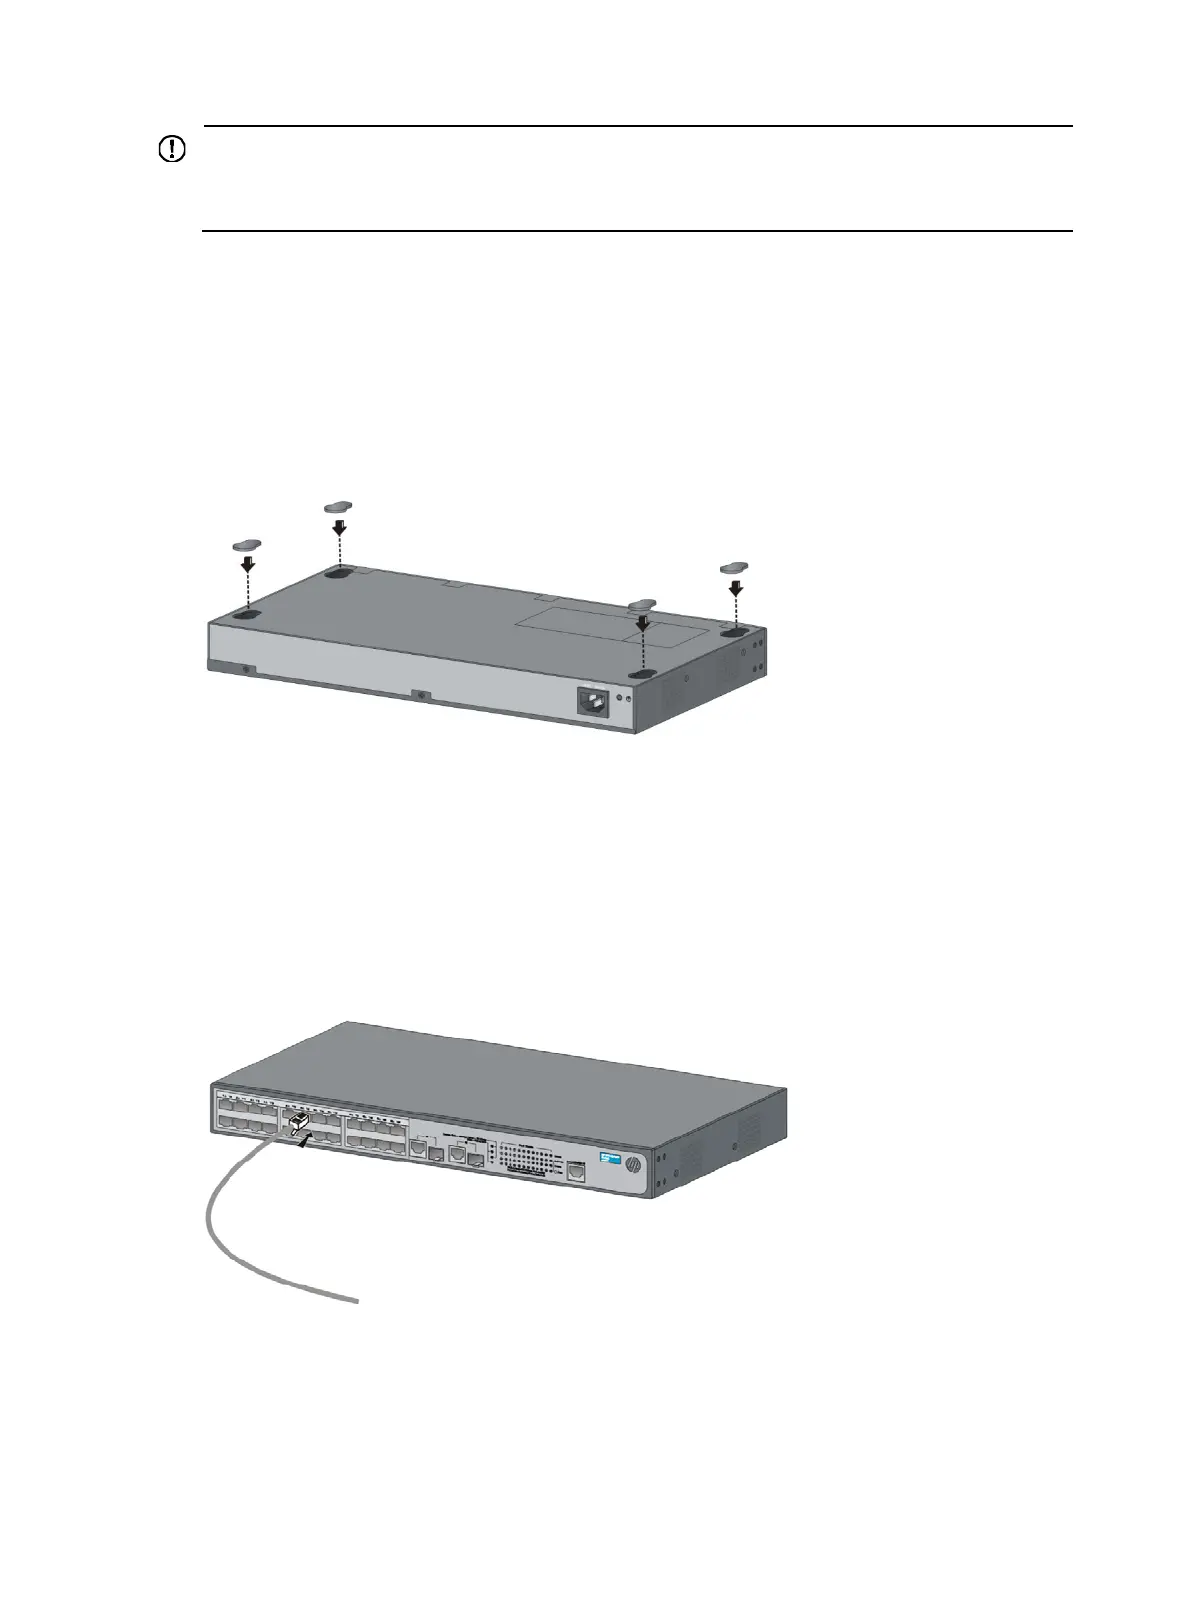
3. Attach the rubber feet to the four round holes in the chassis bottom.
4. Place the switch with upside up on the workbench.
Figure 17 Attaching rubber feet (1910-24-PoE+)
Connecting cables
Connecting network cable
Use crossover cable or straight through cable to connect a PC or other network devices to the Ethernet
port of the switch.
Figure 18 Connecting network cable
Installing SFP transceiver module and connecting optical fiber
 Loading...