Installing the console switch 15
Installing the console switch
Installation overview
This product ships with rack-mounting brackets for easy integration into the rack. Before installing this
product and other components in the rack cabinet (if they are not already installed), stabilize the rack in a
permanent location. Begin installing the equipment at the bottom of the rack cabinet, and then work to the
top. Avoid uneven loading or overloading of the rack cabinets.
Rack-mount safety instructions
When rack-mounting a console switch, consider the following factors:
• Elevated operating ambient temperature—If the equipment is installed in a closed or multi-unit rack
assembly, the operating ambient temperature of the rack environment might be greater than room
ambient temperature. Install the equipment in an environment compatible with the operating
temperature.
• Reduced air flow—In the rack, the rate of air flow required for safe operation of the equipment must
not be compromised.
• Mechanical loading—Avoid a potentially hazardous condition caused by uneven mechanical
loading by carefully mounting the equipment in the rack.
• Circuit overloading—When connecting the equipment to the supply circuit, consider the effect that
overloading of the circuits might have on overcurrent protection and supply wiring. Consider the
equipment nameplate ratings when addressing this concern.
• Reliable earthing—Maintain reliable earthing of rack-mounted equipment. Pay particular attention to
supply connections other than direct connections to the branch circuit, such as the use of power
strips.
Installation checklist
Before installation, refer to the following lists to be sure that all of the listed components were received.
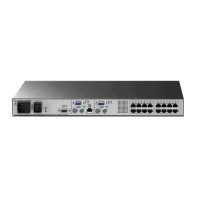
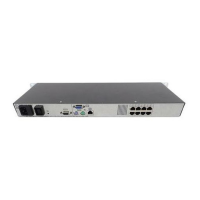
Console switch kit contents
• Console switch
• Power cords
• Rack mounting kit
• CAT 5 serial adapter
• Documentation kit
This kit might contain extra hardware for your convenience.