Console switch serial management 68
Console switch serial management
Establishing LAN connections
NOTE: Although 10Base-T Ethernet can be used, HP recommends a dedicated, switched
100Base-T or 1000Base-T network for improved performance.
Connect the network cable from the LAN port on the rear panel of the console switch to an Ethernet
switch, and power on the console switch. For more information, see the HP IP Console Viewer User Guide
included on the CD provided with this kit.
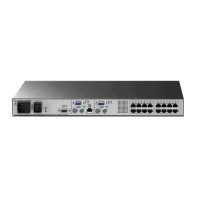
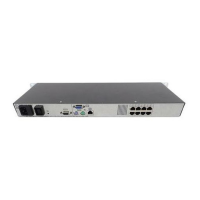
Connecting to the serial management and setup port
Requirements:
• The G2 console switches use an RJ-45 serial port instead of the DB9 port. A DB9 DCE female to RJ-
45 serial adapter is included with the console switch.
• A UTP CAT5 or better cable, with standard CAT5 pinouts
To connect to the serial management and setup port:
1. Connect the DB9 adapter to an available COM port on the computer you will use to manage the
switch.
2. Connect the DB9 adapter to the console switch setup port, using a CAT5 or better UTP cable.
3. Configure the terminal emulation software, such as HyperTerminal ("Configuring HyperTerminal" on
page 68) or Minicom ("Configuring Minicom" on page 68).
4. Verify that the console switch is receiving power. After a few minutes, the console switch boots up.
5. Press the Enter key to access the Main Menu.
Configuring HyperTerminal
To configure the HyperTerminal:
1. From the desktop screen, select Start>Programs>Accessories>Communications>HyperTerminal. The
Connection Description window appears.
2. Enter a name for the description, and click OK. The Connect To window appears.
3. Select the Communication Port that is connected to the console switch through a serial cable, then
click OK. The COM1 Properties window appears.
4. Select 9600 for the Bits Per Second, 8 for Data Bits, None for Parity, 1 for Stop Bits, and None for
Flow Control, then click OK. The HyperTerminal auto-connects to the console switch.
5. Press the Enter key to access the console switch option menu.
Configuring Minicom