3
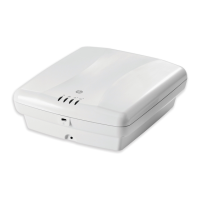
Installing the AP
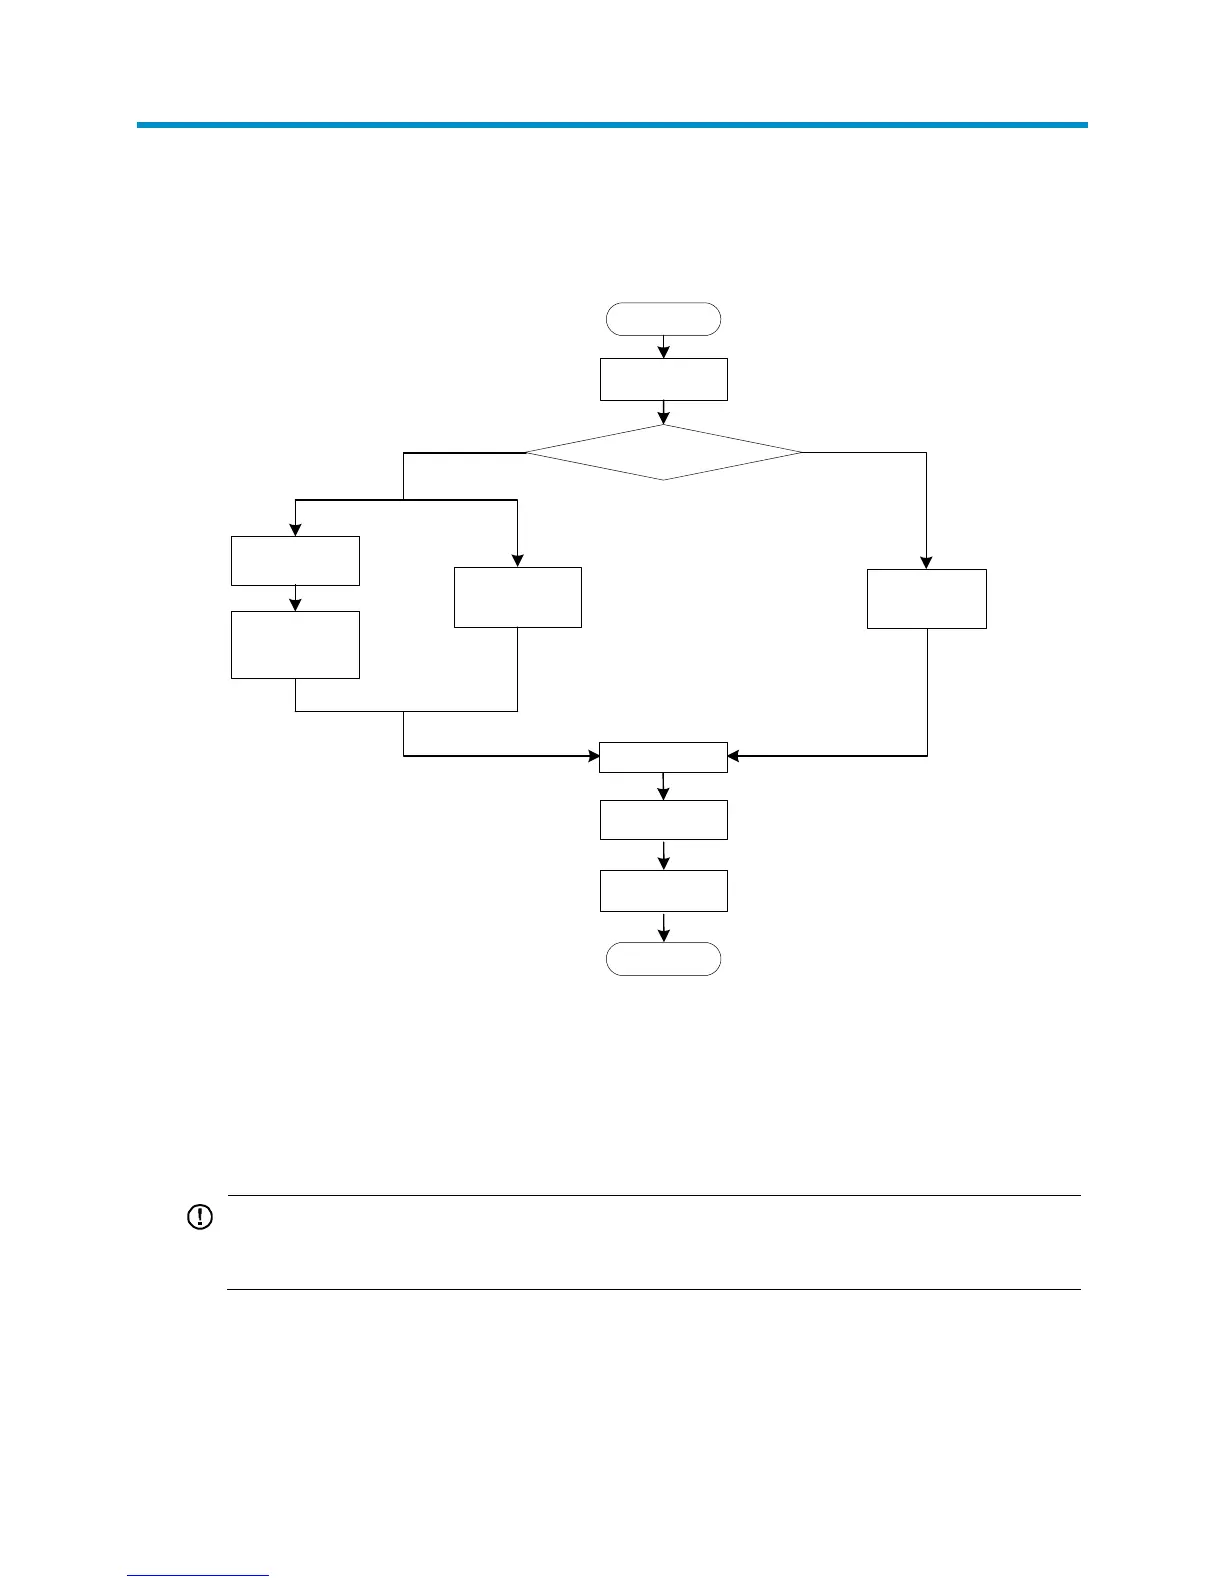
Figure 1 Installation flowchart
The device can only be used indoors and has built-in antennas. When you install the AP, determine
whether external antennas are needed. External antennas are not included with the AP and this
document does not include external antenna installation procedures.
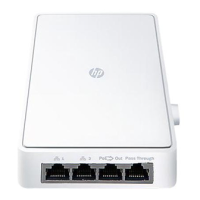
Mounting the AP on a wall
IMPORTANT:
Connect the AP to the network by using an Ethernet cable, and then install the AP to the wall-mounting
bracket.
To mount the AP on a wall, use the wall-mounting bracket and wall anchor kit that is supplied with the AP
as shown in Figure 2.
Start
Determine the installation position
Mount the AP to a wall
End
Check before
installation
Install the wall-
mounting bracket
Ceiling mounting
Attach the T-rail
holder to the T-rail
Install the AP
Connect the power
supply
Connect the AP to
the network
Mount the wall-
mounting bracket to
the ceiling
T-rail mounting
Mount the AP on a ceiling
Attach the wall-
mounting bracket to
the T-rail holder

 Loading...