Chapter 1 5
Installing Your Analyzer
STEP 2. Familiarize Yourself with the HP 8753E Front and Rear Panels
STEP 2. Familiarize Yourself with the HP 8753E Front
and Rear Panels
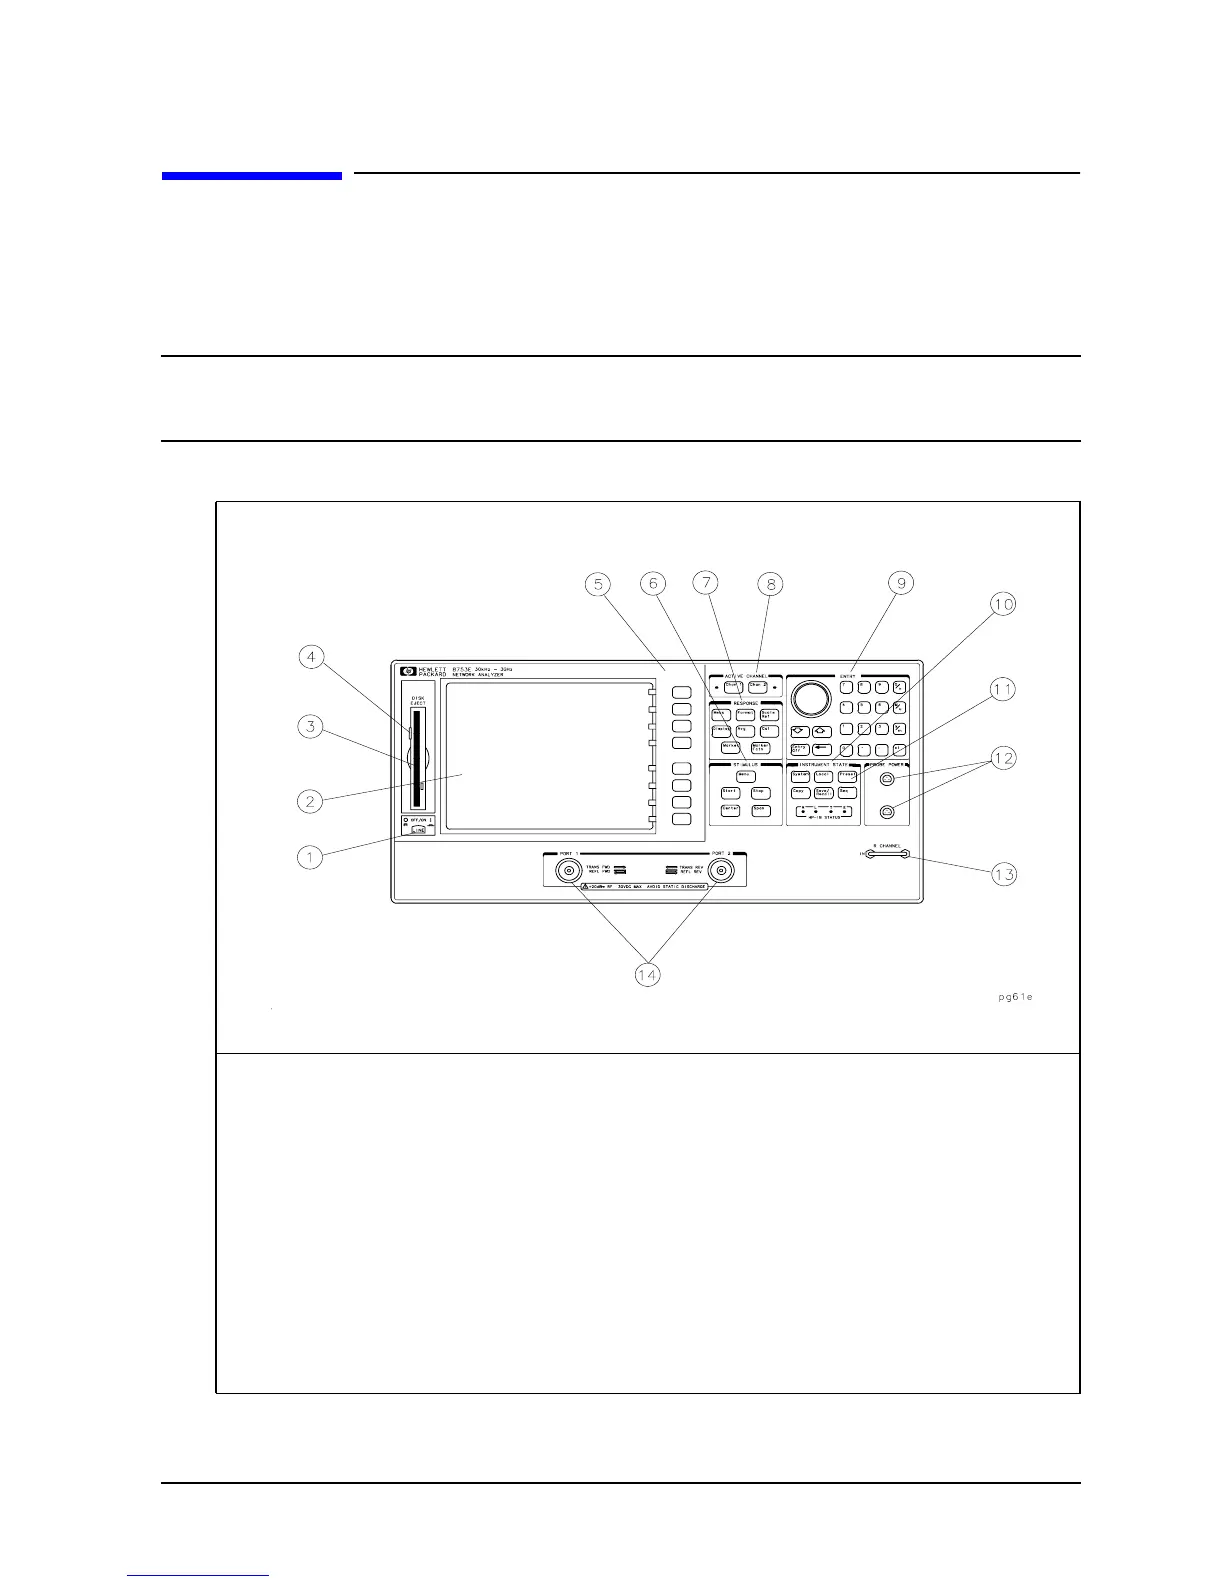
HP 8753E Front Panel
CAUTION Do not mistake the line switch for the disk eject button. See the figure
below. If the line switch is mistakenly pushed, the instrument will be
turned off, losing all settings and data that have not been saved.
1 LINE switch 8 ACTIVE CHANNEL keys
2 Display 9 ENTRY block
3 Disk drive 10 INSTRUMENT STATE function block
4 Disk eject button 11 Preset key
5 Softkeys 12 PROBE POWER connectors
6 STIMULUS function block 13 R CHANNEL connectors
7 RESPONSE function block 14 PORT 1 and PORT 2

 Loading...


