Chapter 2 33
Quick Start: Learning How to Make Measurements
Measurement Procedure
Measurement Procedure
This is a general measurement procedure that is used throughout the guide to illustrate
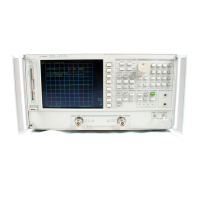
the use of the HP 8753E.
Step 1. Choose measurement parameters with your test device
connected
■ Press the Preset key to return the analyzer to a known state.
■ Connect your test device to the analyzer.
CAUTION Damage may result to the device under test if it is sensitive to
analyzer's default output power level. To avoid damaging a sensitive
DUT, be sure to set the analyzer's output power to an appropriate level
before connecting the DUT to the analyzer.
■ Choose the settings that are appropriate for the intended measurement.
❏ measurement type
❏ frequencies
❏ number of points
❏ power
❏ measurement trace format
■ Make adjustments to the parameters while you viewing the device response.
Step 2. Make an error-correction (measurement calibration)
Press the Cal key to begin to make an error-correction using a known set of standards (a
calibration kit). An error-correction establishes a magnitude and phase reference for the
test setup and then reduces systematic measurement errors.
Step 3. Measure the device
■ Reconnect the device under test.
■ Use the markers to identify various device response values.
Step 4. Output measurement results
■ Store the measurement file to a disk.
■ Generate a hardcopy with a printer or plotter.

 Loading...