20 Aruba 8325 Switch Installation and Getting Started Guide
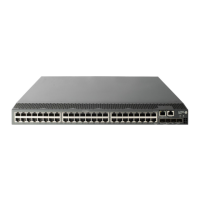
Reset button
The Reset button is recessed from the front panel (to protect it from being pushed accidentally) and is accessible
through a small hole on the front panel. Use a pointed object, such as an unbent paper clip, to push the button.
The Reset button is used as follows:
3 QSFP28 lane 3 LED
4 QSFP28 lane 4 LED
5 Unused
6 Out-of-band management port Link and Activity LED
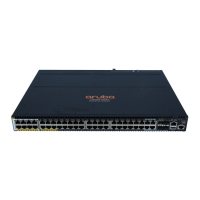
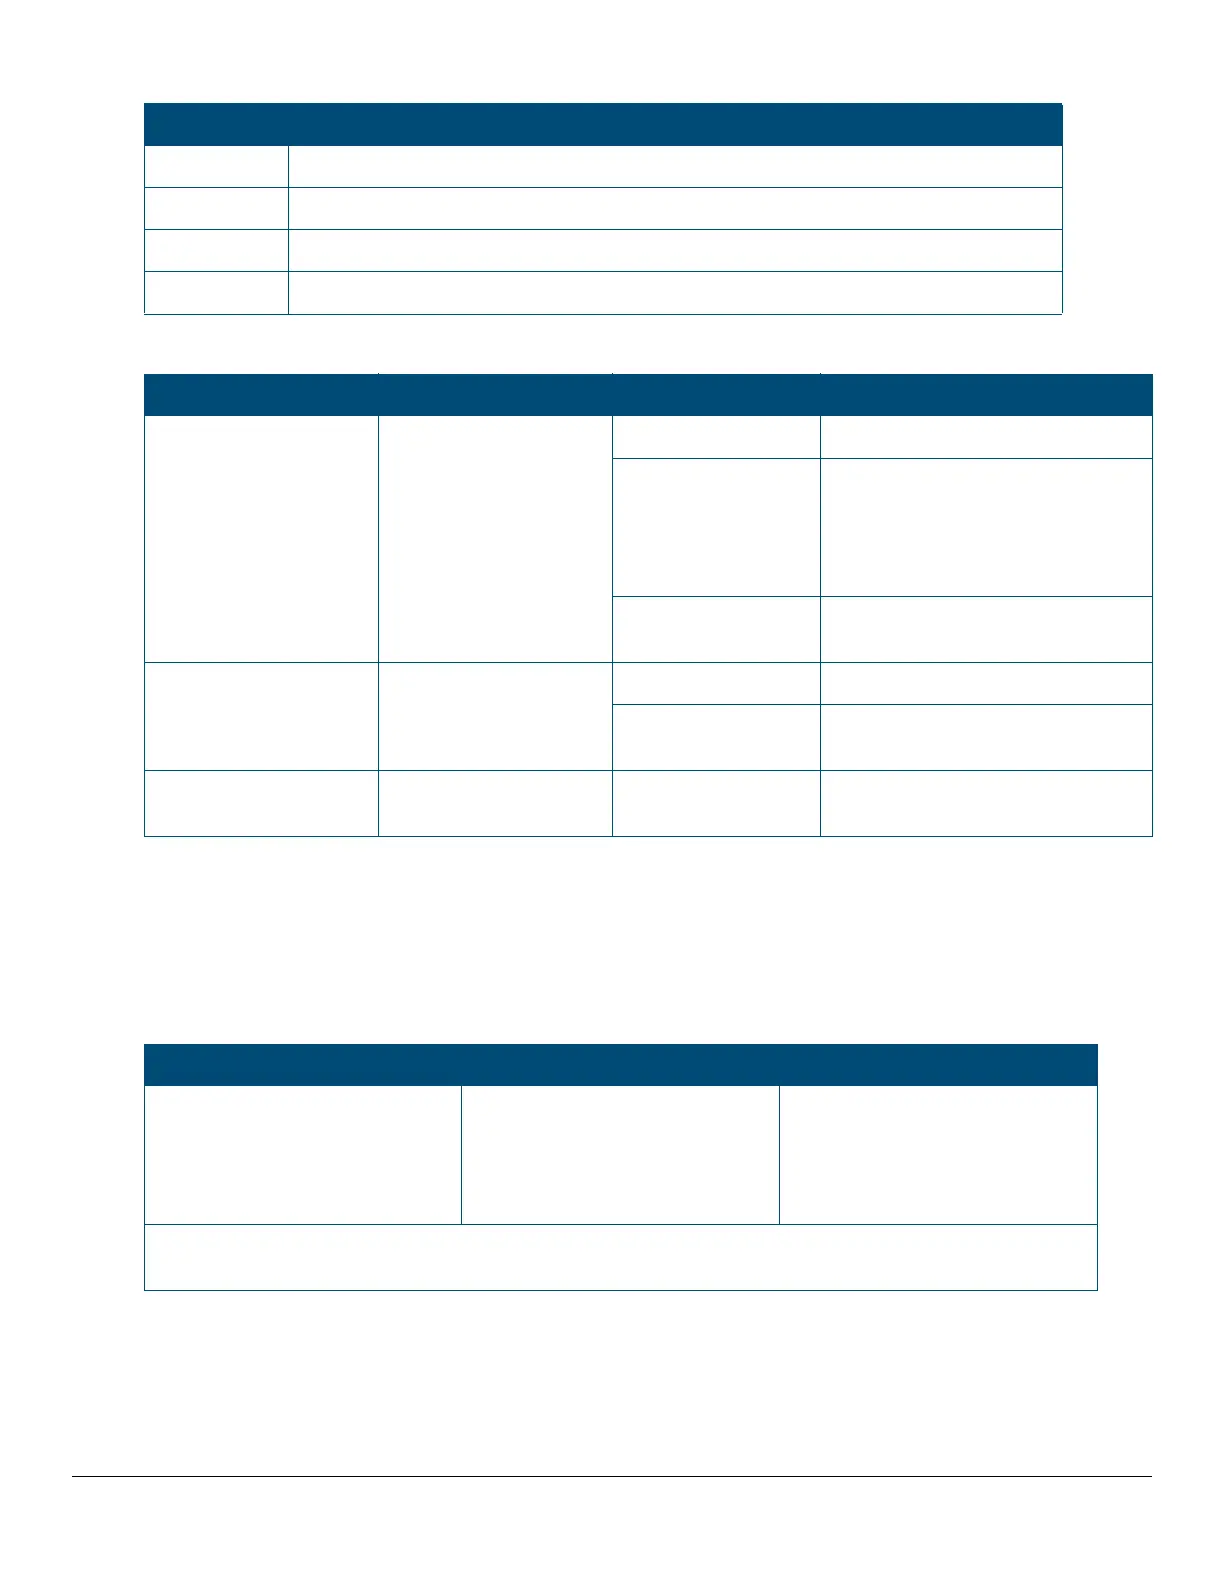
Table 13: Port LED behavior for the Aruba 8325-32C (JL626A, JL627A, JL859A, and JL860A)
Chassis LEDs Function State Meaning
QSFP28 port LEDs To display link
information for the port.
On green Shows a valid link at 100/40 Gbps.
Flashing amber When the Global Status LED is
simultaneously flashing amber with
the leftmost LED, indicates an
unsupported or faulty transceiver,
or a port failure.
Off Port is disabled, not connected, or
not receiving a link beat signal.
Management port Link
LED
To display link
information for the port.
On green Shows a valid link.
Off Port is disabled, not connected, or
not receiving a link beat signal.
Management port Act
LED
To display activity
information for the port.
Flashing green Flashing indicates port activity.
Table 14: Reset button
To accomplish this: Do this: This will happen:
Soft Reset Press and release the Reset
button
The switch operating system is
cleared gracefully (such as data
transfer completion, temporary
error conditions are cleared), and
then reboots.
Note: The Reset button is provided for your convenience. If you are concerned with switch security, make
sure that the switch is installed in a secure location, such as a locked wiring closet.
Table 12: Port LED labels for the Aruba 8325-32C (JL626A, JL627A, JL859A, and JL860A) (Continued)
Label Description

 Loading...