Do you have a question about the HP E32k G5 and is the answer not in the manual?
Cautions and notes to minimize personal injury to service personnel. Proper service methods are important for safe operation.
Guidelines for professional service, including handling high voltage, lead-free solder, and ESD protection.
Details the Restriction of Hazardous Substance directive and its implications for replacement parts.
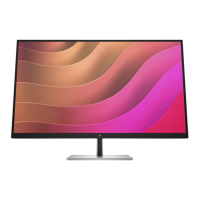
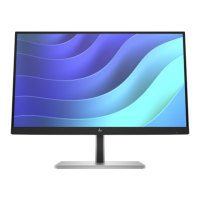
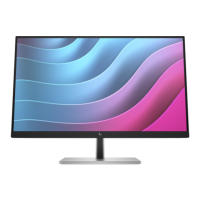
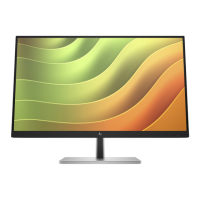
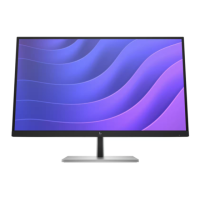
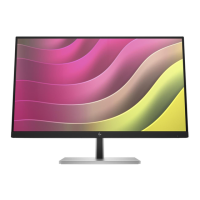
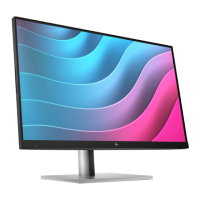
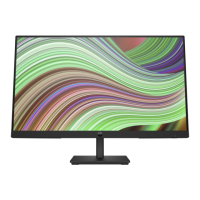
Lists the various features of the monitor, such as screen size, resolution, ports, and adjustability.
Identifies and describes the components located on the front of the monitor, including sensors and buttons.
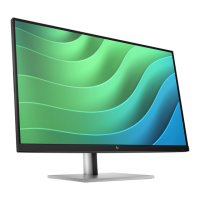
Identifies and describes the components located on the rear of the monitor, including ports and connectors.
Explains how to find the serial and product numbers on the monitor's label for identification.
Provides information on how to order spare parts, including distributors and part numbers for various components.
Details the necessary steps and materials for preparing the monitor before disassembly and reassembly.
Provides step-by-step instructions and images for disassembling the monitor's rear cover.
Details the part number and important precautions for removing and repairing the power board.
Explains how to repair connectors on the main board, identifying HDMI, DP, and RJ-45 ports.
Describes how to perform function tests for HDMI, DP, and RJ-45 ports after repair to confirm functionality.
This document serves as a comprehensive Maintenance and Service Guide for the HP E32k G5 monitor, providing essential information for trained service personnel. It outlines procedures for spare parts, removal and replacement of components, diagnostic tests, and problem troubleshooting. The guide emphasizes safety and proper service methods to ensure reliable operation and prevent equipment damage.
The monitor itself is designed with a focus on user experience and versatility. It features a non-glare panel with an LED backlight, offering a wide viewing angle suitable for various positions. For optimal display, an ambient light sensor automatically adjusts brightness based on environmental lighting conditions. The monitor includes an on-screen display (OSD) for easy setup and screen optimization, with adjustments available in several languages. Its Plug and Play capability simplifies integration with compatible operating systems.
Physical adjustments are a key aspect of the monitor's design, including tilt, swivel, and height adjustment capabilities. It also offers pivot functionality, allowing the monitor head to rotate from landscape to portrait orientation. For flexible mounting solutions, the stand is removable.
Connectivity options are extensive, catering to a range of devices and uses. The monitor includes a USB Type-C port, which can be used for docking HP notebooks or desktop minis, and also functions as a DisplayPort audio/video input or a USB 3.0 connection, offering fast data transfer and power delivery up to 65W. This port enables the monitor's other USB ports. Additionally, there is one High-Definition Multimedia Interface (HDMI) 2.0 video input and a DisplayPort video input for connecting to source devices like computers or game consoles. For network connectivity, an RJ-45 (network) jack is integrated, supporting Wake on LAN (WOL) In-band, Mac Address Passthrough (MAPT) in-band (for HP models only), and PXE boot, with functionality varying based on PC settings. The network port is designed to be energy efficient according to IEEE standards. Further USB connectivity is provided through one USB Type-A port for data transfer and additional USB Type-A ports with battery fast-charging 1.2 capabilities, allowing for charging small devices like smartphones or tablets even when the monitor is in Sleep mode or DC off with OSD Performance mode on.
Security features include a security cable slot on the rear for an optional security cable. The monitor also incorporates a Power Saver mode to meet requirements for reduced power consumption. A single power button on the monitor can turn both the monitor and a docked notebook on and off, or put them to sleep, depending on power settings.
Maintenance procedures are detailed for trained service personnel, with a strong emphasis on safety. The guide outlines two levels of service: cosmetic/appearance/alignment service and circuit board or standard parts replacement. Before any service, personnel are required to read important safety information, including precautions against electrostatic discharge (ESD) and handling batteries. It stresses the importance of disconnecting power before opening the monitor.
For repairs, the guide provides specific instructions for replacing components like capacitors and connectors. It highlights the use of lead-free solder wire and the need to match polarity and specifications when replacing parts. Detailed steps are provided for disassembling the monitor, including the removal of the rear cover, power board, and various cables and screws. The guide also specifies the tools required for these procedures, such as screwdrivers, knives, gloves, cleaning cloths, and ESD protection.
Special attention is given to the power board, identifying it as a high voltage area that requires extreme care during repair. Capacitor repair is specifically addressed for monitors out of warranty, with instructions on how to identify damaged capacitors, discharge them, and properly replace them while ensuring correct polarity and clean soldering. Connector repair procedures for HDMI, DisplayPort, and RJ45 are also detailed, involving desoldering and resoldering techniques.
After any repair, a function test is mandatory to confirm that all monitor functions are working correctly, including image and sound playback for HDMI and DisplayPort, and network connectivity for the RJ-45 port. The troubleshooting section provides solutions for common problems like a blank screen, blurred images, or error messages like "Input Signal Out of Range," guiding users or technicians to check connections, adjust settings, or address OSD lock functions. The guide also directs users to HP's support website for firmware updates and to partsurfer.hp.com for purchasing cables and other parts.
| Display Size | 31.5 inches |
|---|---|
| Panel Type | IPS |
| Refresh Rate | 60 Hz |
| Aspect Ratio | 16:9 |
| Contrast Ratio | 1000:1 |
| Color Gamut | 99% sRGB |
| Tilt | -5° to +20° |
| Pivot | Yes |
| VESA Mount | 100 x 100 mm |
| Speakers | No |
| Response Time | 5 ms |
| Viewing Angle | 178° horizontal / 178° vertical |
| Connectivity | HDMI, DisplayPort, USB-C, USB Hub |
| Resolution | 3840 x 2160 (4K UHD) |
| Swivel | ±45° |