This document serves as a Maintenance and Service Guide for the HP P24v G5 monitor, providing comprehensive information for trained service personnel regarding its components, maintenance, and troubleshooting. It outlines procedures for spare parts, removal and replacement of parts, diagnostic tests, and problem resolution.
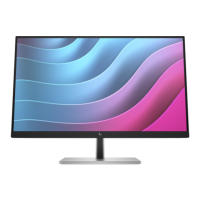
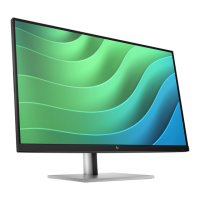
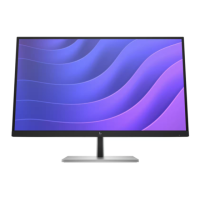
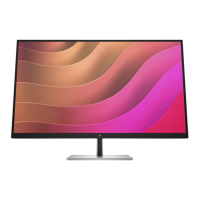
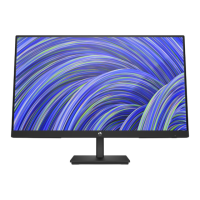
The monitor is designed with user convenience and display quality in mind. Its primary function is to serve as a visual output device, offering a clear and expansive viewing experience.
Usage Features:
The P24v G5 monitor boasts a range of features aimed at enhancing the user experience:
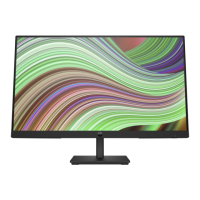
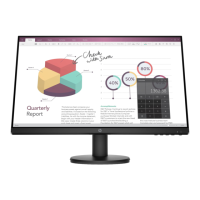
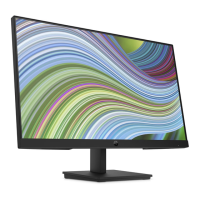
- Display: It features a diagonal viewable screen area with a high resolution, utilizing a Vertical Alignment (VA) panel for improved contrast and viewing angles. The nonglare panel with an LED backlight minimizes reflections, making it comfortable for extended use in various lighting conditions.
- Viewing Flexibility: A wide viewing angle ensures consistent image quality whether the user is sitting, standing, or moving from side to side. The monitor also includes tilt capabilities, allowing users to adjust the screen to their preferred ergonomic position.
- Mounting Solutions: For greater flexibility, the monitor comes with a removable stand. It incorporates the HP Quick Release 2 device, enabling quick attachment of the monitor head to the stand with a simple click and easy removal via a convenient sliding tab release. Additionally, it features a VESA® mounting bracket, making it compatible with wall-mount devices or swing arms for alternative setup configurations.
- Connectivity: The monitor offers versatile input options, including a High-Definition Multimedia Interface™ (HDMI) video input, with the cable included, and a VGA video input, with the cable included in select regions. These options ensure compatibility with a wide range of source devices such as computers and game consoles.
- On-Screen Display (OSD) Control: A 4-way OSD controller provides intuitive access to monitor settings. This controller can be reconfigured to quickly select three most commonly used operations, streamlining adjustments. The OSD also offers on-screen adjustments in several languages for easy setup and screen optimization.
- Plug and Play: The monitor supports Plug and Play capability, simplifying setup when used with compatible operating systems.
- Security and Cable Management: For added security, a security cable slot is located on the rear of the monitor, allowing for the attachment of an optional security cable. A cable management feature helps keep cables and cords organized, contributing to a tidy workspace.
- Energy Efficiency: An energy saver feature is integrated to meet requirements for reduced power consumption, aligning with environmental considerations and helping to lower operating costs.
Maintenance Features:
The guide emphasizes that only trained service personnel familiar with the product should perform maintenance or service. It provides detailed instructions and precautions to ensure safe and effective repairs.
- Safety Information: Before any maintenance, personnel must read the "Important Safety Information" section, which highlights crucial safety measures such as ensuring a dry and clean working environment, using proper safety devices, and always disconnecting power before opening the product's cabinet. It also warns about electrostatic discharge (ESD) sensitivity for electrical components and battery handling precautions.
- Service Information and Precautions: Repair procedures are to be performed by professional service technicians in a repair center, not by end-users. The guide stresses the importance of noting the primary side as a high voltage area during servicing.
- RoHS Compliance: The monitor meets RoHS requirements, and service personnel are instructed to use lead-free solder wire when soldering. If replacement parts are needed, their RoHS compliance status must be confirmed.
- Capacitor Replacement: Specific instructions are provided for replacing capacitors, including matching polarity, specification, and part number, and careful insertion to prevent short circuits.
- Firmware Updates: Information on firmware updates is available on support.hp.com, with a note that updates are only necessary if posted.
- Pre-Return Check: Before returning a repaired product to the customer, an AC leakage current check on exposed metallic parts is mandatory to ensure electrical safety and prevent shock hazards.
- Illustrated Parts Catalog: A detailed illustrated parts catalog helps identify major components, facilitating the ordering of spare parts.
- Disassembly Procedures: The guide provides step-by-step instructions for disassembly, starting with preparation, including cleaning the disassembly room, identifying the area, and preparing necessary equipment like press fixtures, screwdrivers, and ESD protection. Specific steps for removing the rear cover, power board, and other components are outlined with accompanying images.
- Power Board Repair: The power board repair section details the process for replacing EL capacitors, including how to measure residual charge with a multimeter and discharge them safely. It emphasizes checking polarity match with the PCB print when placing new components and removing any unnecessary solder after soldering.
- Connector Repair: Instructions for repairing connectors, specifically the HDMI connector J3, are provided. This includes using a soldering iron and de-soldering pump, a hot air gun, and ensuring the new component matches the footprint.
- Gasket Application: A procedure for sticking a gasket on the shielding for HDMI is included, specifying the gasket size and alignment to prevent short circuits.
- Function Test: After repairs, a function test is required to confirm that all functions are working correctly, specifically mentioning an HDMI test to verify image and sound display.
- Troubleshooting: A comprehensive troubleshooting table lists common problems, their possible causes, and recommended solutions, covering issues like blank screens, blurred images, and OSD lock functions.
This guide ensures that any maintenance or repair work on the HP P24v G5 monitor is conducted professionally, safely, and effectively, extending the product's lifespan and maintaining its performance.