Camera connector bracket
Before removing the camera connector bracket, follow these steps:
1. Turn o the computer. If you are unsure whether the computer is o or in Hibernation, turn the
computer on, and then shut it down through the operating system.
2. Disconnect the power from the computer by unplugging the power cord from the computer.
3. Disconnect all external devices from the computer.
4. Remove the following components:
a. Display panel (see Display panel on page 33)
b. Disconnect the battery cable (see Battery on page 36)
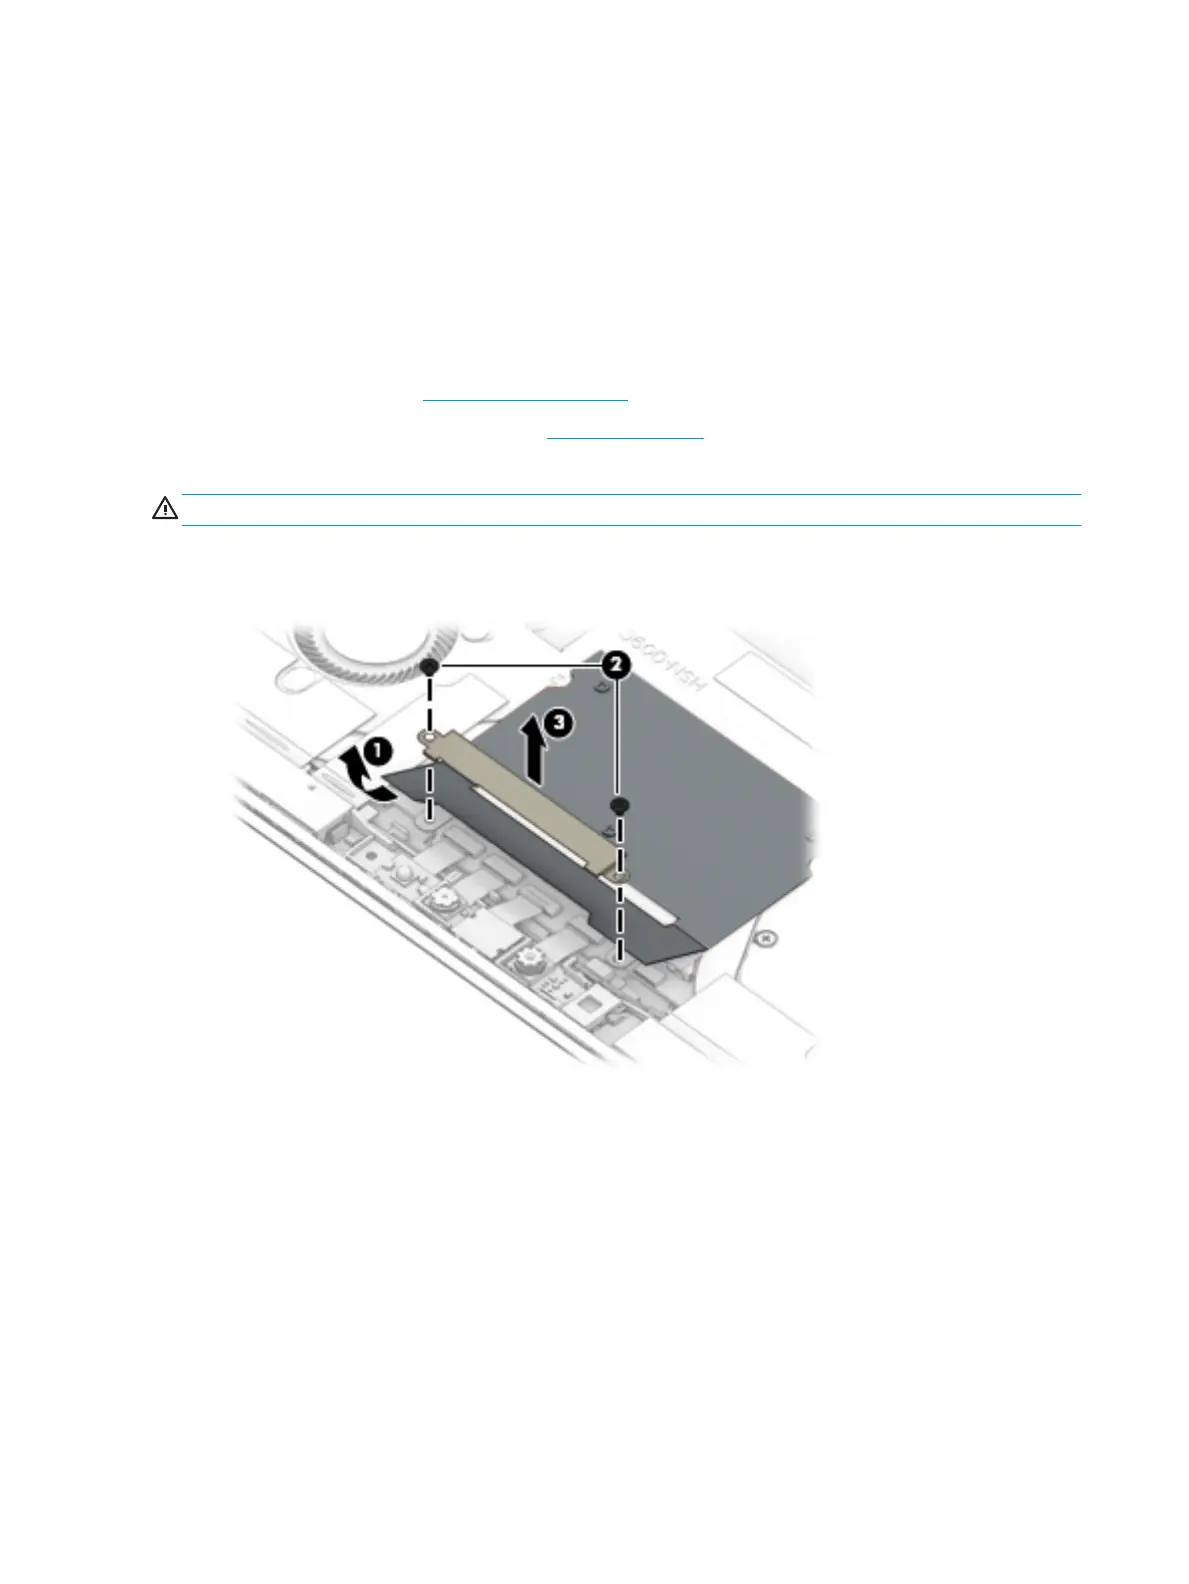
Remove the camera connector bracket:
CAUTION: Use care to prevent damaging the zero-insertion force (ZIF) connector and ribbon cable.
1. Pull back the silver Mylar to access the bracket (1).
2. Remove the two Phillips 1.6×2.0 screws (2), and then lift the bracket out of the computer (3).
Reverse this procedure to replace the camera connector bracket.
44 Chapter 6 Removal and replacement procedures for Authorized Service Provider parts
 Loading...