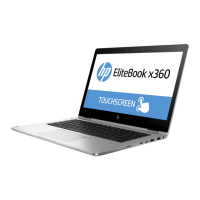
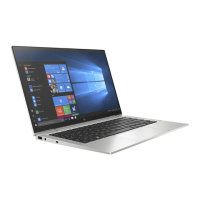
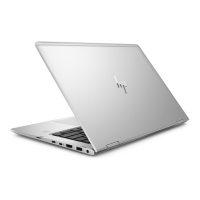
System board
NOTE: The system board spare part kit includes a processor and replacement thermal material.
Description Spare part number
Equipped with an Intel Core i7-8750H 2.20-GHz (turbo up to 4.10-GHz) six core processor (2666-MHz, 9.0
MB L3 cache, 45-W), the Intel HM370 chipset, an Nvidia GeForce GTX1050Ti graphics controller with 4096-
MB discrete memory, 16-GB of system memory, and the Windows 10 operating system
L38130-601
Equipped with an Intel Core i7-8750H 2.20-GHz (turbo up to 4.10-GHz) six core processor (2666-MHz, 9.0
MB L3 cache, 45-W), the Intel HM370 chipset, an Nvidia GeForce GTX1050Ti graphics controller with 4096-
MB discrete memory, 16-GB of system memory, and a non-Windows operating system
L38130-001
Equipped with an Intel Core i7-8750H 2.20-GHz (turbo up to 4.10-GHz) six core processor (2666-MHz, 9.0
MB L3 cache, 45-W), the Intel HM370 chipset, an Nvidia GeForce GTX1050Ti graphics controller with 4096-
MB discrete memory, 8-GB of system memory, and the Windows 10 operating system
L38129-601
Equipped with an Intel Core i7-8750H 2.20-GHz (turbo up to 4.10-GHz) six core processor (2666-MHz, 9.0
MB L3 cache, 45-W), the Intel HM370 chipset, an Nvidia GeForce GTX1050Ti graphics controller with 4096-
MB discrete memory, 8-GB of system memory, and a non-Windows operating system
L38129-001
Equipped with an Intel Core i7-8565U 1.80-GHz (turbo up to 4.60-GHz) quad-core processor (2400-MHz,
8.0 MB L3 cache, 15-W), an Intel integrated SoC chipset, an Nvidia GeForce MX150 graphics controller with
2048-MB discrete memory, 8-GB of system memory, and the Windows 10 operating system
L38128-601
Equipped with an Intel Core i7-8565U 1.80-GHz (turbo up to 4.60-GHz) quad-core processor (2400-MHz,
8.0 MB L3 cache, 15-W), an Intel integrated SoC chipset, an Nvidia GeForce MX150 graphics controller with
2048-MB discrete memory, 8-GB of system memory, and a non-Windows operating system
L38128-001
Before removing the system board, follow these steps:
1. Shut down the computer. If you are unsure whether the computer is o or in Hibernation, turn
the computer on, and then shut it down through the operating system.
2. Disconnect all external devices connected to the computer.
3. Disconnect the power from the computer by rst unplugging the power cord from the AC outlet, and then
unplugging the AC adapter from the computer.
4. Remove the bottom cover (see Bottom cover on page 27).
5. Remove the battery (see Battery on page 28).
When replacing the system board, be sure to remove the solid-state drive (see Solid-state drive on page 30)
and the fan/heat sink assembly (see Fan/heat sink assembly on page 44) from the defective system board
and install them on the replacement system board.
Remove the system board:
1. Disconnect the following cables from the system board:
(1) Webcam cable
(2) WLAN antenna cables
NOTE: The #1/white WLAN antenna cable connects to the WLAN module "#1/Main" terminal. The #2/
black WLAN antenna cable connects to the WLAN module "#2/Aux" terminal.
NOTE: Release the WLAN antenna cables from the retention clips (3) built into the fan/heat
sink assembly.
(4) WWAN antenna cables
Component replacement procedures 41
 Loading...
