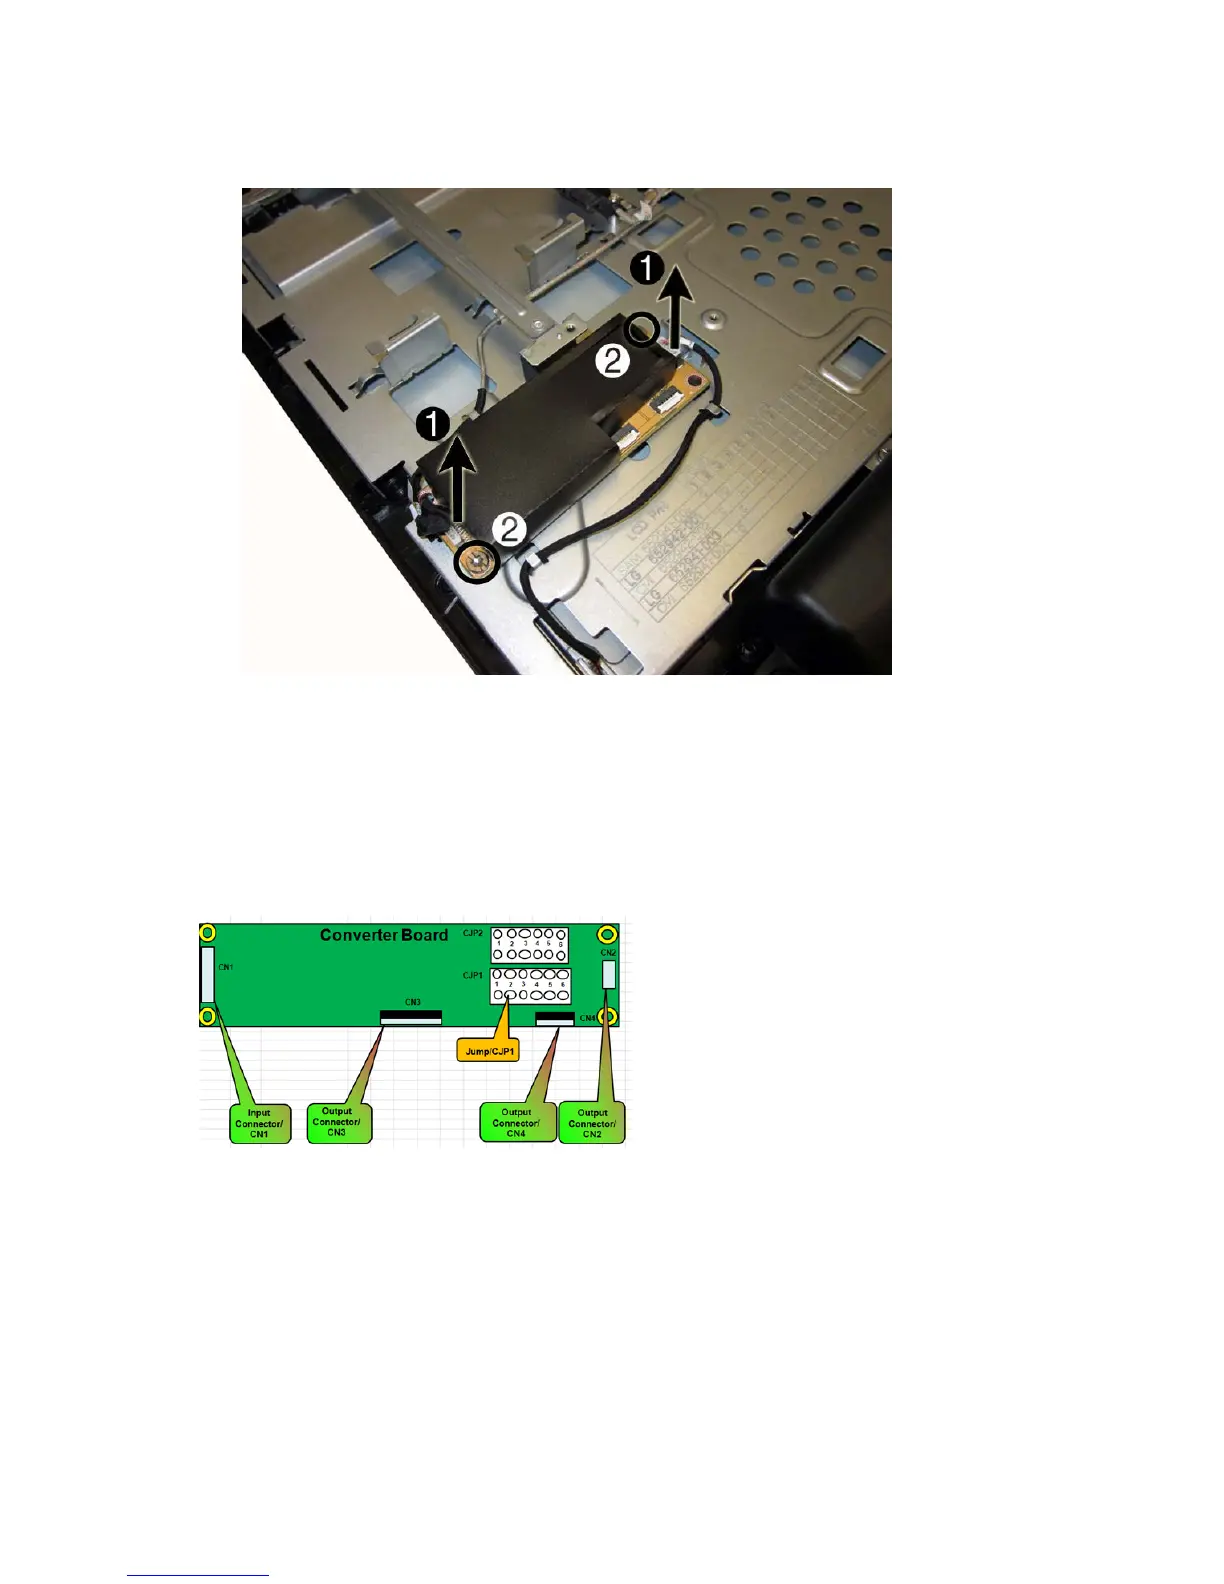
4. Remove the two Torx screws (2) that secure the board to the computer.
Figure 7-9 Removing the converter board
5. Lift the converter board from the computer.
To install the converter board, reverse the removal procedures.
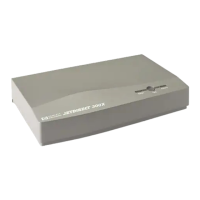
The correct converter board jumper settings are stamped into the sheet metal on the computer next
to the converter board. Be sure to set the jumpers for the installed display panel.
You must position the jumper on the converter board based on the display panel installed. Place the
jumper on the header on the converter board as follows:
●
LG panel:
◦
CJP2: pin 6
42 Chapter 7 Removal and Replacement Procedures All-in One (AIO) Chassis