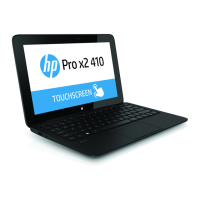
Remove the solid-state drive:
1. Remove the Phillips PM1.85×3.00 screw (1) that secures the solid-state drive to the system board.
2. Lift the side of the solid-state drive (2) opposite the slot until it rests at an angle.
3. Remove the solid-state drive (3) by pulling the drive away from the slot at an angle.
NOTE: The solid-state drive connector is designed with 2 notches (4) to ensure proper
installation into the slot.
4. Remove the solid-state drive.
Reverse this procedure to install the solid-state drive.
52 Chapter 5 Removal and replacement procedures

 Loading...