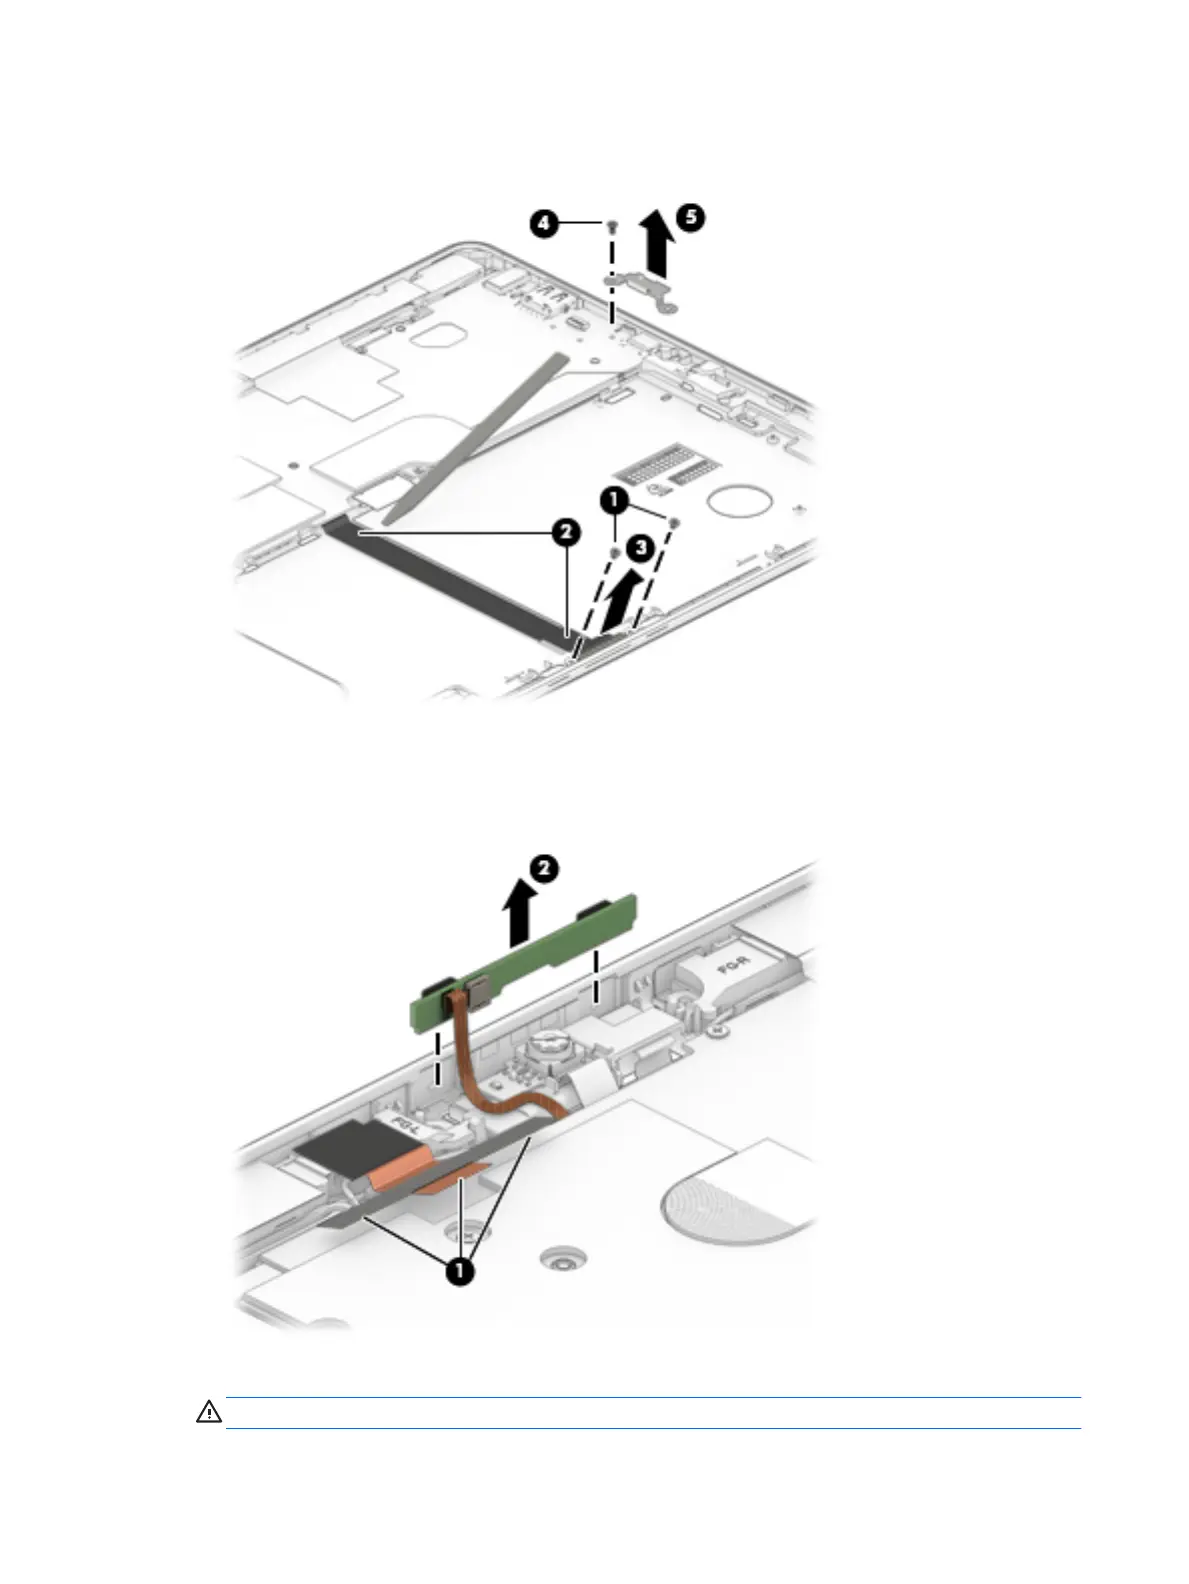
3. Lift the POGO connector (3) to remove it.
4. Remove the 1 Phillips screw (4) securing the USB Type-C bracket, and then remove the bracket (5).
5. Peel up the tape securing the antenna (1), and then lift the antenna from the thermal plastic on the
system board.
6. Lift the microphone board (2) to remove it.
7. Remove the 6 Phillips M1.6x3 screws (1) securing the system board.
CAUTION: Use care to prevent damaging the ZIF connector and ribbon cable.
56 Chapter 6 Removal and replacement procedures for Authorized Service Provider parts
 Loading...