Hardware options installation 35
10.
Install the access panel (on page 20).
11. Install the server into the rack ("Installing the server into the rack" on page 27).
12. Install the drives ("Installing a hot-plug drive" on page 32).
CAUTION: To prevent improper cooling and thermal damage, do not operate the server unless
all bays are populated with either a component or a blank.
13. Power up the server (on page 17).
Mini-SAS cable option
The Mini-SAS cables in this option kit support the following drive configurations:
Drive configuration HP Smart Array RAID Controller Expansion slot Mini-SAS cable
Four-bay LFF
H220 or P420 Full height or low
profile
800 mm
Four-bay LFF
H222 or P222 Full height or low
profile
890 mm
Eight-bay SFF
P822 Full height 615 mm and 800 mm
Eight-bay SFF
H220 or P420 Low profile 615 mm and 800 mm
To connect the cable option:
1. Power down the server (on page 17).
2. Remove all power:
a. Disconnect each power cord from the power source.
b. Disconnect each power cord from the server.
3. Do one of the following:
o Extend the server from the rack (on page 17).
o Remove the server from the rack (on page 18).
4. Remove the access panel (on page 19).
5. Remove the PCI riser cage (on page 20).
6. Install the storage controller ("Installing a storage controller" on page 38).
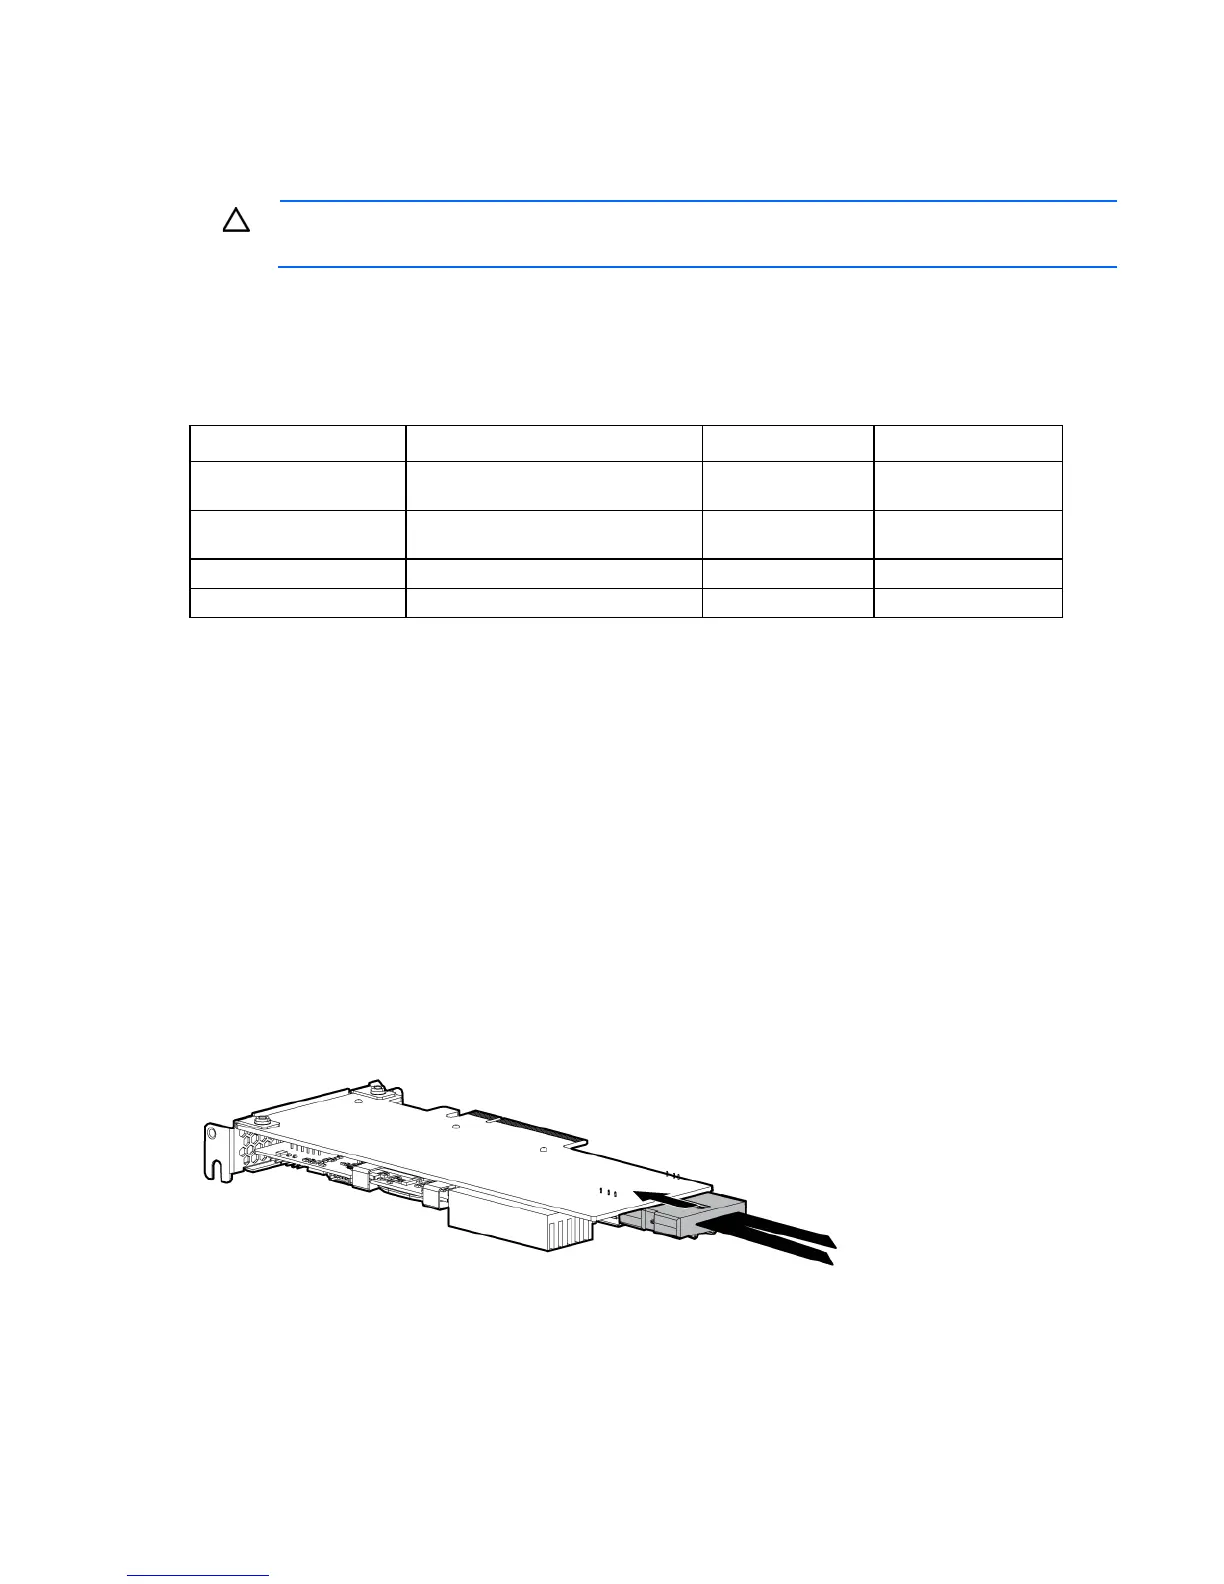
7. Connect the common end of the Mini-SAS cable to the controller option.
8. Install the PCI riser cage (on page 21).
9. Route the Mini-SAS cable along the side of the system board towards the front chassis, and then connect
the cable to the drive backplane.
 Loading...