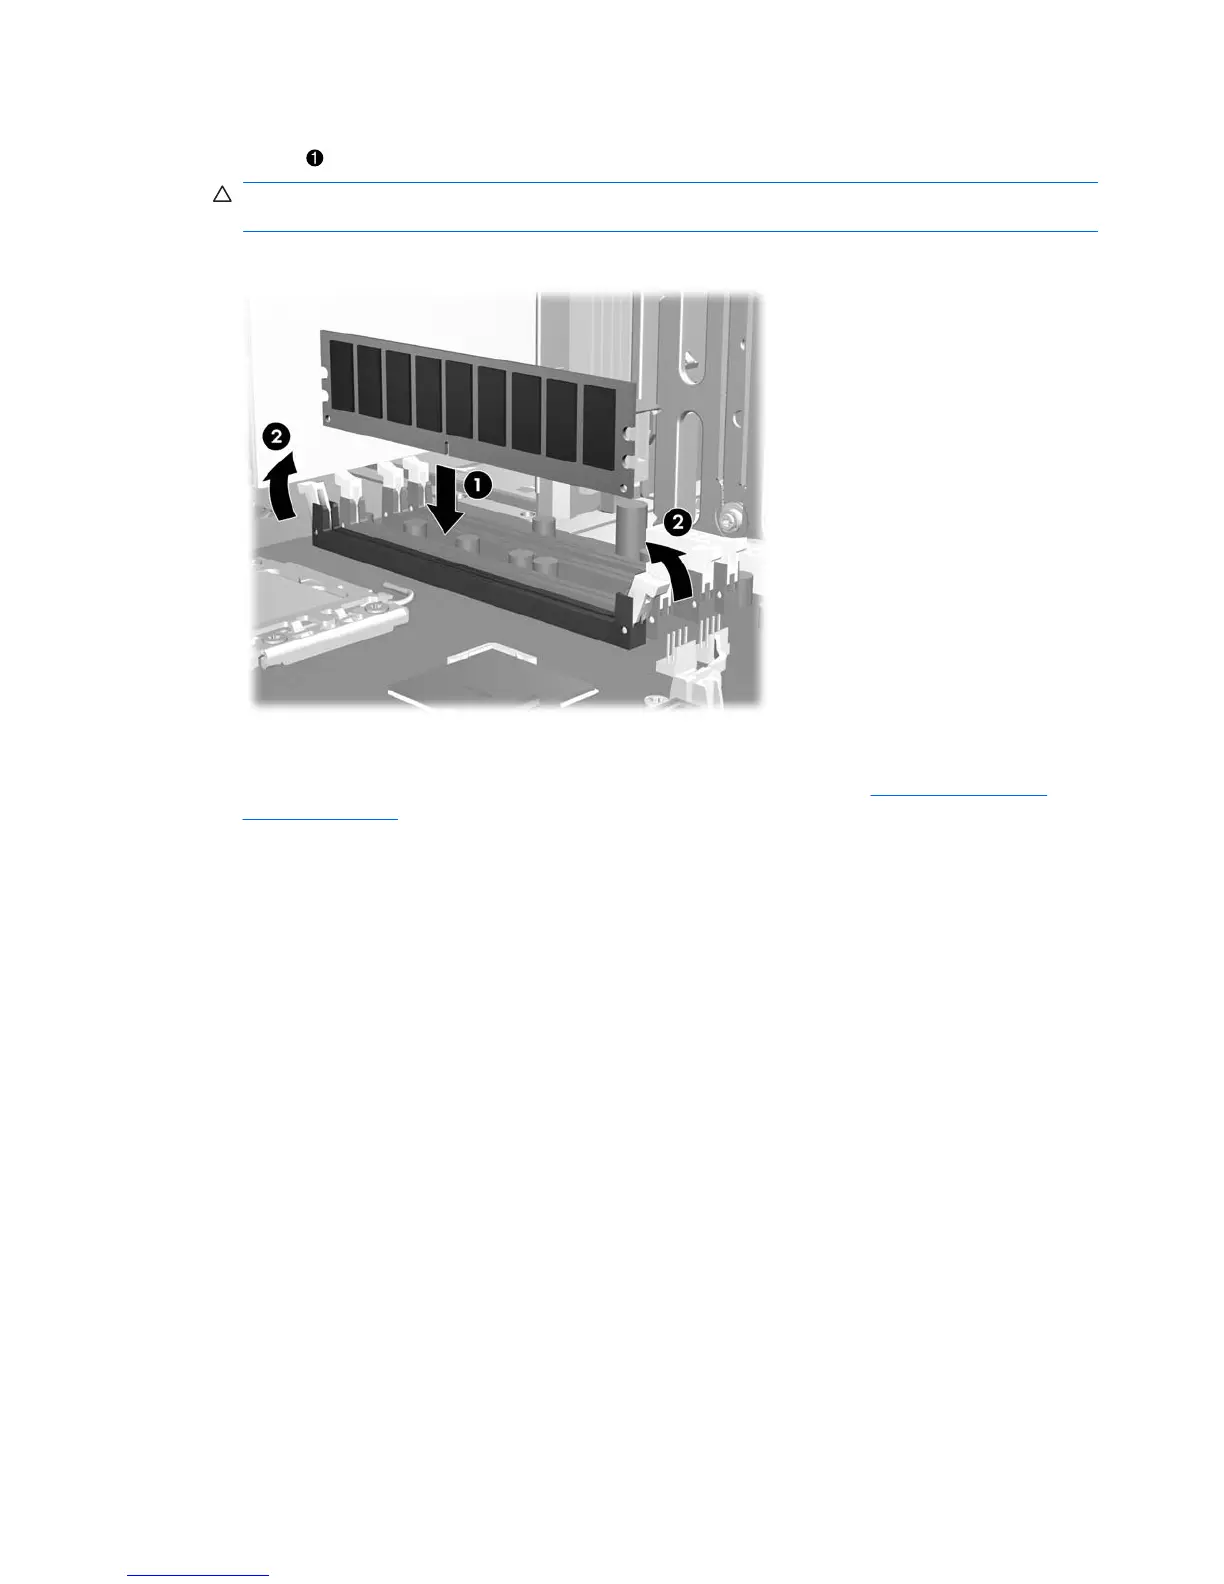
6. Align the DIMM connector key with the DIMM socket key, and then seat the DIMM firmly in the
socket
as shown in the following figure.
CAUTION: DIMMs and their sockets are keyed for proper installation. To prevent socket or DIMM
damage, align these guides properly when installing DIMMs.
Figure 5-36 Seating the DIMM
7. Secure the socket levers
2
.
8. For a 6-DIMM workstation configuration, replace the airflow guide (see
Installing the airflow
guide on page 93).
9. Replace all components that you removed in preparation for component installation.
100 Chapter 5 Replacing components ENWW

 Loading...