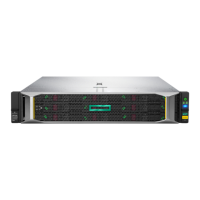
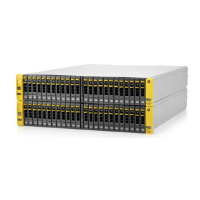
Item Description
1 JBOD 2: First upgrade enclosure.
2 Server node.
3 JBOD 1: Base enclosure.
4 JBOD 3: Second upgrade enclosure.
Item SAS cable Label color Cable from To
5 New 0.5 m cable Red JBOD 3 Drawer 2 IOM A
Port 1
JBOD 3 Drawer 1 IOM A
Port 2
6 New 0.5 m cable Green JBOD 3 Drawer 2 IOM B
Port 1
JBOD 3 Drawer 1 IOM B
Port 2
7 New 1 m cable Red JBOD 1 Drawer 2 IOM A
Port 2
JBOD 3 Drawer 1 IOM A
Port 1
8 New 1 m cable Green JBOD 1 Drawer 2 IOM B
Port 2
JBOD 3 Drawer 1 IOM B
Port 1
9 Moving 2 m cable Green and
white
Node Slot 3 Port 2 JBOD 3 Drawer 2 IOM B
Port 2
4. If you are finished installing upgrade enclosures, skip to Adding power cables.
If you purchased additional HPE StoreOnce 5250/5650 44 TB or 88 TB Capacity Upgrade Kits (disk
packs), install them after the storage enclosures have powered on successfully.
Cabling the third upgrade enclosure (JBOD 4)
The third upgrade enclosure is the highest in the rack, located above JBOD 2.
Procedure
1. Apply the "JBOD4" label to the rear of the enclosure.
2. Apply the cable labels to the new SAS cables. On the moving 2 m SAS cable, replace the "F=2" label
with the "F=4" label.
SAS cable Label color New labels
New 0.5 m cable Red J4:D2:IA:P1 - J4:D1:IA:P2
New 0.5 m cable Green J4:D2:IB:P1 - J4:D1:IA:P2
New 1 m cable Red J2:D2:IA:P2 - J4:D1:IA:P1
New 1 m cable Green J2:D2:IB:P2 - J4:D1:IB:P1
Moving 2 m cable (N:S6:P2 - JF:D2:IB:P2 ) White F=4
3. Cable the third upgrade enclosure (JBOD 4) as shown.
118 Installing capacity upgrade kits

 Loading...
