Figure 3-20 Installing dust-proof caps
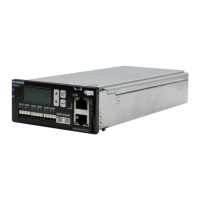
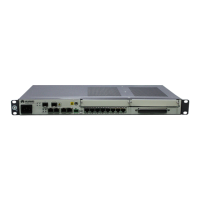
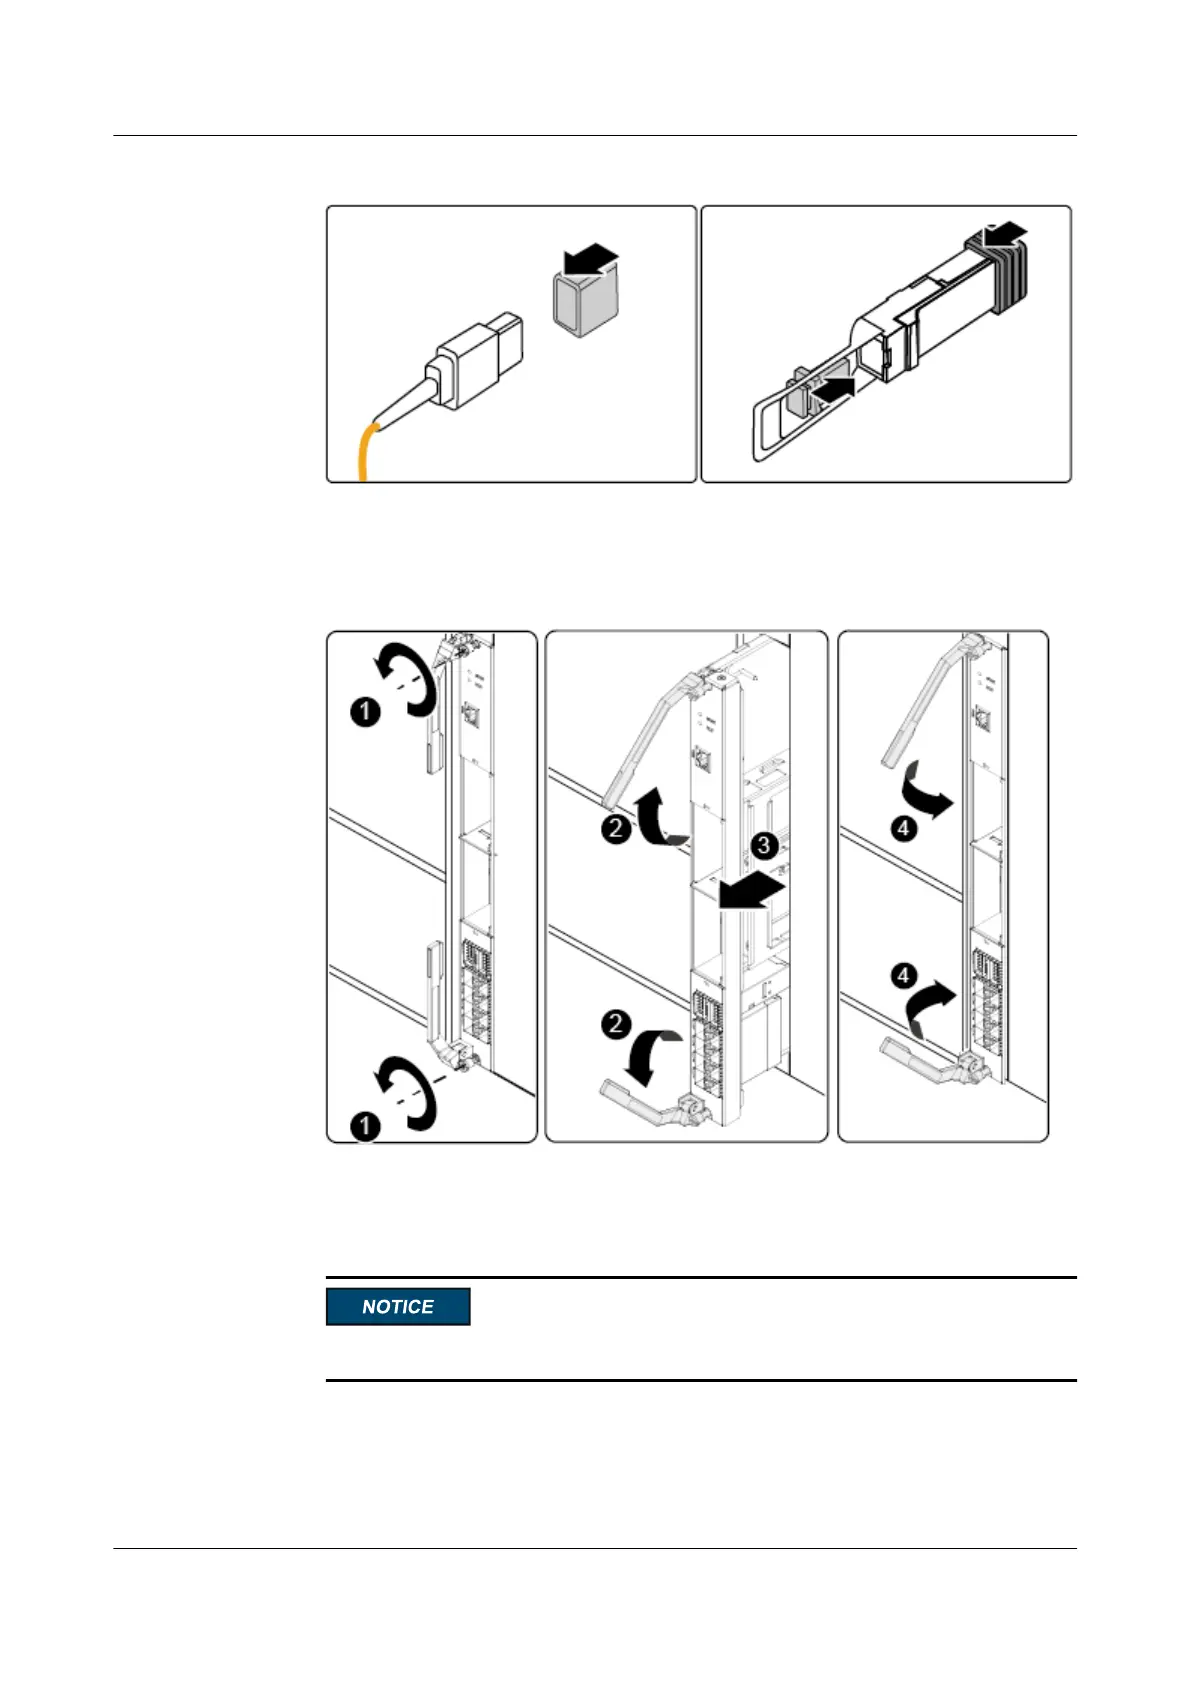
Step 6 Remove the CX320.
1. Use a Phillips screwdriver to loosen the two M3 captive screws. See (1) in Figure 3-21.
Figure 3-21 Removing the switch module
2. Raise the two ejector levers on the CX320 completely and pull the switch module
horizontally out of the chassis. See (2) and (3) in Figure 3-21.
3. Lower the ejector levers on the CX320. See (4) in Figure 3-21.
An ESD bag holds only one switch module.
4. Place the removed switch module into an ESD bag.
Step 7 (Optional) Remove a PIC card.
1. Raise the PIC card handle completely and pull the PIC card horizontally out of the PIC
slot. See (1) and (2) in Figure 3-22.
CX320 Switch Module
User Guide
3 Installing and Removing the CX320
Issue 09 (2019-08-02) Copyright © Huawei Technologies Co., Ltd. 48