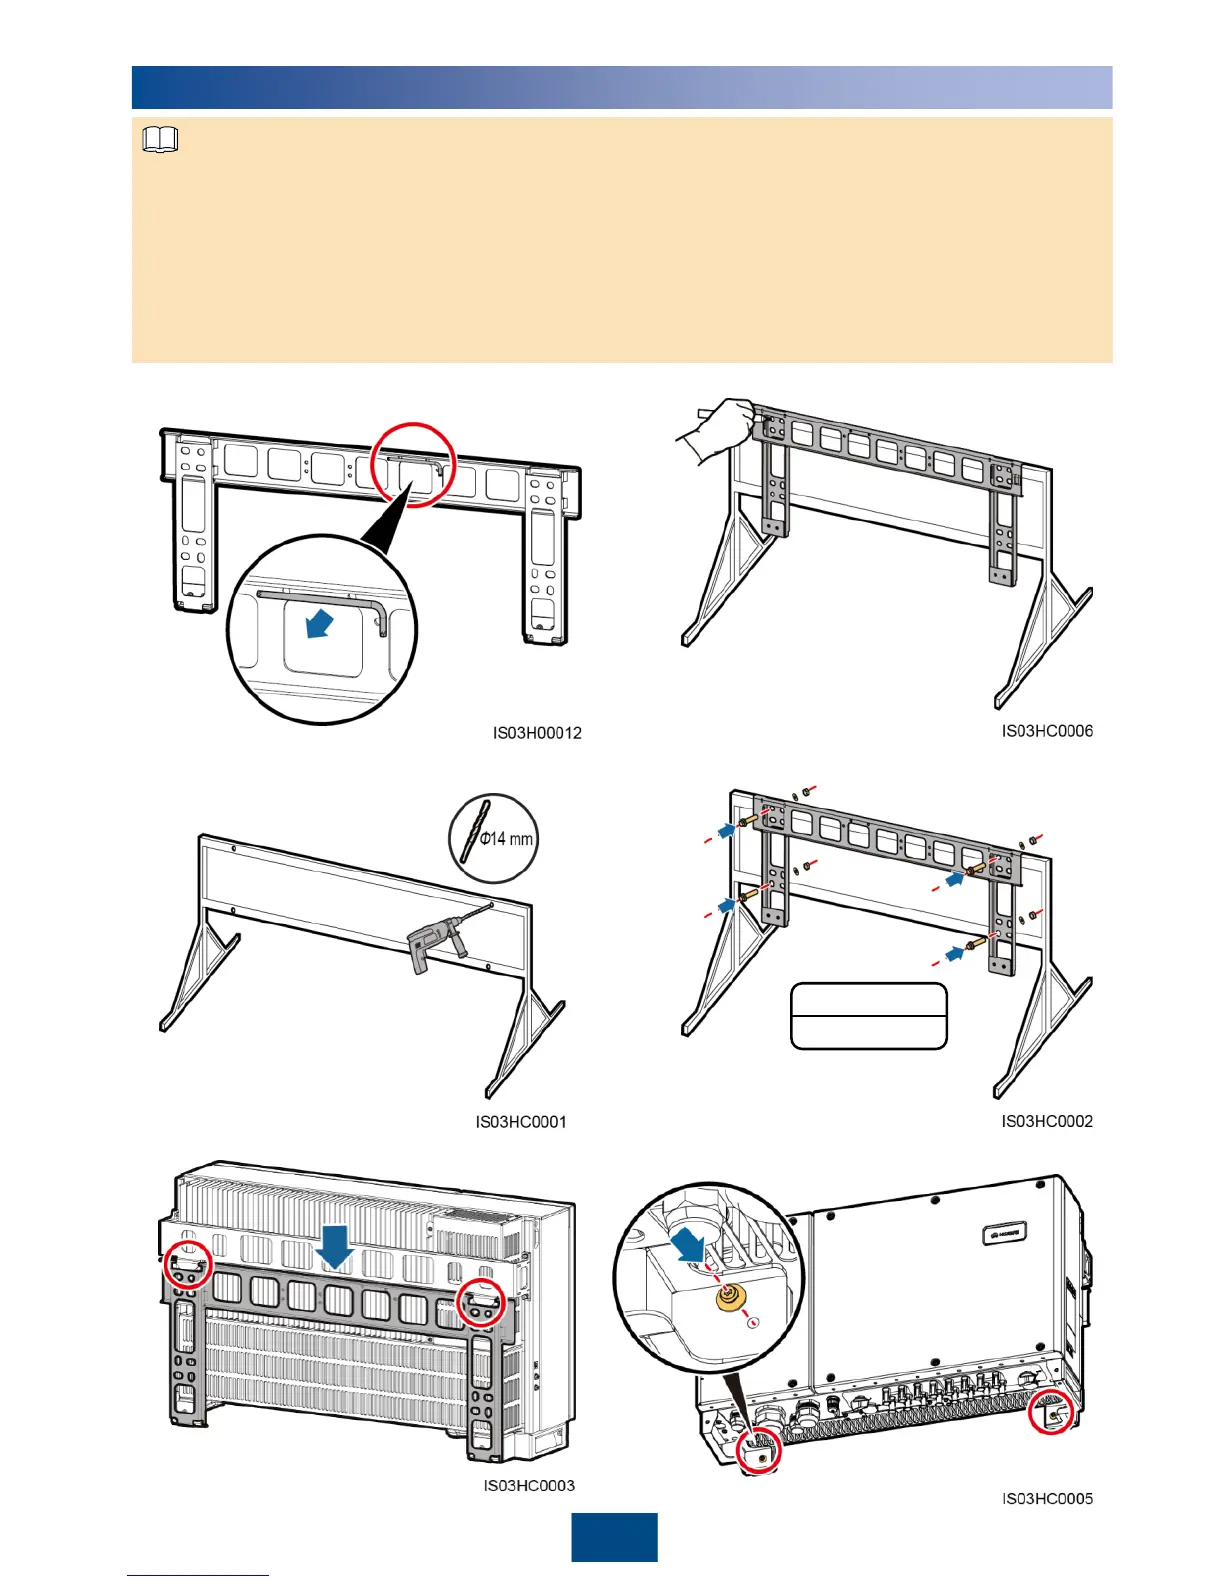
5. Install the SUN2000 on the mounting
bracket.
6. Tighten the security torx screws using a
security torx wrench.
1. Remove the security torx wrench from the
mounting bracket and set it aside.
2. Mark hole positions.
3
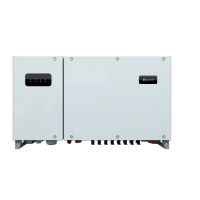
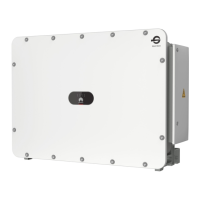
Installing the SUN2000
The SUN2000 mounting bracket has four groups of tapped holes, each group containing four
tapped holes. Mark any hole in each group based on site requirements and mark four holes in
total. Two round holes are preferred.
The SUN2000 is delivered with M12x40 screw assemblies. If the screw length does not meet
the installation requirements, prepare M12 screw assemblies by yourself and use them together
with the delivered M12 nuts.
The following describes how to support-mount the SUN2000 as an example. For details about
how to wall-mount the SUN2000, see the SUN2000-(33KTL-A, 36KTL, 42KTL) User Manual.
4. Secure the mounting bracket.3. Drill holes. (You are advised to apply anti-rust
paint on the hole positions for protection.)
M12
45 N·m
 Loading...