2
GETTING STARTED
Thank you for purchasing Hunter Douglas Duette
®
Honeycomb Shades. With proper
installation, operation, and care, your new shades will provide years of beauty and
performance.
Please thoroughly review this instruction booklet and the enclosed packing list before
beginning the installation.
Tools and Fasteners Needed
■
1" metal putty knife
■
Flat blade and Phillips screwdrivers
■
Level (laser level is recommended)
■
Mallet
■
Measuring tape and pencil
■
Power drill,
3
⁄
32
" drill bit,
5
⁄
32
" drill bit, and
1
⁄
4
" hex driver
■
Scissors
In addition, you will need fasteners designed to work with your specific mounting surface(s).
■
#6 Hex Head Screws (Provided). 1
1
⁄
2
" screw is provided per installation bracket. Also,
1
1
⁄
2
" screws are provided for the mounting channels — the number of the screws provided
depends on the length of the channels.
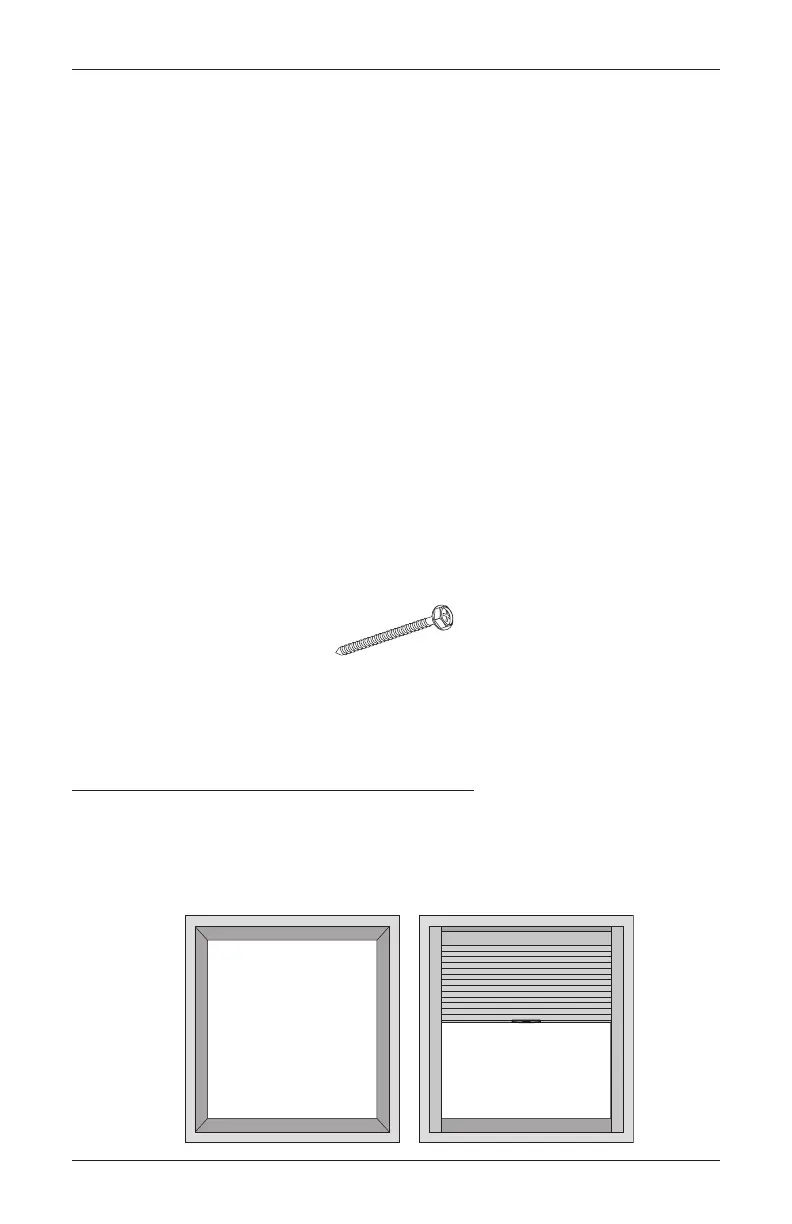
Mounting Type and Window Terminology
If the mounting channels and installation brackets are mounted correctly, the rest of the
installation process follows easily. To prepare for these important steps, review the basic
window terminology illustrated below. Note that LightLock
™
system is only available for
inside mount.
#6 x 1
1
∕
2
"
Hex Head Screw
(Provided)
Longer #6 Hex Head Screw
for Use with Spacer Blocks
(Not Provided)
#6 Flat Head Screw
for Use with End Mounts
(Provided)
Speed Nut
and Screw
(Two Provided with
Each Extension Bracket)
Inside Mount
Shade fits within
window opening.
Collectively, the sill and
jambs are called the
“window casement.”
Head Jamb
Sill
Jamb Jamb
 Loading...


