8
System Installation
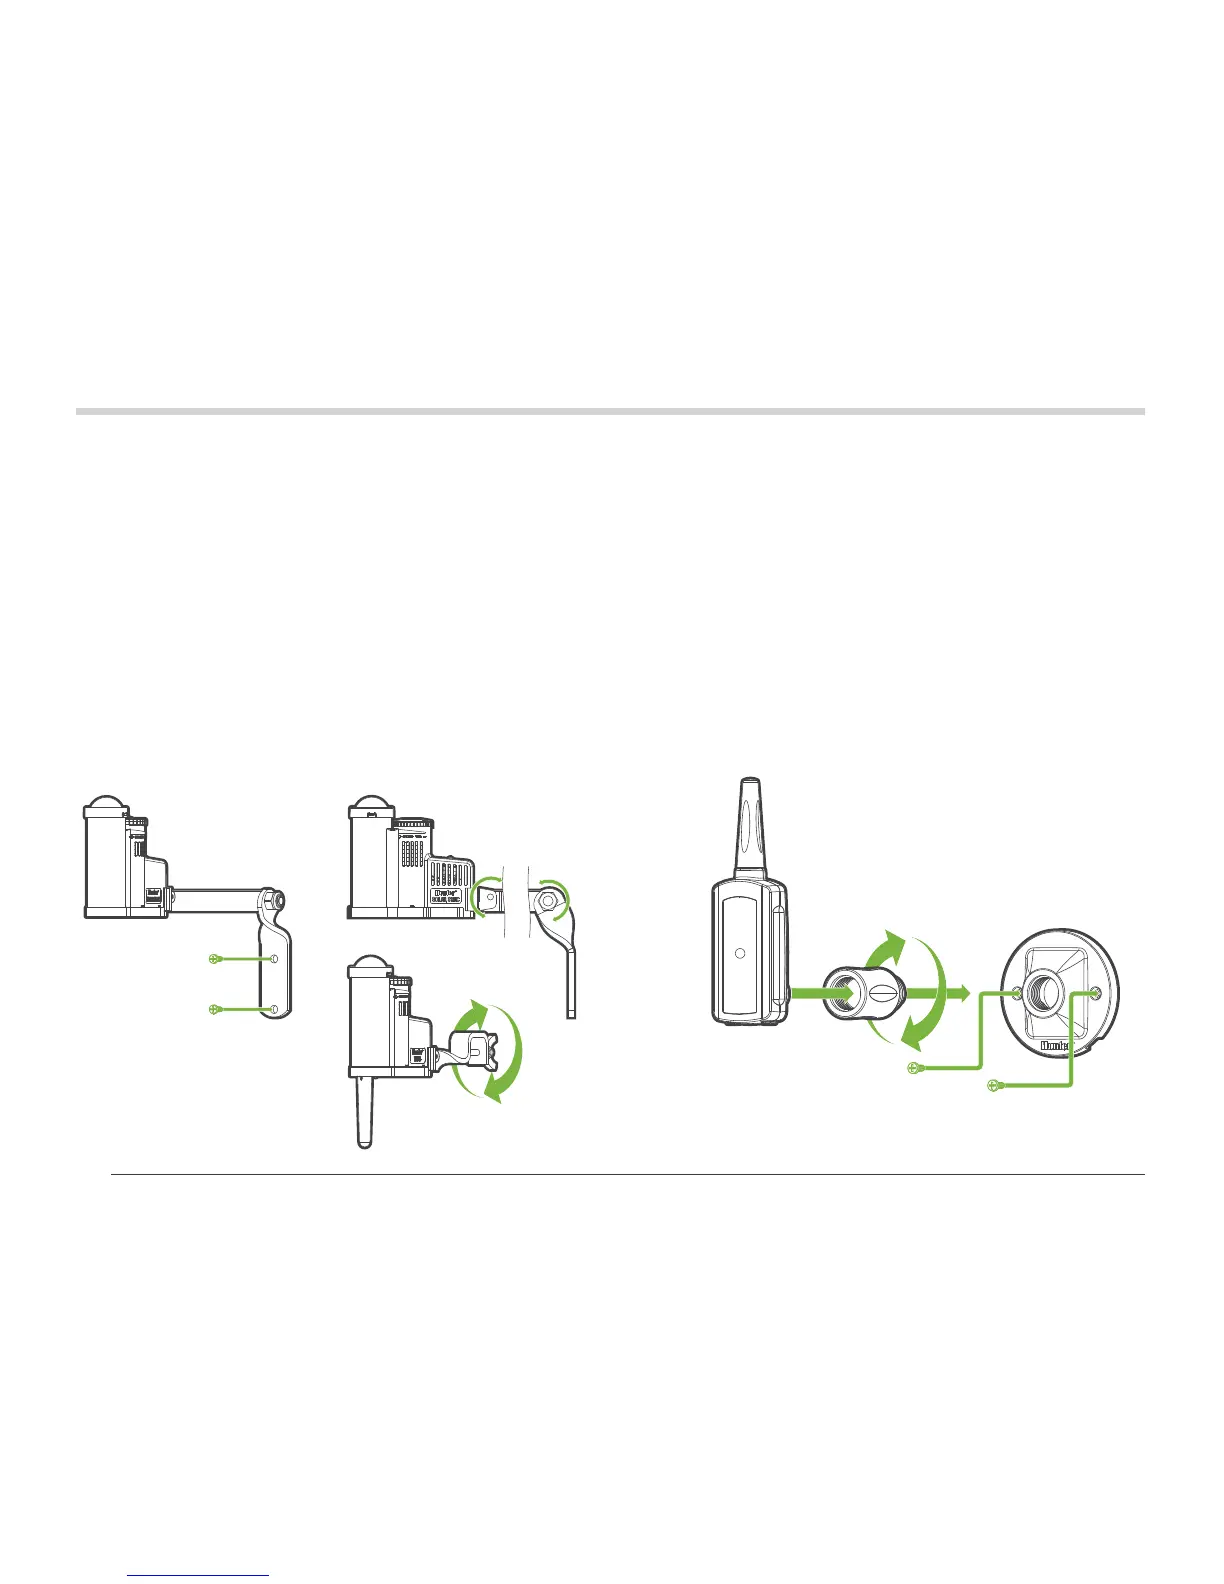
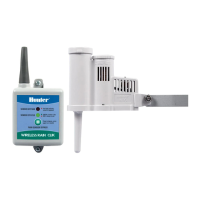
Installing the Sensor
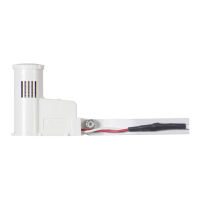
The Solar Sync sensor can be mounted using the wall
bracket, or the gutter mount. Mounting the Solar Sync
using the wall bracket (A), use the screws provided to attach
the sensor.
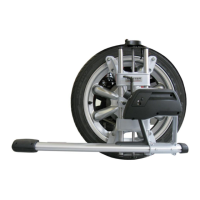
Mounting the Solar Sync using the gutter mount (B), tighten
the locking screw over the edge of a rain gutter.
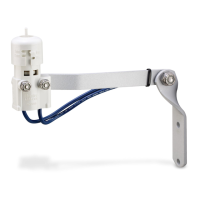
The sensor needs to be oriented upright (C) and the swivel
bracket can be moved for mounting on angled surfaces.
Loosen the locknut and screw to install at the desired angle
and then retighten.
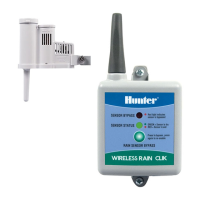
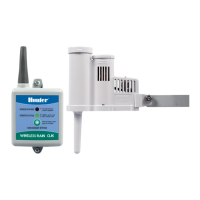
Installing the Receiver
The Solar Sync receiver (A) can be installed either on the
wall using the mounting bracket (C) provided, or by using an
available knockout in the controller cabinet. Mount
the receiver to the wall using the screws provided near
your controller.
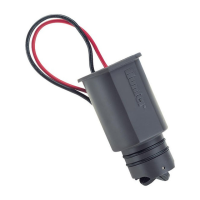
Mount the receiver on the side of your controller using the
extender (B) provided in any available knockout.
A
C
B