OPERATION
19
Using the PowerView
®
Remote
First, activate the remote by pulling both plastic tabs from the back battery compartment.
IMPORTANT: If you have more than one remote see “Adding Additional Remote(s) to the
PowerView
®
Shade Network” in the PowerView Automation Remote Control Guide.
Joining a Shade to a Group
IMPORTANT: The shade will not operate using the remote until it has been joined to a
group.
1. Press and hold ■ STOP on the remote until the indicator lights blink (approximately 6
seconds). The remote is now in programming mode.
2. Press desired group number (1 – 6) on the remote. The backlit group number will flash to
show it is selected.
3. While pressing the programming button on the shade, press ▲ OPEN on the remote. The
green light flashes once and the shade will move slightly to indicate that it has joined the
group. Release the programming button.
4. Press and hold ■ STOP on the remote until the indicator lights stop blinking (approximately
6 seconds).
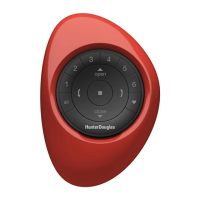
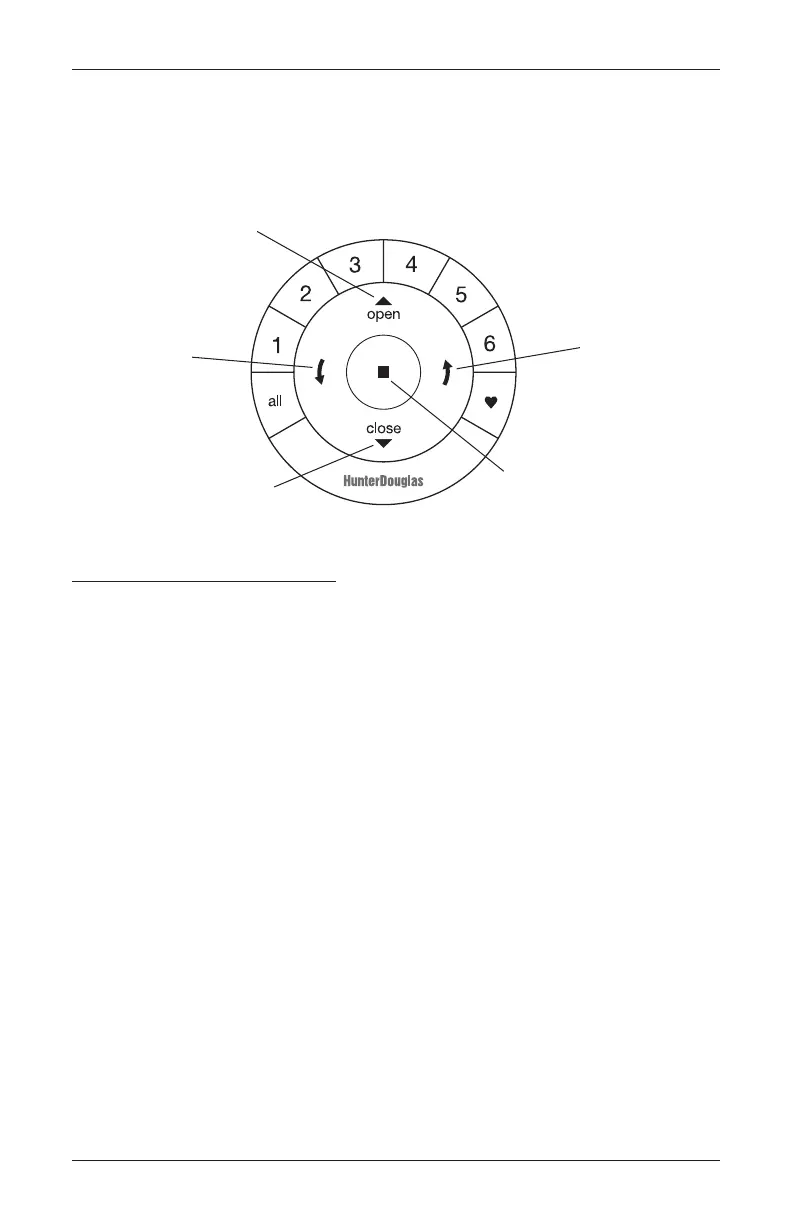
Group 1
Group 2
CLOSE
Group 5
Group 6
Favorite
(Shade position)
ARROW
RIGHT ARROW
No function
STOP
(Press and hold for
programming mode)