English - 21
WARNING! If the spring inside the spring
cassette is tensioned it can y up and
cause personal injury. Wear protective
glasses.
10 Starter
10.1 Dismantling
10.2 Cleaning and inspection
1. Clean all components.
2. Check the following for nicks and cracks:
• Starter cord.
• The dogs on the starter pulley.
• That the pawls on the ywheel are intact and that the
spring is back towards the centre and moves freely.
3. Grease the spring in the starter pulley with
Husqvarna UL 22.
Fig. 1
Fig. 2
Fig. 3
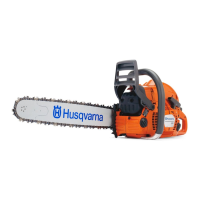
5. Unscrew the central bolt (C) with integrated washer.
Lift up the starter pulley (D). See gure 3.
6. If the starter cord is to be replaced, cut it o and
pull out the ends from the handle and starter pulley
using pointed pliers.
7. If the spring is to be replaced, remove the 2 screws.
(E) and the spring cassette (F).
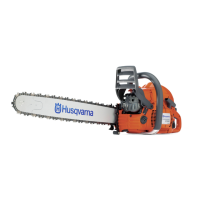
1. Loosen the four screws holding the starter to the
crankcase. Lift the starter o the chainsaw. See
gure 1.
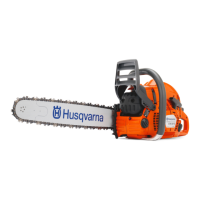
2. Remove the air guide plate in the starter housing.
3. Pull out the handle 20-30 cm (A) and take out the
cord from the slot in the starter pulley (B). See
gure 2.
4. Rotate the starter pulley anticlockwise until the
tension on the pulley is released. See gure 2.
Starter

 Loading...

