English - 27
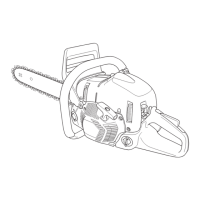
Fig. 16
11.6 Replacing the switch (XPG)
1. To replace the switch the following must be
dismantled (see chapter Replacing the generator):
• Front handle (ve to six screws).
• Cables in the front handle (three).
2. Unscrew the screw holding the switch (A).
3. Use a at screwdriver to dismantle the switch (B).
4. Disconnect the cables. Note the positions of the
cables. See gure 16.
5. Fit the cables on the new switch.
6. Hold the switch with a rm grip against the front
handle while attaching the switch to the front
handle.
11.7 Replacing the heating element in
the rear handle (XPG)
1. Unscrew the screw in the rear handle (A). See gure
17.
2. Remove the rear hand grip insert.
3. Remove the cable connections (B and C). See gure
17 and 18.
4. Replace the heating element.
5. Fit the cable connections (B and C). See gure 18.
Fig. 18
Fig. 17
Note! The cables have to be connected correctly.
Carefully study the illustration.
Note! Fit the switch carefully and make sure that
the cables are not pinched under the switch.
11.8 Replacing the front handle
1. XPG: Unscrew the cover on the front handle (B, C).
See gure 19.
2. XPG: Disconnect the three cables in the handle
using a pliers. See gure 12 in chapter Replacing
the generator.
3. Remove the front handle (A) (ve or six bolts depen-
ding on which handle that is being used). See gure
19.
4. Attach the replacing front handle.
5. XPG: Connect the three cables and t the cover on
the front handle. See gure 11 and 12 in chapter
Replacing the generator.
Fig. 19
C
B
A
Ignition system
 Loading...