22
HYDROPOOL SWIM SPA SERIES CONTROL SYSTEMS
NORTH AMERICA / EUROPE
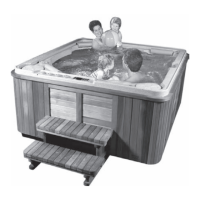
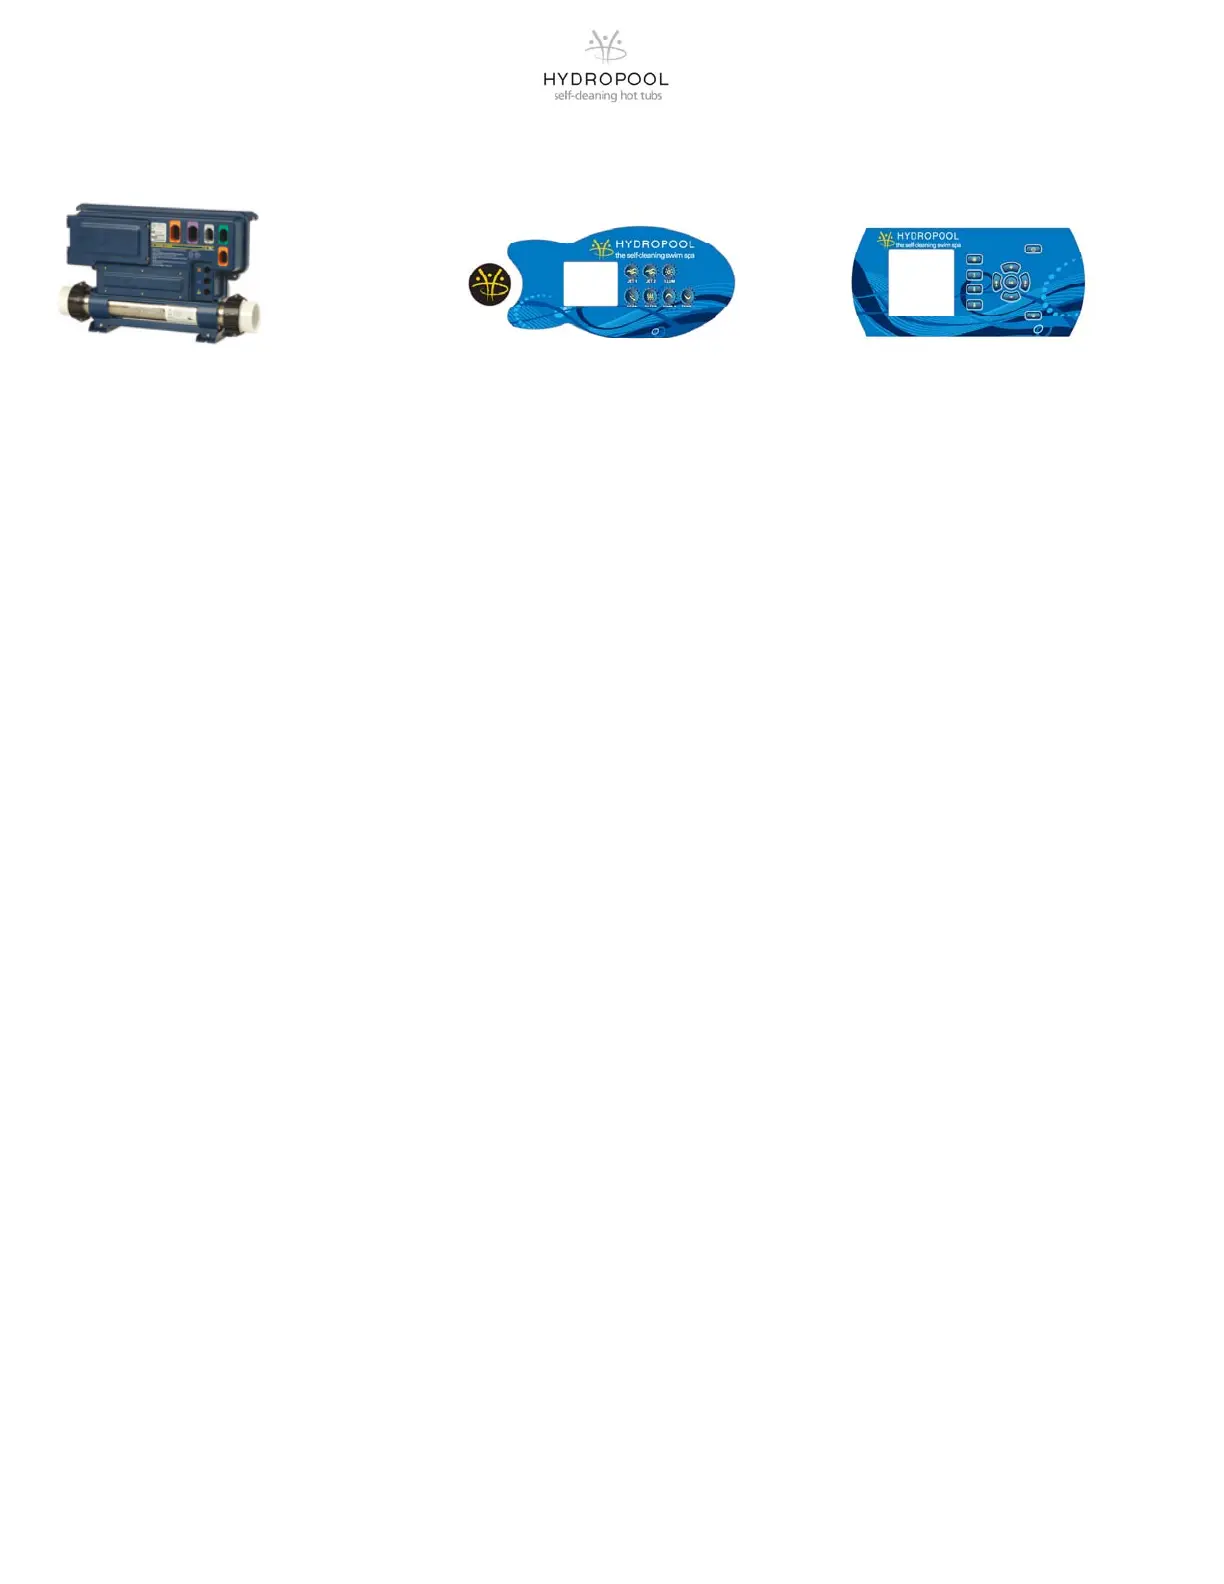
HYDROPOOL SWIM SPA – IN.XE SPA PACK SERIES
INITIAL START-UP
Before applying voltage to power-up your hot tub, it is very
important that you understand the sequence of events that
occur when the system is activated in order that the pump
can be primed efficiently and damage to the system can be
avoided.
At initial power-up, the system will do a lamp test where all
of the segments and LED’s are lighting up. Then the system
will show the software part number, the software revision
and then the low level selection.
After the initial software indicators are shown, the display will
flash between temperature (- - -
o
F) and time (12:00 pm).
This display is indicating that the system is in PUMP PRIM-
ING MODE. In this mode pump 2 (if installed) will run for one
minute and then it will turn off and the system will activate
pump 1 to run for one minute before automatically exiting
and entering the normal operation mode.
While in this mode, the heater circuit is disabled to allow the
priming process to be completed without the possibility of
energizing the heater element during low flow or no flow
conditions. The system will not automatically activate any of
the functions, however, by pushing the pad on the topside
control, the pump can be manually activated to facilitate
priming.
Definition: ‘Priming’ a pump is a term used to describe the
process in which air trapped in the plumbing and pump wet-
end (referred to as an ‘air lock‘) is released, allowing the
pump to move water efficiently through the plumbing system
and to the jets.
TEMPERATURE CONTROL
FUNCTIONALITY AND ADJUSTMENT
After you manually exit or the system automatically exits
Priming Mode, your hot tub will automatically heat to the fac-
tory preset default temperature of 38°C (100°F) The topside
panel will briefly show the default temperature, and then the
display will show (- - -
o
F) and time (12:00 pm).
Note that the water temperature is not yet displayed, as the
system requires approximately 2 minutes of water flow
through the heater to determine temperature. After 2 minutes
the display will show the current measured water tempera-
ture
Press the keypad to increase the temperature to the desired
setting. The heat indicator light on the topside panel will turn
on indicating that the display shows the desired temperature,
NOT the current water temperature.
To Check/Change the Set Temperature
The last measured temperature is constantly displayed on
the topside panel. When this pad is pressed once any time
during normal operation, the display will show the set tem-
perature for 5 seconds. Press this pad a second time to in-
crease or decrease the set temperature. To change the di-
rection of the temperature settings (ie. lower vs. raise the
temperature), allow the display to revert back to the current
water temperature then press the pad again.
The temperature can be adjusted from 15°C (59°F) to 40°C
(104°F) in 0.5°C (1°F) increments.
Heater Function
In a regulation cycle, the system first generates water flow
through the heater housing and the plumbing, in order to
ensure accurate water temperature readings as well as
avoiding heater activation in dry conditions.
The system verifies periodically that all parameters are within
the normal range.
If the readings received from the system are not valid, blanks
(- - -) will be displayed until normal readings have been suc-
cessfully found.
After verifying pump activation and taking a water tempera-
ture reading if required, the system automatically turns the
heater on to reach and maintain water temperature at the set
point. The heater indicator lights up when the heater is on, It
flashes when there is a request for more heat but the heater
has not started yet.