3.0 Additional Functions
___________________________________________________________________________________________________
CC1092267A 13
c) Switch-in point.
d) Switch-out point
If there are no days of the week selected in the
switching unit line, the switching unit is not active. The
unit only becomes active when the day of the week is
set. When the key
is pressed, the first underscore _
starts to flash. Use the key to set the first day of the
week (Sunday). Use the key to confirm the day of
the week, the next underscore _ starts to flash. If you
do not want to confirm a day of the week as set,
immediately press the key. Run through all seven
days of the week this way. Once you confirm the last
day of the week (Saturday), the first unit of the switch-in
point starts to flash, set this using or .
Once the last unit of the switch-out point has been
confirmed, the whole timer sequence is activated.
The next step is to go to the [CONTROL MENU] sub-
menu and then the TIMER CONTROL menu item. You
will see the default setting TIMER CONTROL OFF. If
you press the key, the OFF value starts to flash.
Use the key to change the value to ON. Then press
the
key again to confirm the entry. The timer is now
switched on.
Timer sequence settings are explained by the examples
below.
Example 1:
Switching unit 1 not active:
1 _______ 00:00 00:00
Example 2:
The unit should run Monday to Friday between 7.30 am
and 4.15 pm.
2 _MTWTF_ 07:30 16:15
a) b) c)
a) Days of the week Monday to Friday
b) Switch-in point
c)
Switch-off point
Example 3:
The unit is to run from Sunday 10 pm through
continuously to Saturday 2 pm. During the daily break
(12 midday to 12.30 pm), the unit is to be shut down.
You will now have to use various switching units. The
following settings would be needed in this case:
1 S______ 22:00 00:00 a)
2 _MTWTFS 00:00 12:00 b)
3 _MTWTF_ 12:30 00:00 c)
4 ______S 12:30 14:00 d)
5 _______ 00:00 00:00
6 _______ 00:00 00:00
7 _______ 00:00 00:00
a) Start of operating period
b) Operating period up until lunch break
c) Start of operation after lunch break
d) End of operating period.
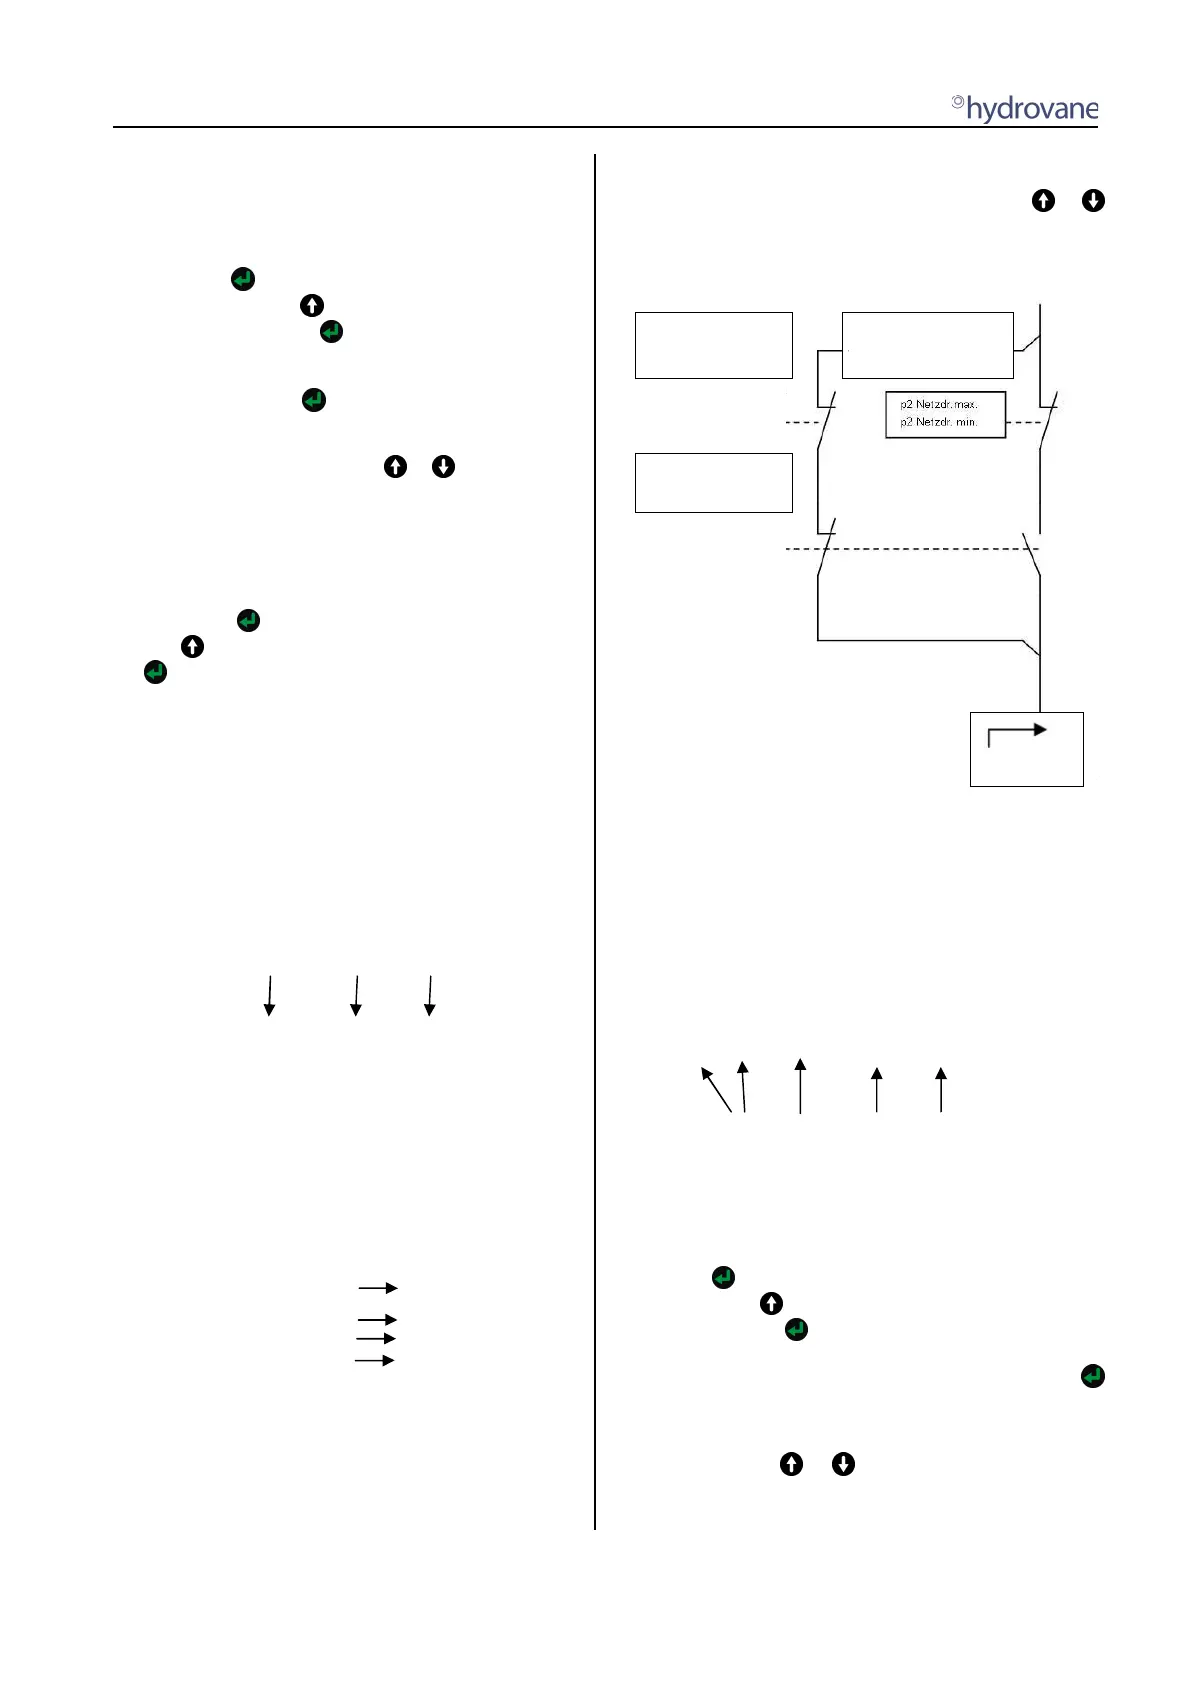
3.3.2 Pressure changeover setting
Go to the [TIMERCONTROL] sub-menu. Use the or
key to select between various timer units. The timer units of
the 2nd (p
2
) pressure range are in the menu under the
normal timer units.
CUT-OUT POINT
CUT-IN POINT
TARGET PRESSURE
p2 CUT-OUT
p2 CUT-IN POINT
p2 TARGET PRESSURE
p2 TIMER CONTROL
ON-LOAD
Fig. 2
Pressure Changeover
Seven timer units are available for programming. Values
that you have set for the second pressure range supersede
the values for CUT-OUT POINT and CUT-IN POINT or
TARGET PRESSURE as soon as a switching unit is active.
The 1st row on the display then shows the p
2
symbol for
the second pressure range. If the switching unit becomes
inactive, the values for CUT-OUT POINT and CUT-IN
POINT or TARGET PRESSURE are used again.
The status line of each switching unit is as follows:
a) b) c) d) e)
p
2
1 _______ 00:00 00:00
a) 2nd pressure range
b) Unit no.
c) Days of the week [SMTWTFS] = Sunday, Monday...
d) Switch-in point
e) Switch-out point
When the key is pressed, the first underscore _ starts to
flash. Use the key to set the first day of the week
(Sunday). Use the key to confirm the day of the week.
The next underscore _ now flashes. If you do not want to
confirm a day of the week as set, immediately press the
key. Run through all seven days of the week this way.
Once you have confirmed the last day of the week
(Saturday), the first unit of the switch-in point starts to flash,
set this using the or key. Once the last unit of the
switch-out point has been confirmed, the whole switching
unit is activated.