6
2. Install the optional duplexer and the bracket. Be
sure to observe the specications of the two antenna
connectors on the duplexer, to determine which
connector should be connected to the transmitter.
Ensure the antenna connector connected to the
transmitter is beside the rear panel of the repeater.
Take Hytera supplied duplexer as an example. If the
transmitter is connected to the low cavity connector,
the duplexer should be mounted with the front side
facing upwards (see the following gure on the left);
and if it is connected to the high cavity connector, the
duplexer should be mounted with the front side facing
downwards (see the following gure on the right).
Installation
Caution: Be sure to observe proper electrostatic
discharge precautions if any part must be removed
from the repeater.
is used to connect the repeater to the site grounding. All
antenna cables, and AC and DC power cords, should be
properly grounded and lightning protected by following the
rules and guidelines provided in the above sections.
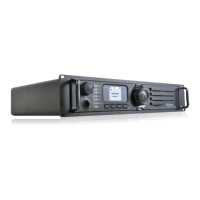
Installation Steps
Yo u wi l l need a Phili p s scr e w drive r (cros s h ead
screwdriver), a Torx (T10) screwdriver and a spanner, to
install the repeater.
The installation steps are as follows:
1. Mount the repeater in a rack, bracket or cabinet.
2. Connect accessories such as antenna cables and
power cords to the repeater.
If a duplexer needs to be mounted
If the repeater needs to work with a duplexer, your will
need to implement the following installation steps prior to
the above steps 1 and 2.
1. Loosen the three screws on the bracket with a Philips
screwdriver.
 Loading...