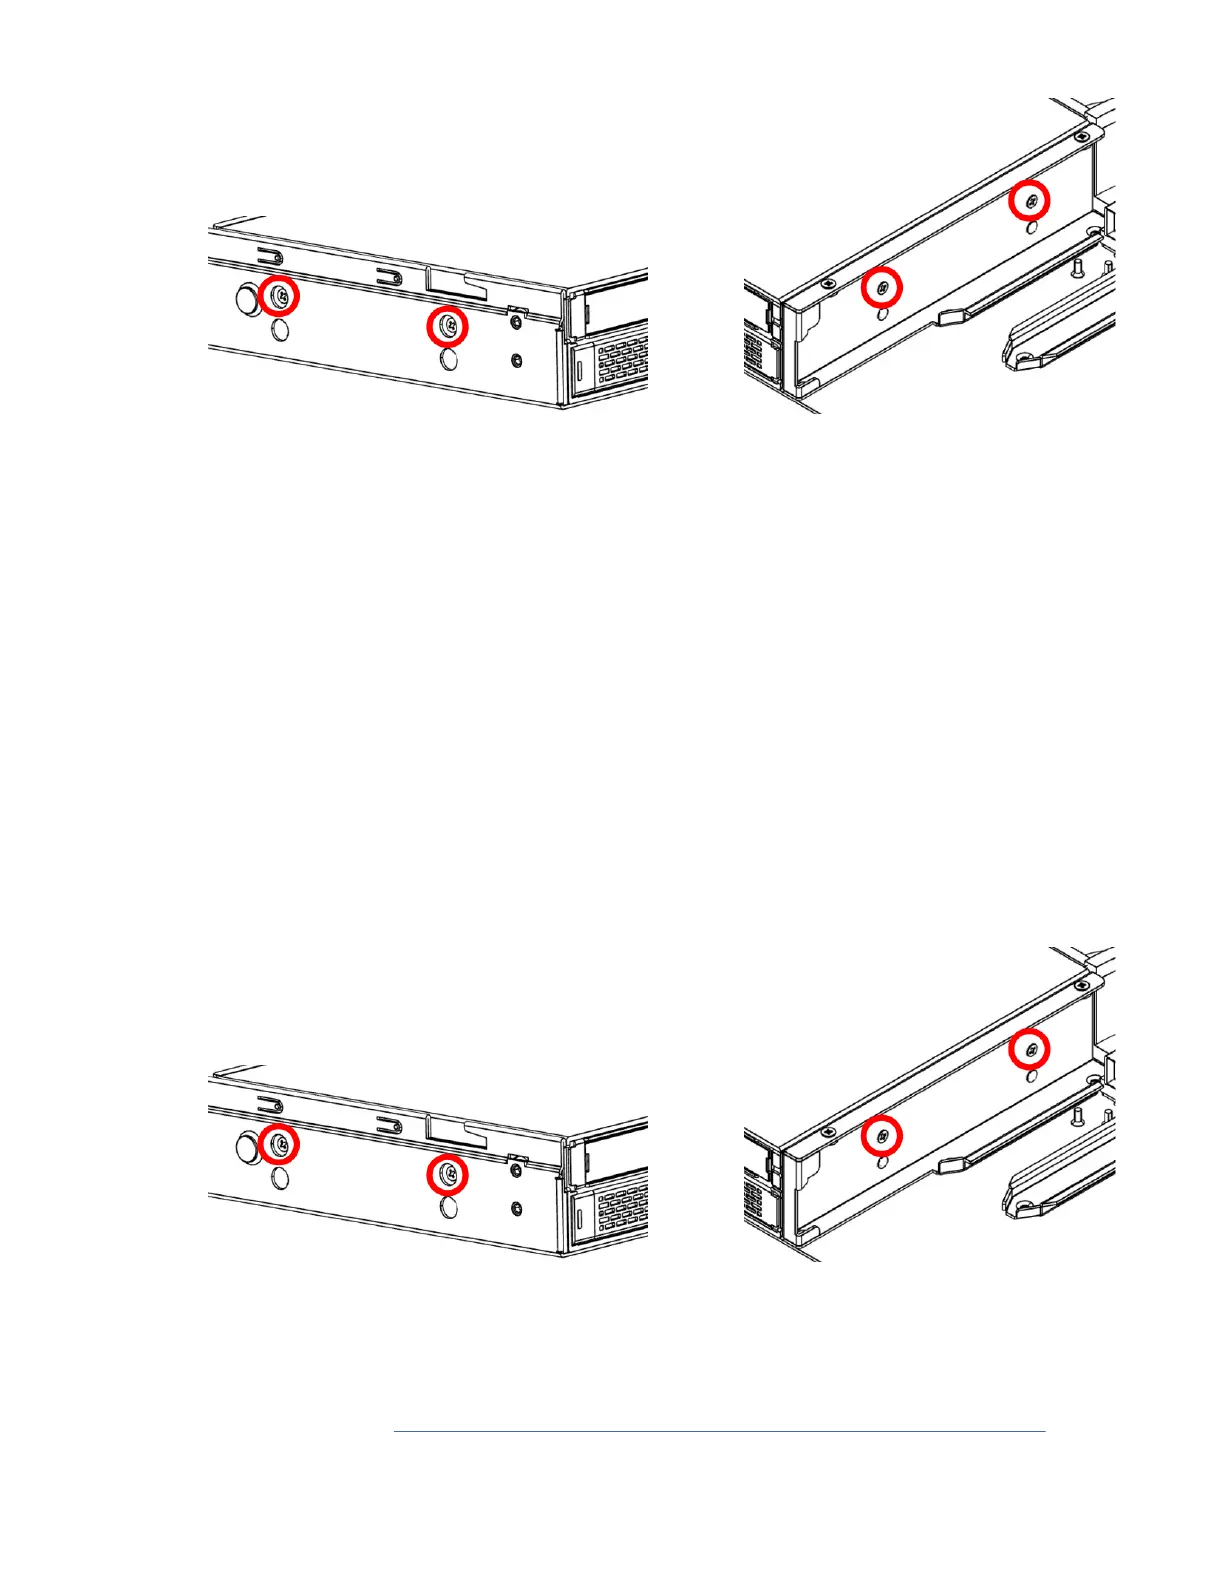
Figure 12. Drive holder screws
10. Remove the drive holder from the system.
11. Place the drive holder and cables on the table.
Replacing the drive holder in the 7063-CR2 system
To replace the drive holder in the IBM Power Systems HMC (7063-CR2) system, complete the steps in this
procedure.
About this task
You can use a magnetic tip screwdriver to remove and replace the screws.
Procedure
1. Ensure that you have the electrostatic discharge (ESD) wrist strap on and that the ESD clip is plugged
into a ground jack or connected to an unpainted metal surface. If not, do so now.
2. Insert the drive holder into the system.
3. Install the four screws for the drive holder. The holder has two screws on each side; use the top
screw holes.
Figure 13. Drive holder screws
4. Install the left rail onto the system.
5. Using your labels, replace the cables into the rear of the drive holder.
6. Install the service access cover.
For instructions, see “Installing the service access cover on a 7063-CR2 system” on page 105.
7. Replace all of the fans into the system.
16
Power Systems: Servicing the IBM Power Systems HMC (7063-CR2)

 Loading...


