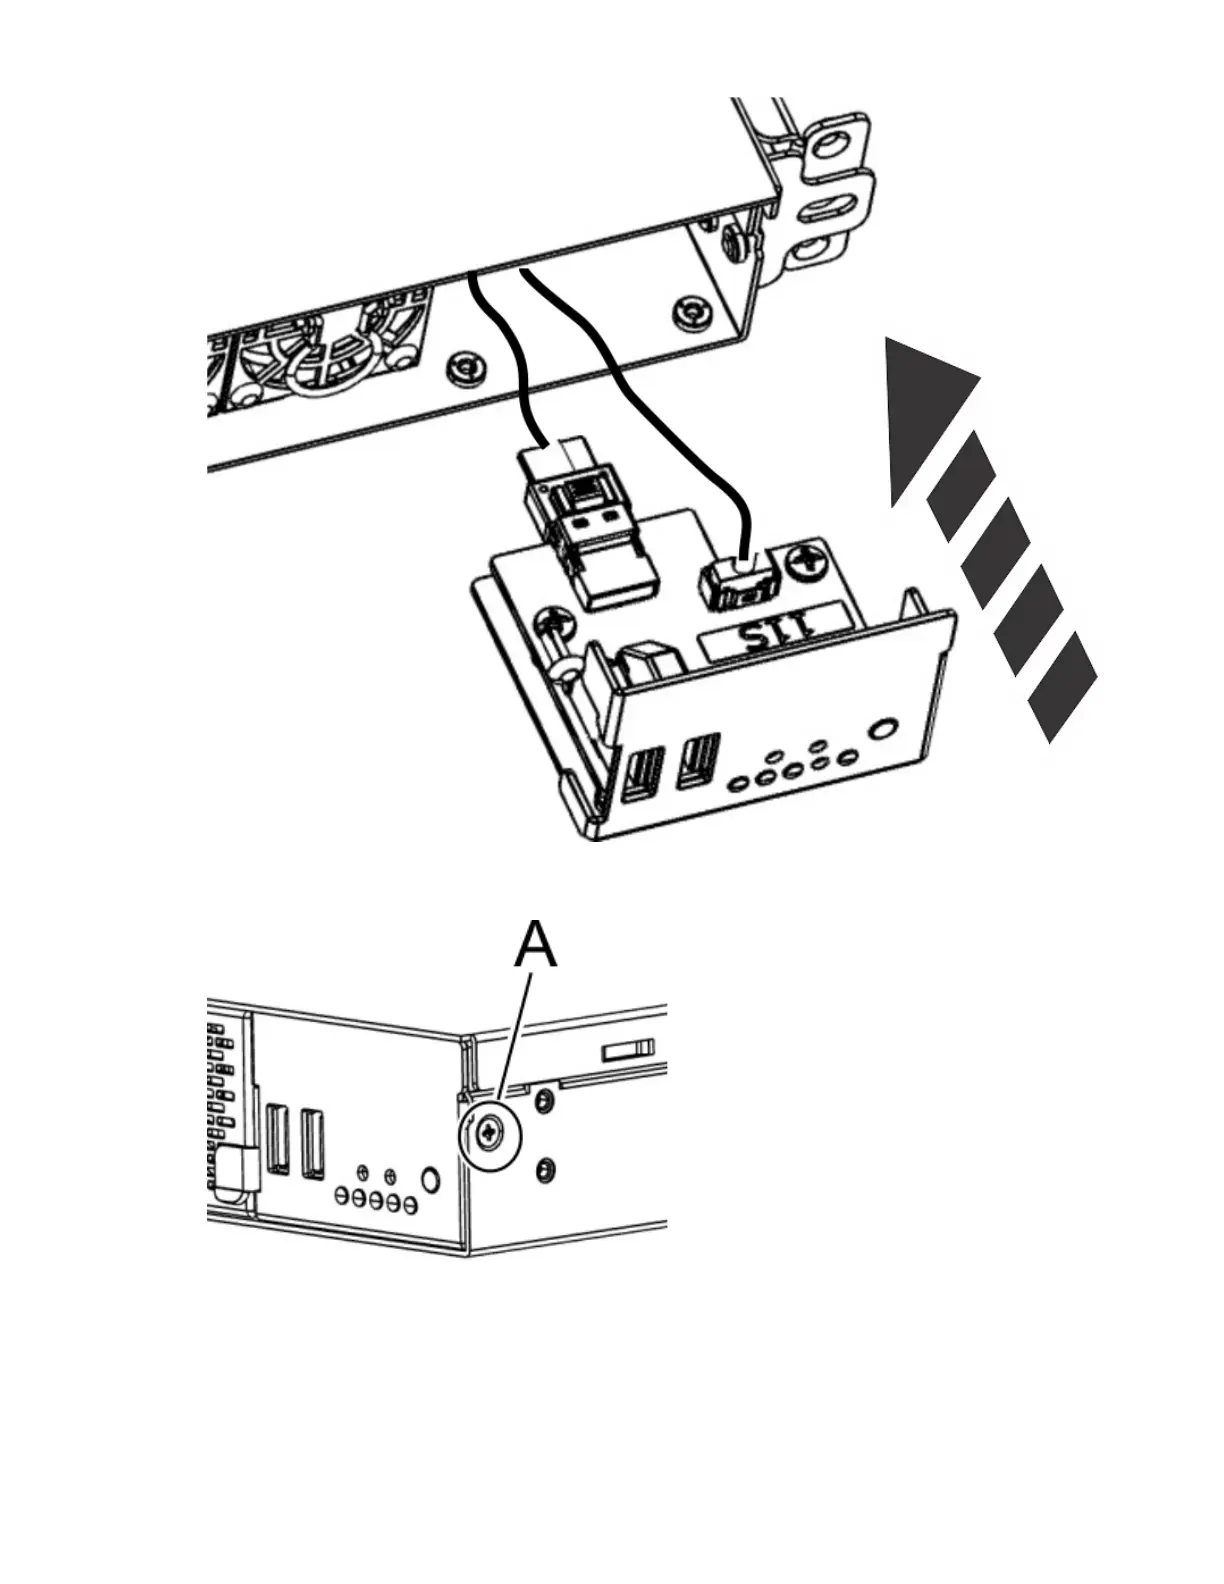
Figure 32. Installing the control panel into the system
7. Install the screw (A) to secure the control panel to the right side of the system.
Figure 33. Installing the control panel side screw
8. Turn the system upside down on the ESD surface.
9. Install the two screws (A) to secure the control panel to the bottom of the system.
Removing and replacing parts in the 7063-CR2
31

 Loading...


