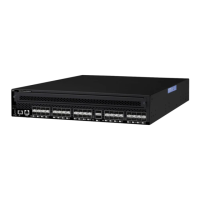
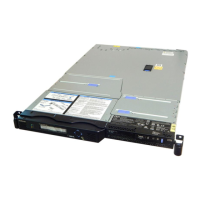
– Nonport-side air exhaust
– Port-side air intake
– Front-to-back (port-side to nonport-side)
airflow
– Part numbers ending with -F
Fan assembly unit fault indicators
Use one of the following methods to determine the status of the fan assemblies:
• Check the fan assembly status LED. Refer “Fan assembly status LED” on page 53 to interpret the
meaning of LED operation.
• In Web Tools, click the Fan Status icon.
• Enter the fanShow command at the prompt to display fan assembly status, as shown in the following
example:
Device:admin> fanshow
Fan 1 is Ok, speed is 11695 RPM
Fan 2 is Ok, speed is 11695 RPM
Fan 3 is Faulty
Fan assembly task guide
You can perform an easy set of steps to install or replace a fan assembly or to replace two or all the three
fan assemblies. By default, all the three fan assemblies are installed in the device.
Replacing a fan assembly (hot-swap)
If your device is up and running with three fan assemblies, but one of them has failed, complete the
following steps.
1. Remove the old or failed fan assembly.
2. Insert the new fan assembly.
3. Verify the fan assembly status LED.
Replacing more than one fan assemblies (cold-swap)
If your device is up and running with all the three fan assemblies, but you want to replace more than one
of them, complete the following steps.
1. Shut down the device using the sysShutdown command.
2. Remove the old/failed fan assemblies.
3. Insert the new fan assemblies.
4. Power on the device.
5. Verify the fan assembly status LEDs.
Time and items required
Installing or removing and replacing a fan assembly should require less than ve minutes to complete.
The following items are required to replace a fan assembly:
• New fan assembly (must have the same airflow direction as the fan assembly being replaced)
• #1 Phillips-head screwdriver
Chapter 8. Fan Assemblies
63

 Loading...


